

infrasilver
Moderator
- Joined
- 4 Oct 2010
- Messages
- 9,934
As requested.
DIY Caliper refurb.
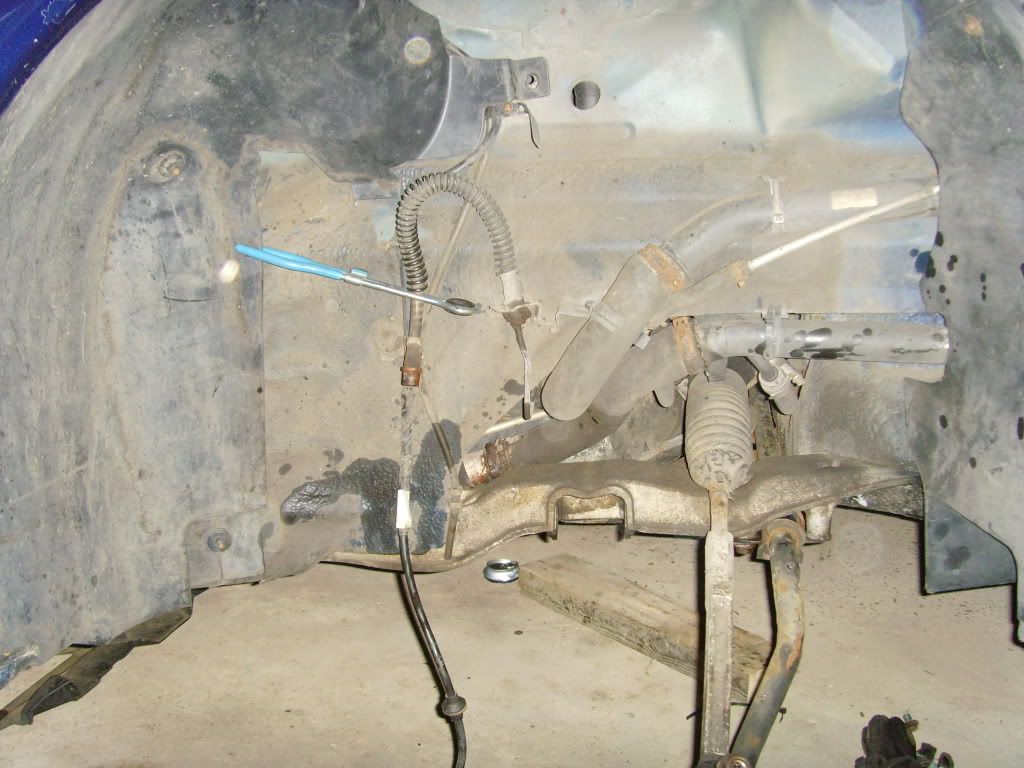
If you are intending re using your brake flex pipes you will need to clamp them to stop brake fluid loss. The easiest way would be to clamp all 4 flexes and have all 4 Calipers on the bench ready to prep and paint.
My Calipers were black and most of the lacquer had peeled off leaving a terrible finish on them.
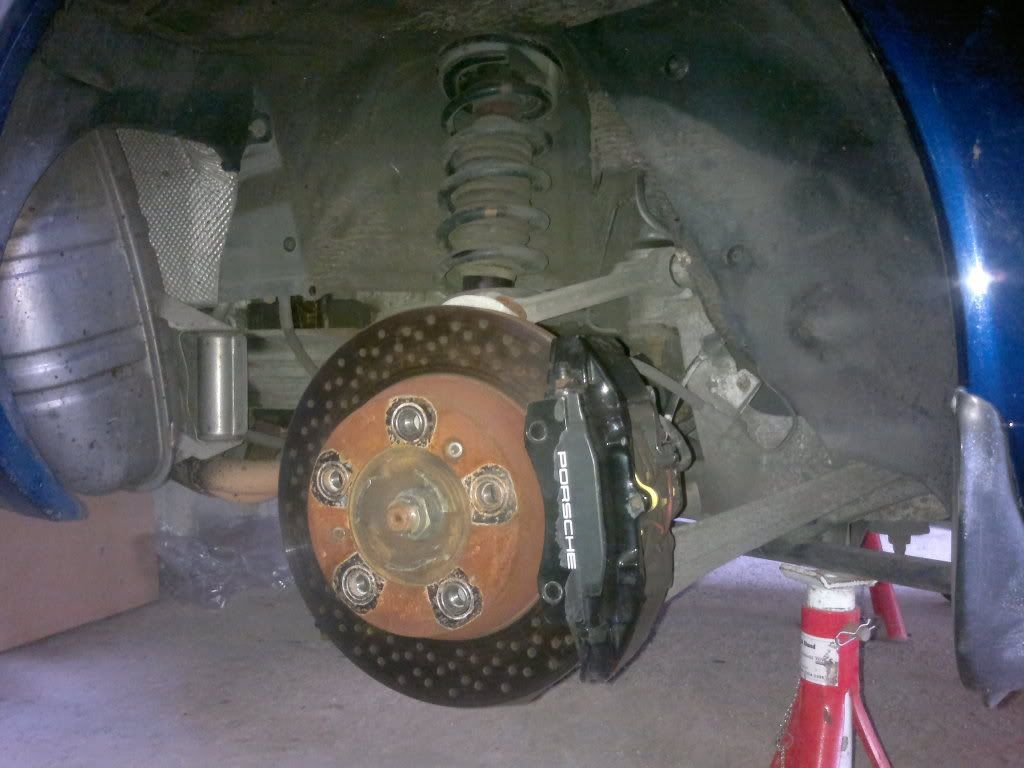
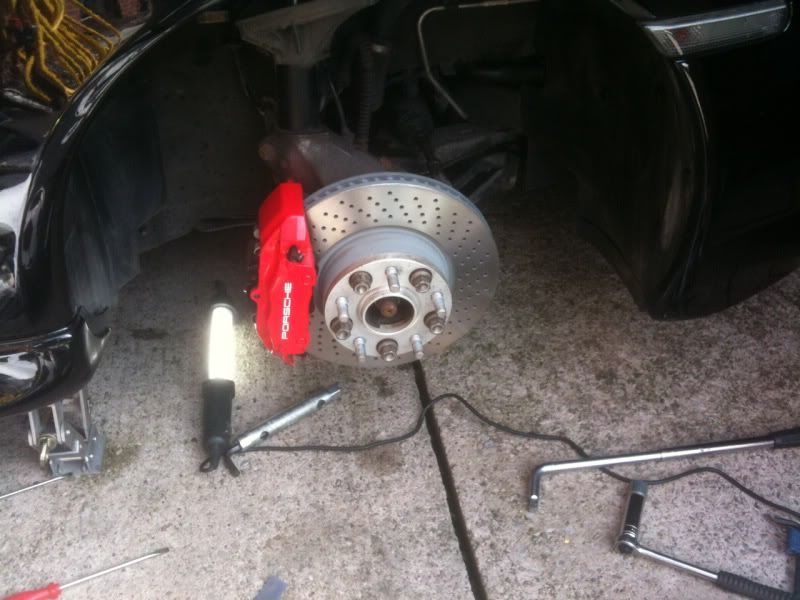
The removal of my Caliper's were with a T55 Torx bit, there are two bolts that need removing for each Caliper. Officially these bolts will need replacing when re fitting. If you still have your original factory bolts fitted they could be Allen head bolts.
Once off the car they were stripped of pads and shims but the seals were left in place. This is now the most important part of the process. Preparation, Preparation, Preparation.
As you know these parts get very dirty with road grime and brake dust.
I started off with hot soapy water with a brush and scrubbed, found it hard to get into all the tight corners so bought toothbrush for that. Then I got some fresh hot soapy water and removed any loose lacquer and started at them with some Scotch Brite pads to give a good key. Get right into the corners. I left all the bleed nipples in place because I was renewing them and plugged up the brake pipe entry.
Let them dry off thoroughly then I de greased a little more with some cellulose thinners on a rag but try to keep away from the seals as much a possible.
Mask the seals and all mounting surfaces up to keep everthing as it should be.
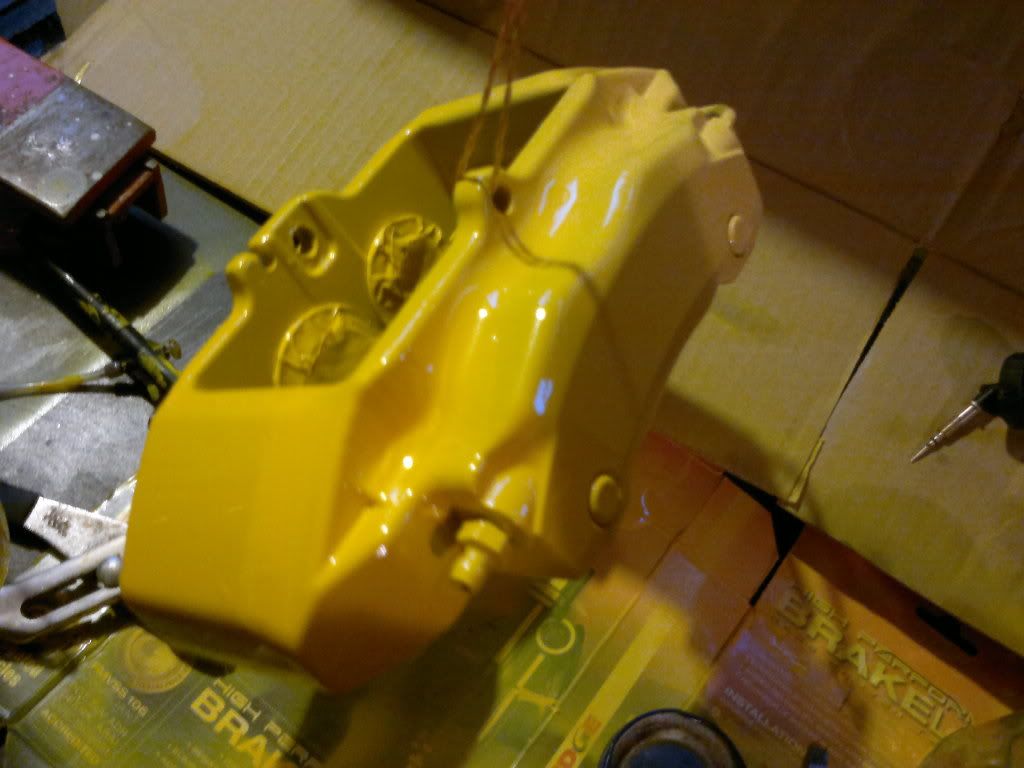
The Yellow paint I decided on was from Halfords and thinned it down to be able to be sprayed through the airbrush I bought from Ebay for £8.
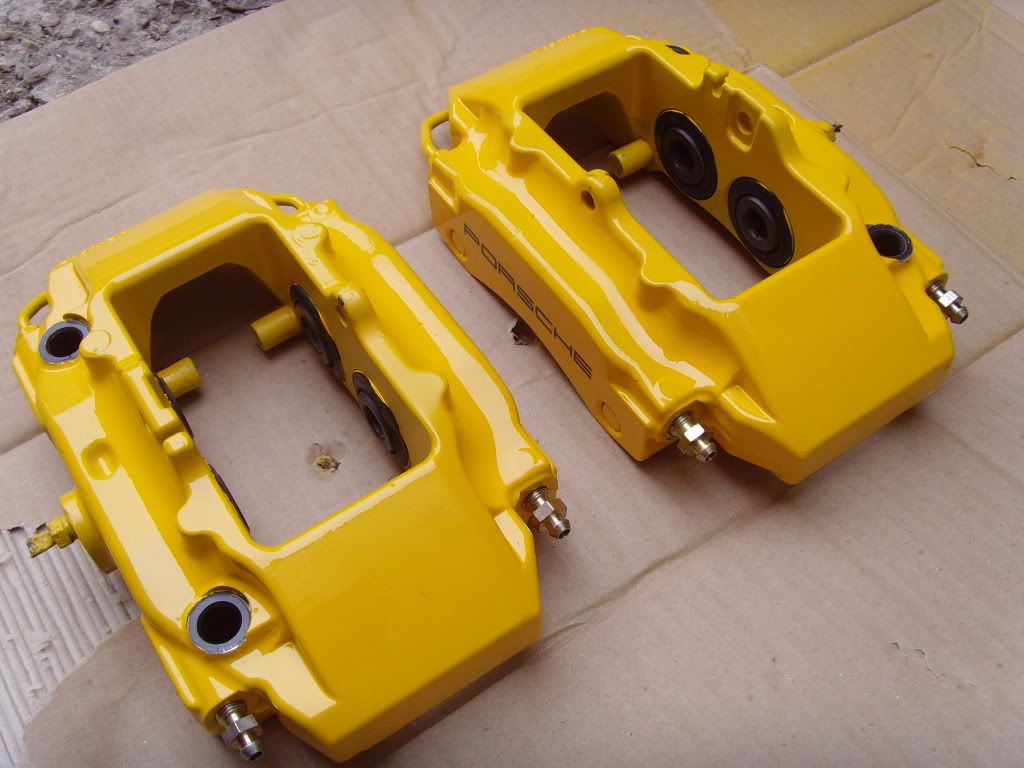
The Calipers were then hung from wire ready for painting. There were several coats of paint to get the Yellow to cover the original Black paint.
Again Ebay was the supplier of the PORSCHE high temp decals for the outer edges of the Calipers. The day after the Yellow paint had dried there was already a really good finish on them but after I applied the decals they needed a coat of lacquer to give them depth.
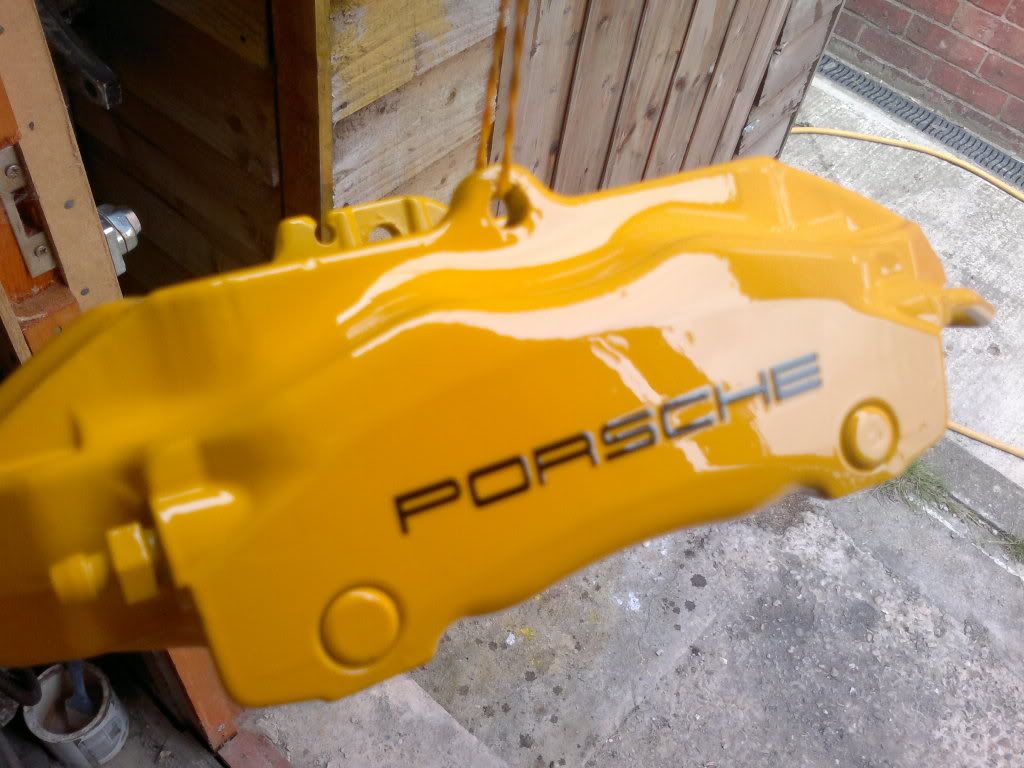
I have 2k lacquer in my stock of paints but this paint is not to be trifled with. I do have the correct breathing apparatus and do get covered head to toe whenever I paint with 2k. Google it for its effects on us.
Don't use it unless you do have the correct kit.
It does give excellent results though.
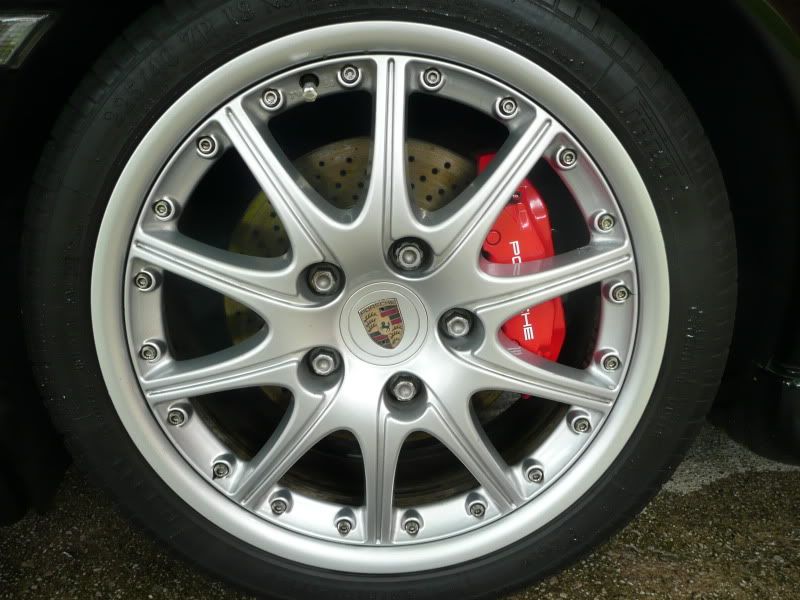
New bleed nipples fitted and new DOT4 fluid through its veins. I also fitted goodridge braided hoses and the brakes are a damn site better.
DIY Caliper refurb.
If you are intending re using your brake flex pipes you will need to clamp them to stop brake fluid loss. The easiest way would be to clamp all 4 flexes and have all 4 Calipers on the bench ready to prep and paint.
My Calipers were black and most of the lacquer had peeled off leaving a terrible finish on them.
The removal of my Caliper's were with a T55 Torx bit, there are two bolts that need removing for each Caliper. Officially these bolts will need replacing when re fitting. If you still have your original factory bolts fitted they could be Allen head bolts.
Once off the car they were stripped of pads and shims but the seals were left in place. This is now the most important part of the process. Preparation, Preparation, Preparation.
As you know these parts get very dirty with road grime and brake dust.
I started off with hot soapy water with a brush and scrubbed, found it hard to get into all the tight corners so bought toothbrush for that. Then I got some fresh hot soapy water and removed any loose lacquer and started at them with some Scotch Brite pads to give a good key. Get right into the corners. I left all the bleed nipples in place because I was renewing them and plugged up the brake pipe entry.
Let them dry off thoroughly then I de greased a little more with some cellulose thinners on a rag but try to keep away from the seals as much a possible.
Mask the seals and all mounting surfaces up to keep everthing as it should be.
The Yellow paint I decided on was from Halfords and thinned it down to be able to be sprayed through the airbrush I bought from Ebay for £8.
The Calipers were then hung from wire ready for painting. There were several coats of paint to get the Yellow to cover the original Black paint.
Again Ebay was the supplier of the PORSCHE high temp decals for the outer edges of the Calipers. The day after the Yellow paint had dried there was already a really good finish on them but after I applied the decals they needed a coat of lacquer to give them depth.
I have 2k lacquer in my stock of paints but this paint is not to be trifled with. I do have the correct breathing apparatus and do get covered head to toe whenever I paint with 2k. Google it for its effects on us.
Don't use it unless you do have the correct kit.
It does give excellent results though.
New bleed nipples fitted and new DOT4 fluid through its veins. I also fitted goodridge braided hoses and the brakes are a damn site better.
 c:
c: 


")


