

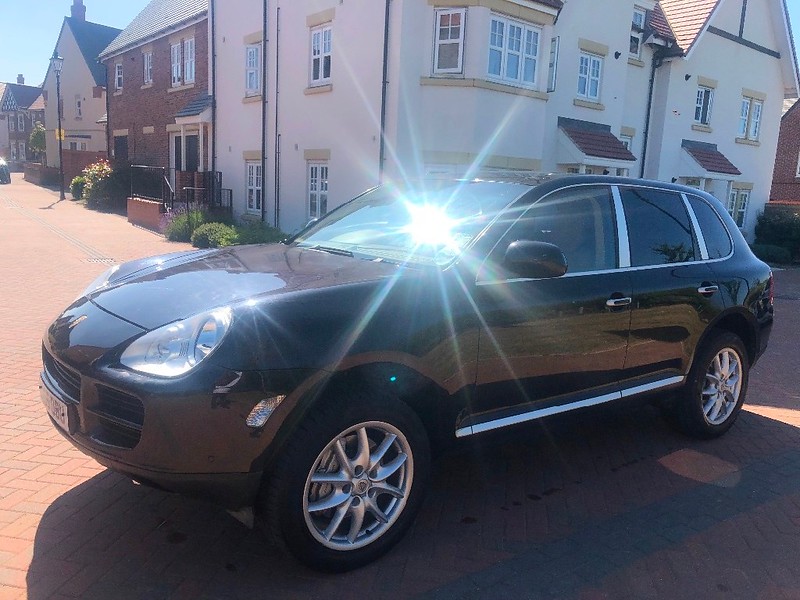
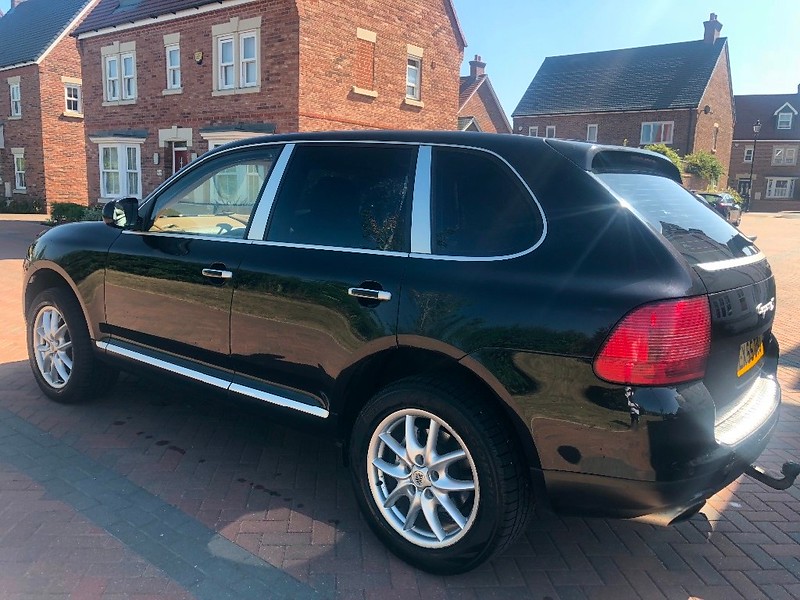
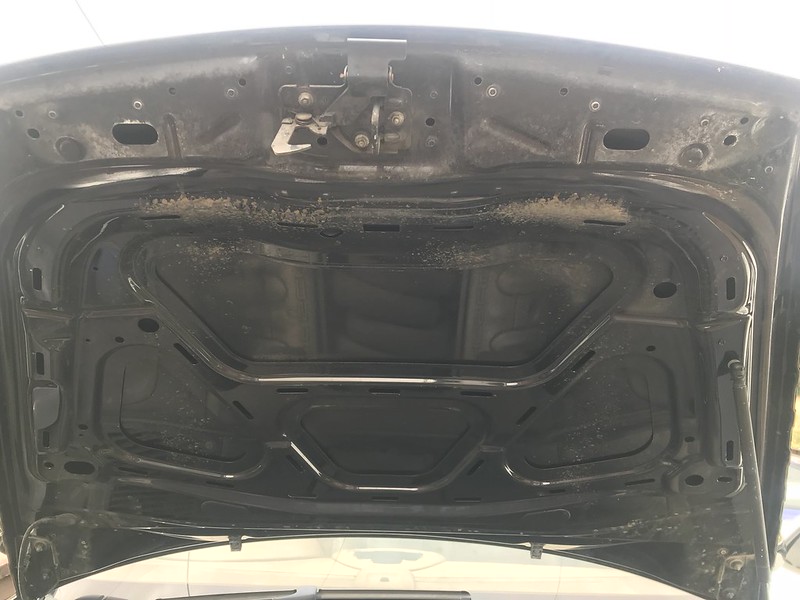
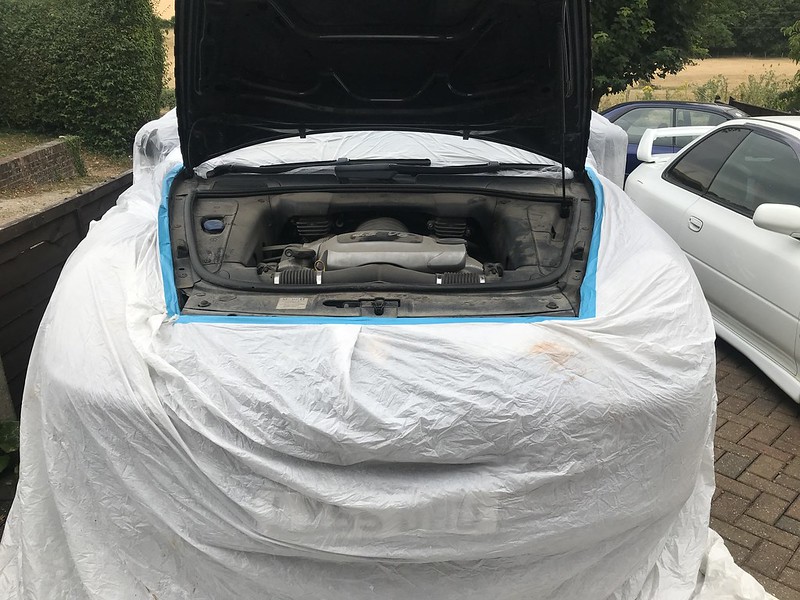
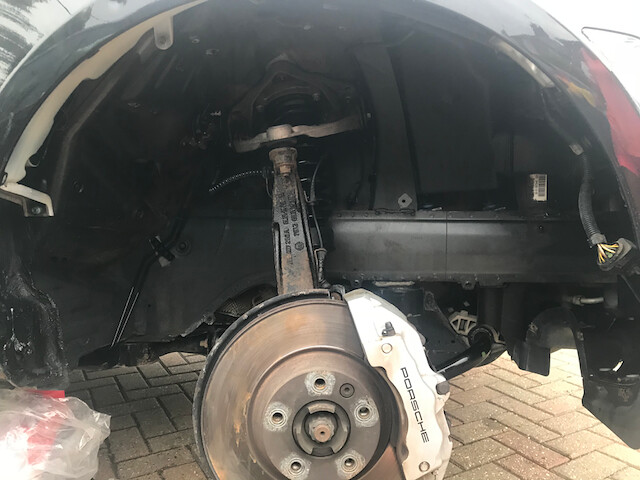
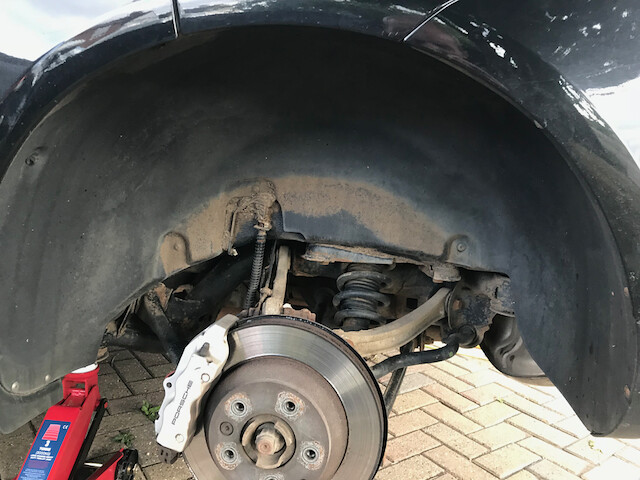
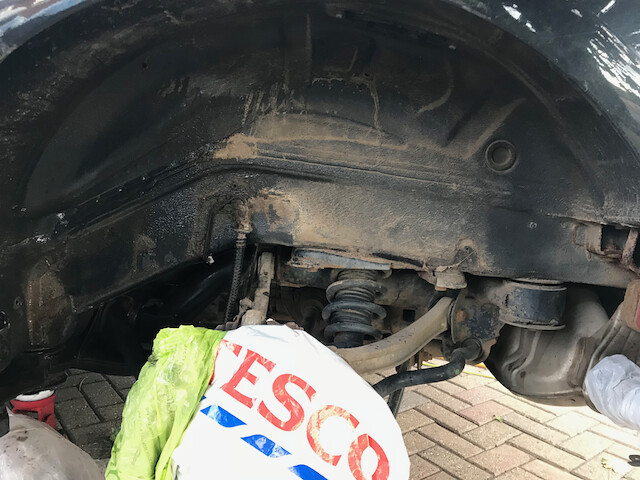
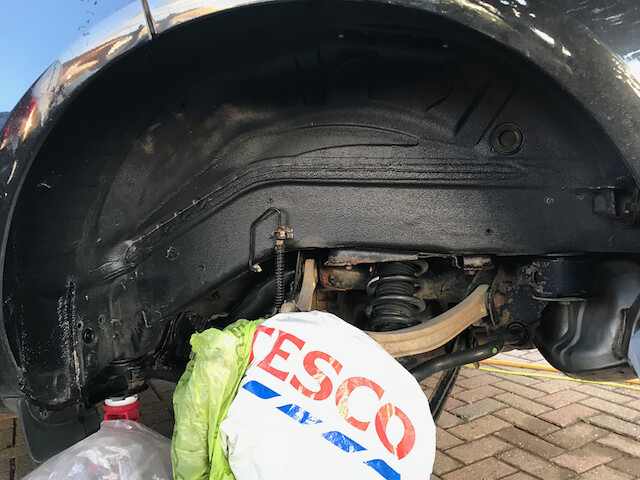
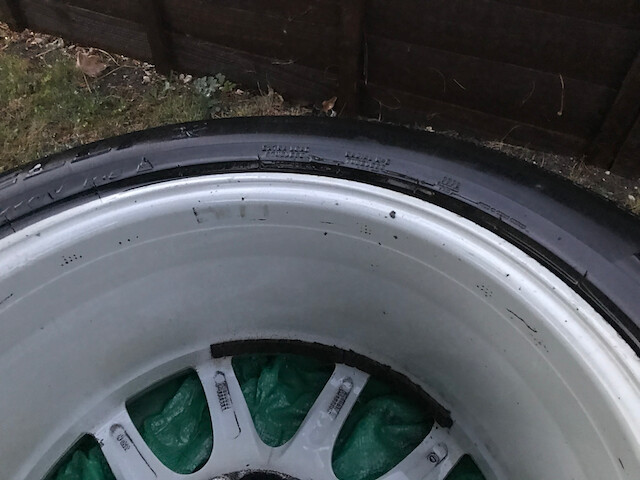
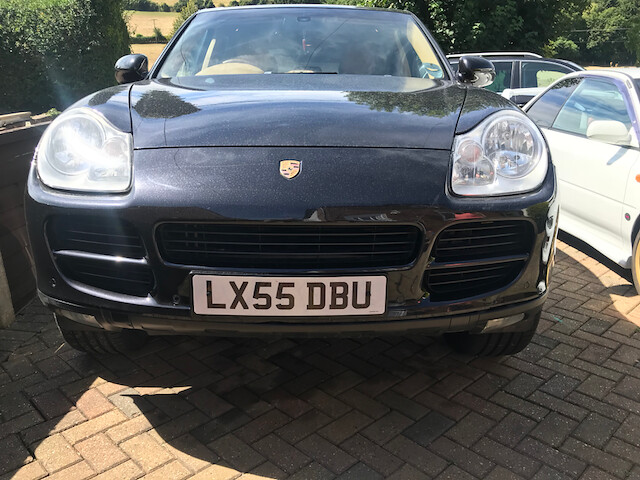
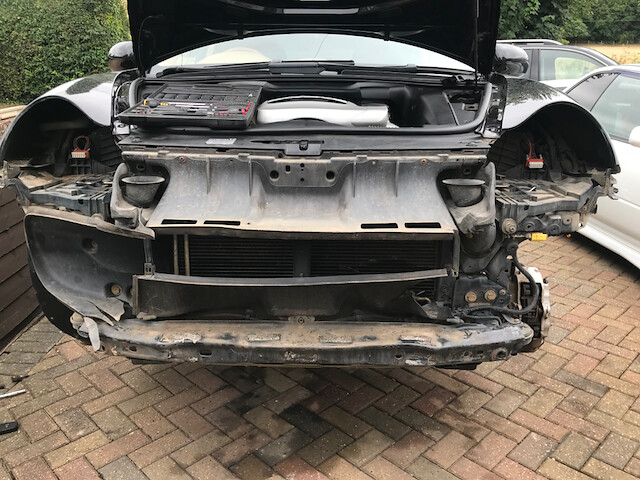
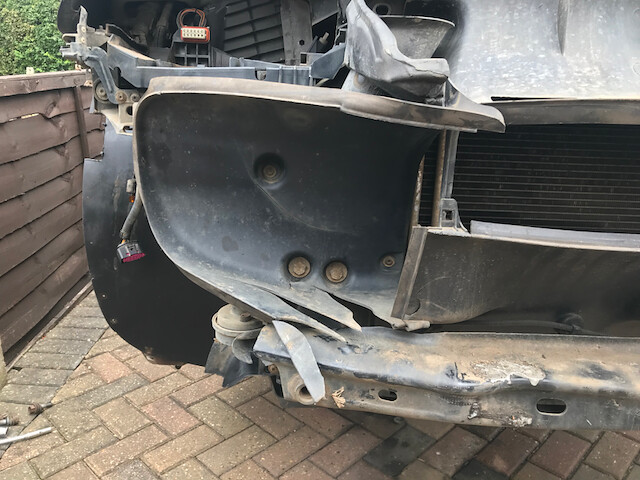
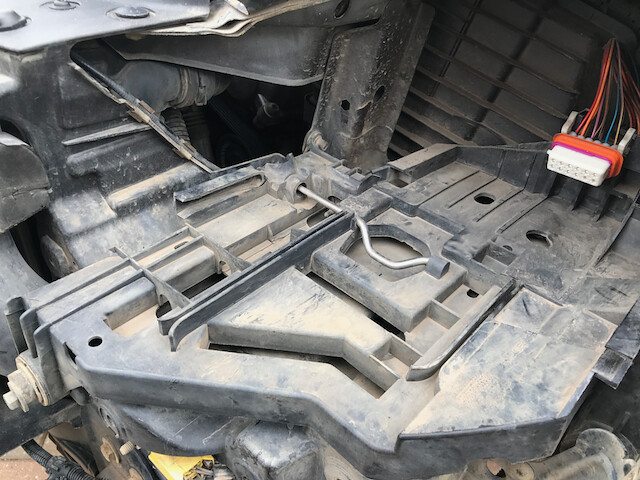
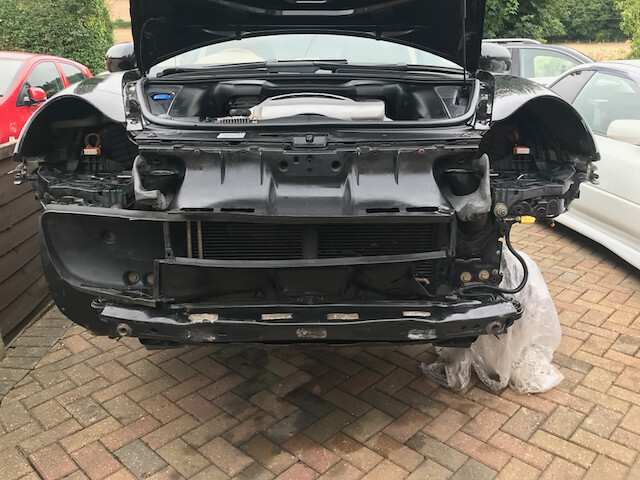
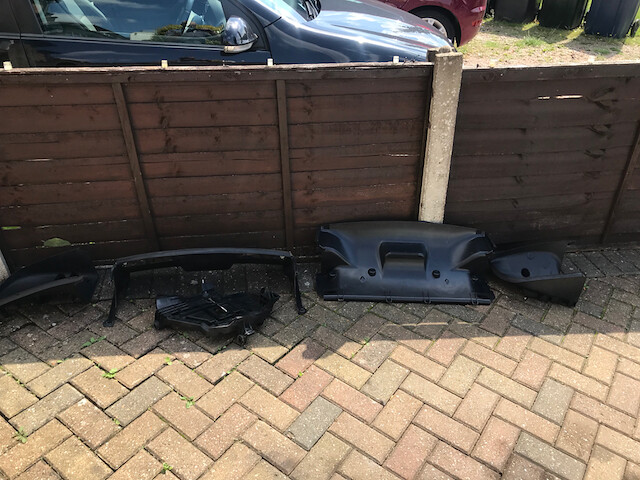
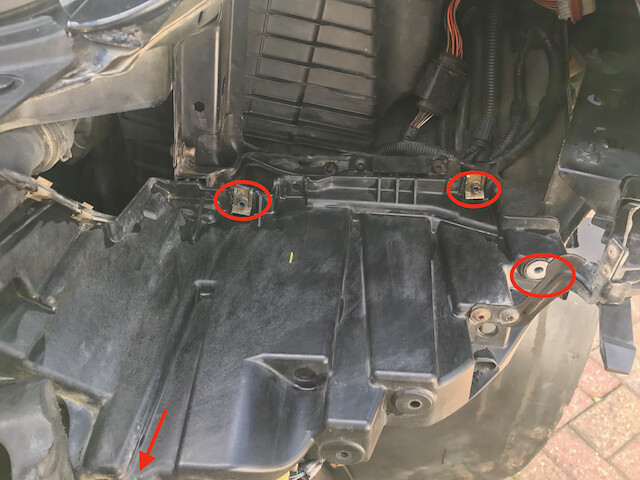
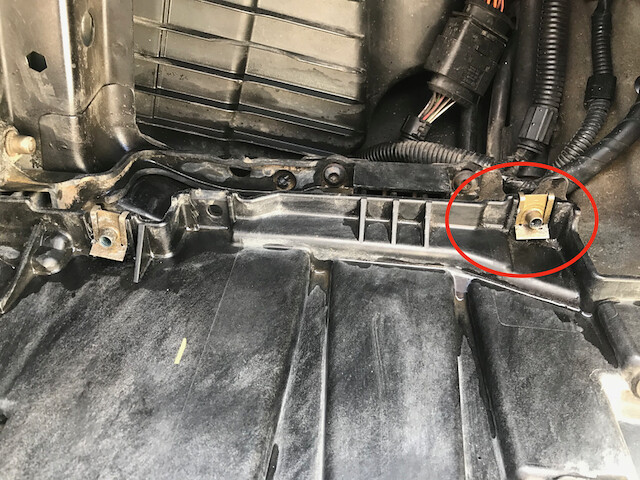
When we picked up our Cayenne S 2005 model, from the outside she looked pretty clean and in good shape but after a thorough examination on our driveway , we could see that she had had a hard motoring life and was in sore need of a lot of TLC. This is our first entry into the marquee and despite our shortcomings we felt we could manage many of the tweaks, upgrades, restoration ourselves. So detailed in this thread are all the parts that we have attempted ourselves. I am sure along the way we will make some school boy errors and some parts will need expert attention ( garages) .
All done on our driveway as the garage is full") and we don't have access to a 2 post lift
and we don't have access to a 2 post lift
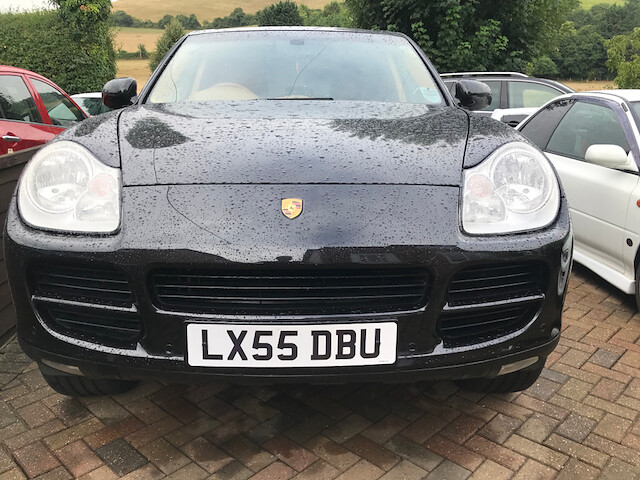
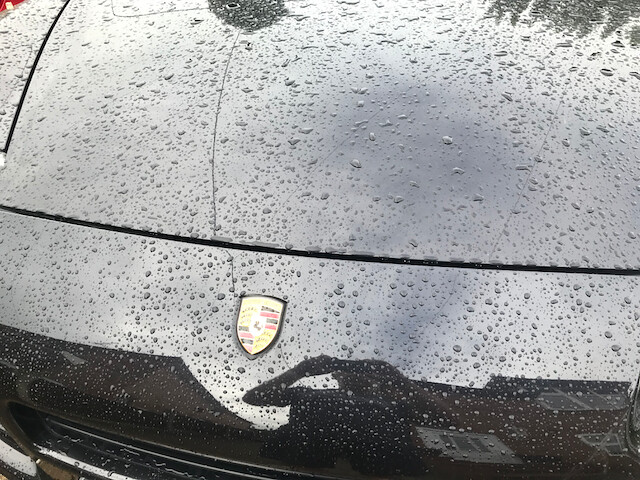
As she looked when we collected her.
 media2 by Chris Dodsworth, on Flickr
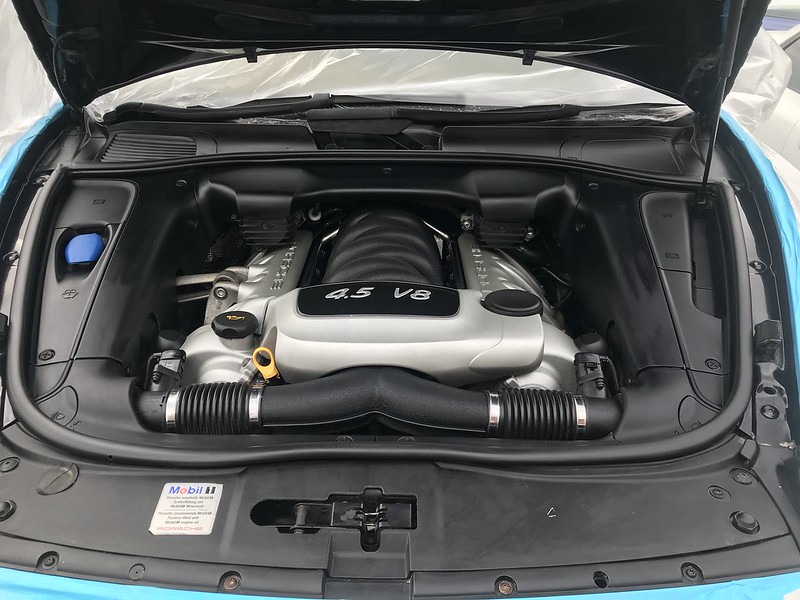
 media7 by Chris Dodsworth, on Flickr
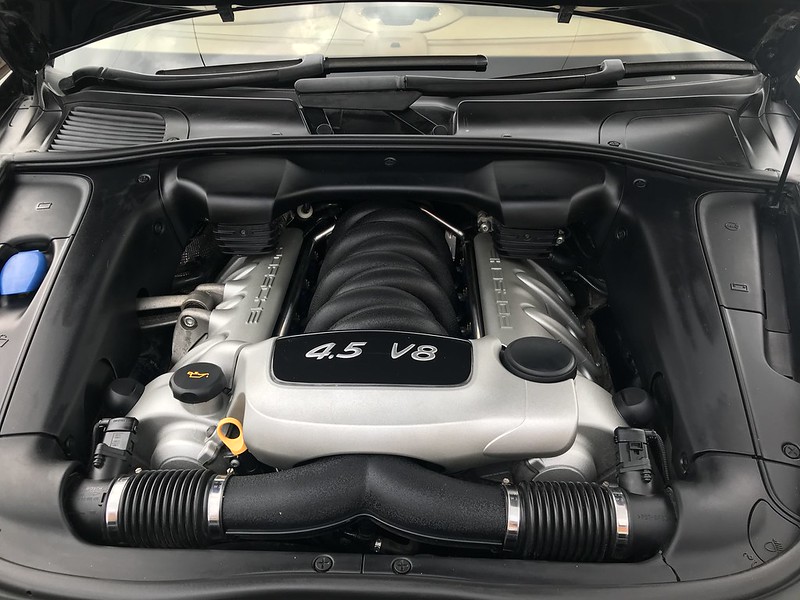
First up the cleaning !
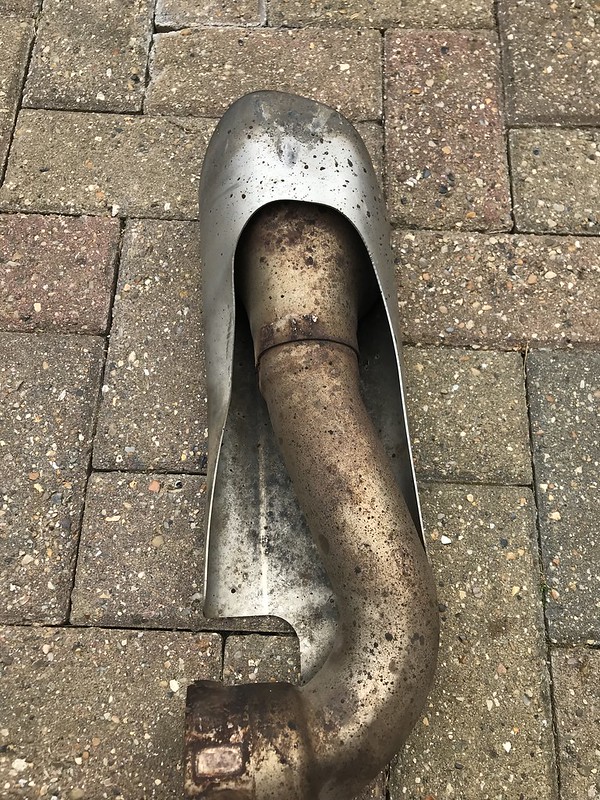
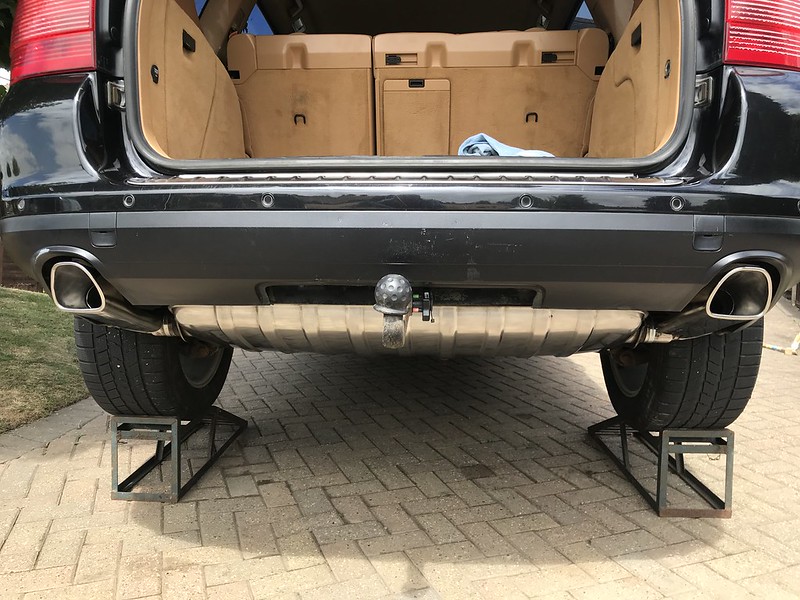
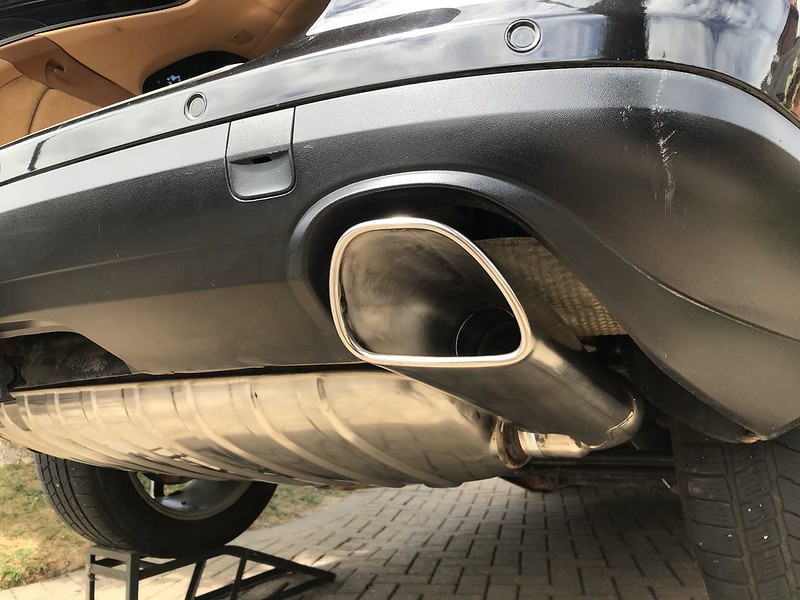
I know a lot of people prefer the twin turbo ones (with a german rear bumper to accommodate ) but until the funds allow cleaning up the existing ones was the best way forward.
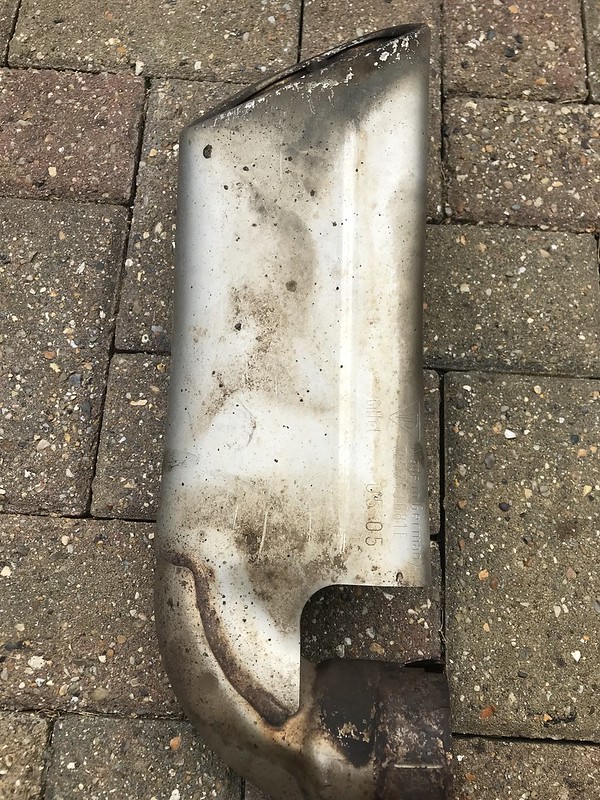
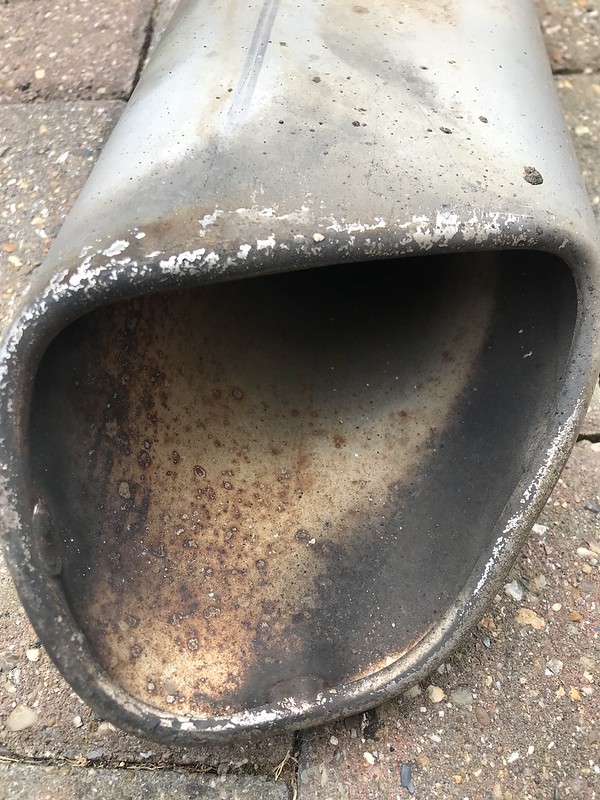
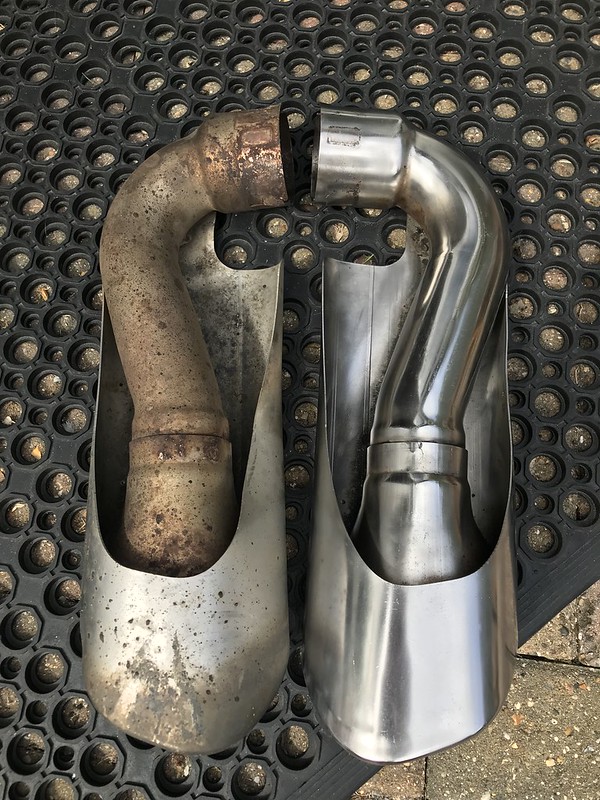
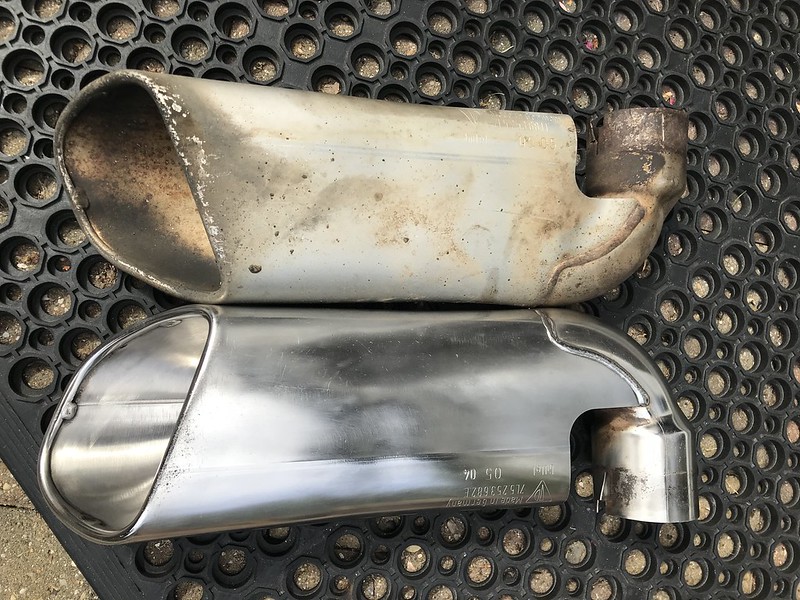
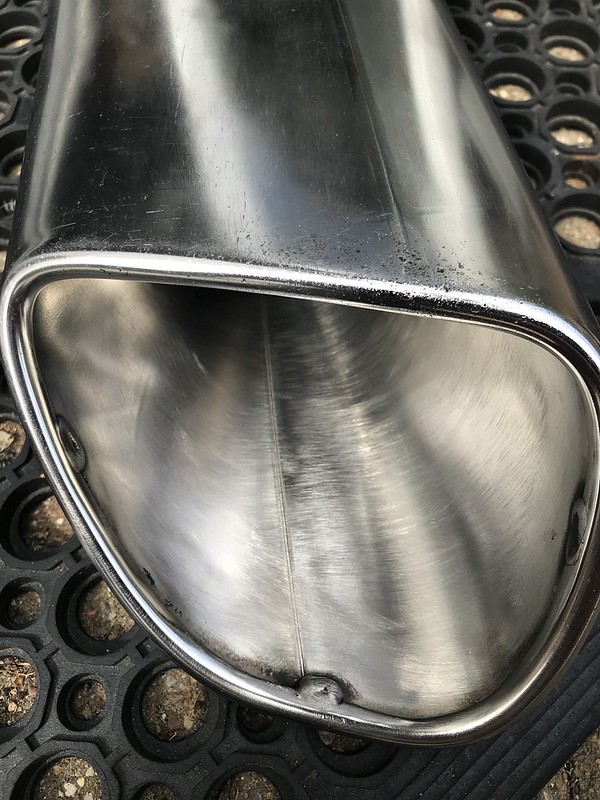
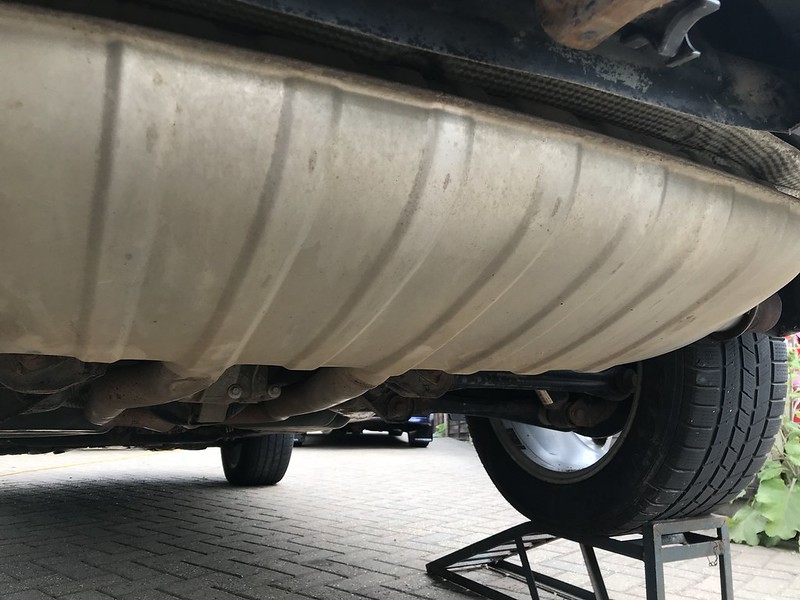
These were pretty bad when we got the car and it kind of let the whole back end down so armed with my trusty metal polishing kit I got to it.
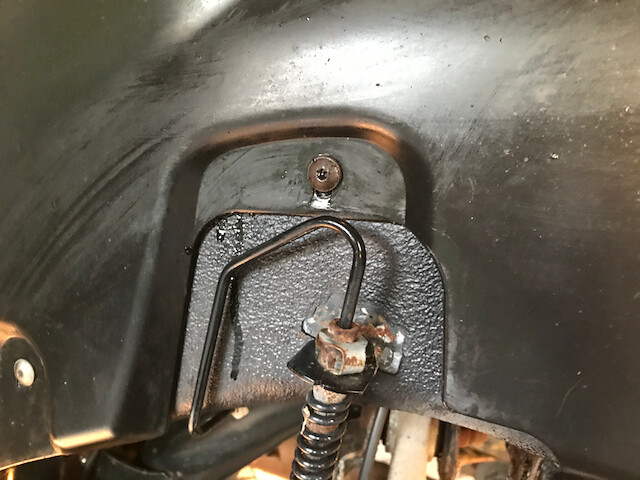
Took about 2-3 hours per tip from removing them to putting them back on. Hardest part was removing the clamps because they were rusted on and so the big boy tool , aka Grinder, came out to budge them. Replaced them with genuine Porsche ones
Before
 IMG_2378 by Chris Dodsworth, on Flickr
 IMG_2379 by Chris Dodsworth, on Flickr
 IMG_2380 by Chris Dodsworth, on Flickr
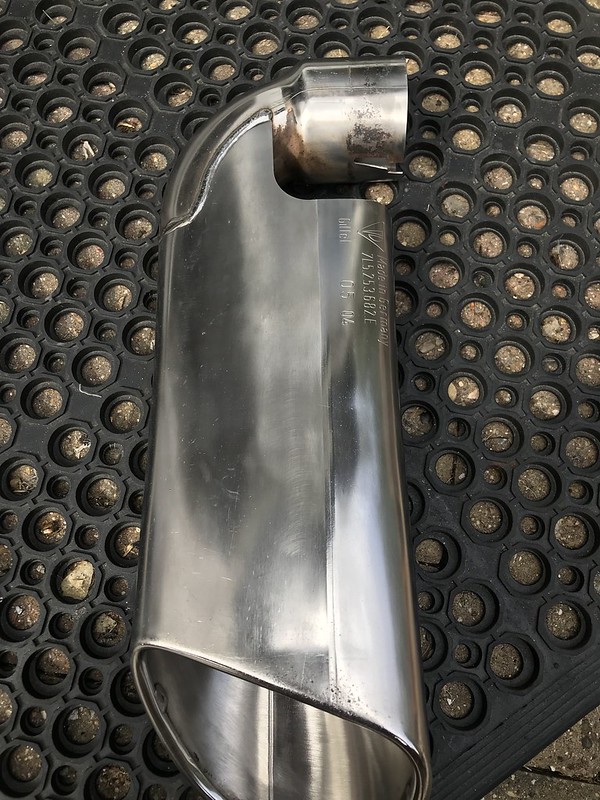
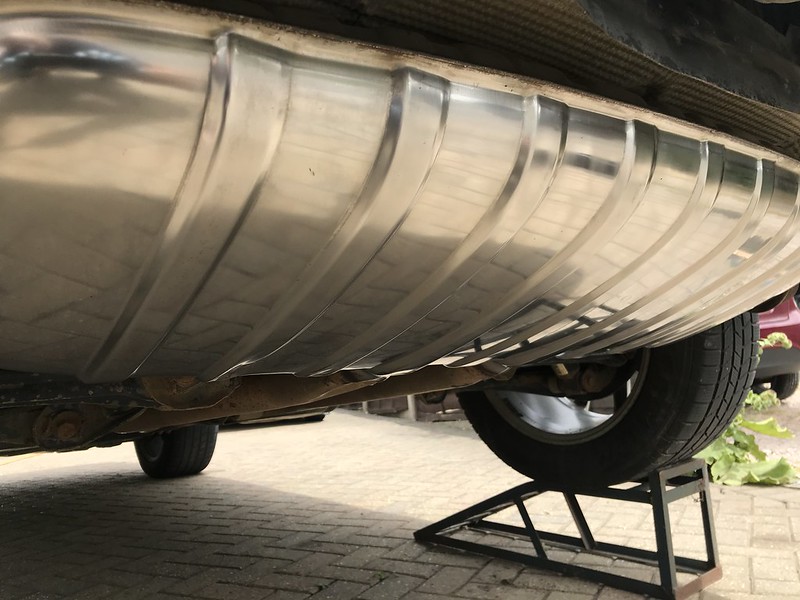
After
 IMG_2381 by Chris Dodsworth, on Flickr
 IMG_2382 by Chris Dodsworth, on Flickr
 IMG_2383 by Chris Dodsworth, on Flickr
 IMG_2384 by Chris Dodsworth, on Flickr
Once I got started I couldn't stop
 IMG_2387 by Chris Dodsworth, on Flickr
 IMG_2389 by Chris Dodsworth, on Flickr
And all fitted
 IMG_2392 by Chris Dodsworth, on Flickr
 IMG_2391 by Chris Dodsworth, on Flickr
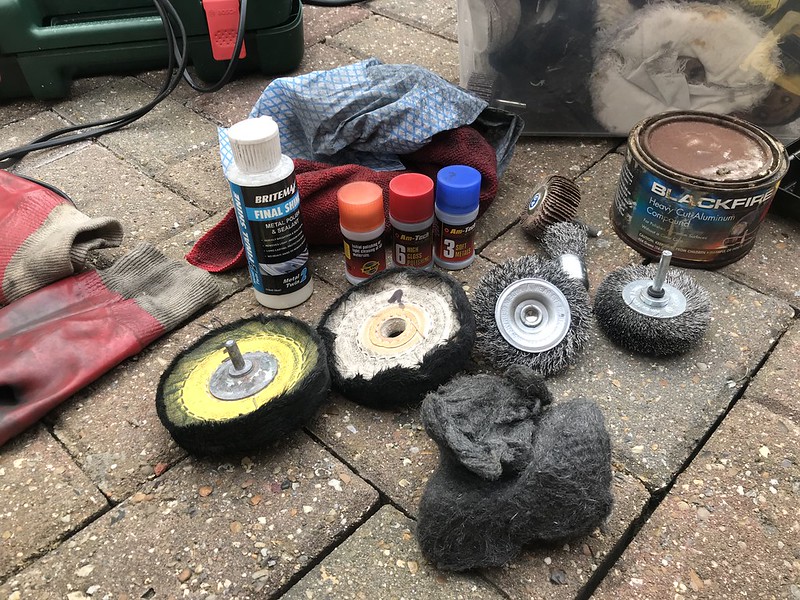
And the tools, though bear in mind the biggest tool (apart from me ) is elbow grease
 IMG_2393 by Chris Dodsworth, on Flickr
All done on our driveway as the garage is full
and we don't have access to a 2 post liftAs she looked when we collected her.
media2 by Chris Dodsworth, on Flickrmedia7 by Chris Dodsworth, on FlickrFirst up the cleaning !
I know a lot of people prefer the twin turbo ones (with a german rear bumper to accommodate ) but until the funds allow cleaning up the existing ones was the best way forward.
These were pretty bad when we got the car and it kind of let the whole back end down so armed with my trusty metal polishing kit I got to it.
Took about 2-3 hours per tip from removing them to putting them back on. Hardest part was removing the clamps because they were rusted on and so the big boy tool , aka Grinder, came out to budge them. Replaced them with genuine Porsche ones
Before
IMG_2378 by Chris Dodsworth, on FlickrIMG_2379 by Chris Dodsworth, on FlickrIMG_2380 by Chris Dodsworth, on FlickrAfter
IMG_2381 by Chris Dodsworth, on FlickrIMG_2382 by Chris Dodsworth, on FlickrIMG_2383 by Chris Dodsworth, on FlickrIMG_2384 by Chris Dodsworth, on FlickrOnce I got started I couldn't stop
IMG_2387 by Chris Dodsworth, on FlickrIMG_2389 by Chris Dodsworth, on FlickrAnd all fitted
IMG_2392 by Chris Dodsworth, on FlickrIMG_2391 by Chris Dodsworth, on FlickrAnd the tools, though bear in mind the biggest tool (apart from me ) is elbow grease
IMG_2393 by Chris Dodsworth, on Flickr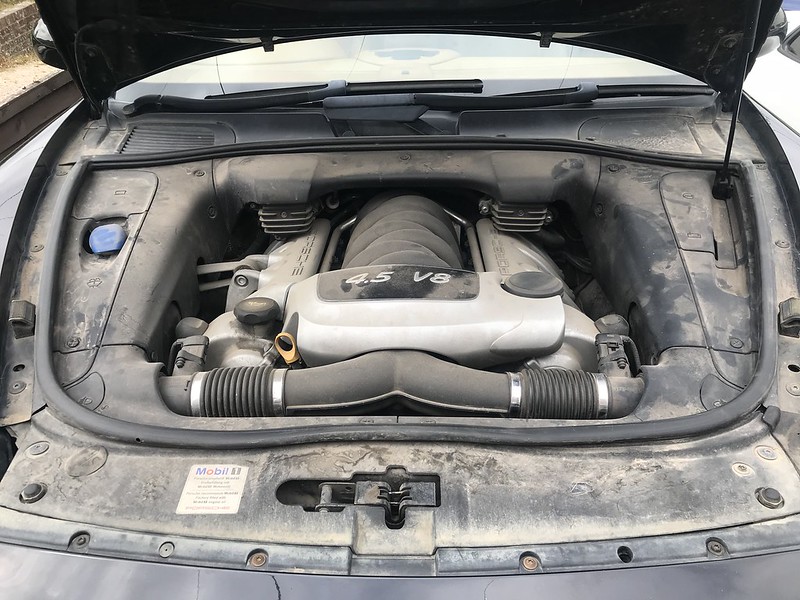


")


