Porsche 911 UK Enthusiasts Online Community Discussion Forum GB

Welcome to the @Porsche911UK website. Register a free account today to become a member! Sign up is quick and easy, then you can view, participate in topics and posts across the site that covers all things Porsche.

Already registered and looking to recovery your account, select 'login in' and then the 'forget your password' option.

2001 C4 project car

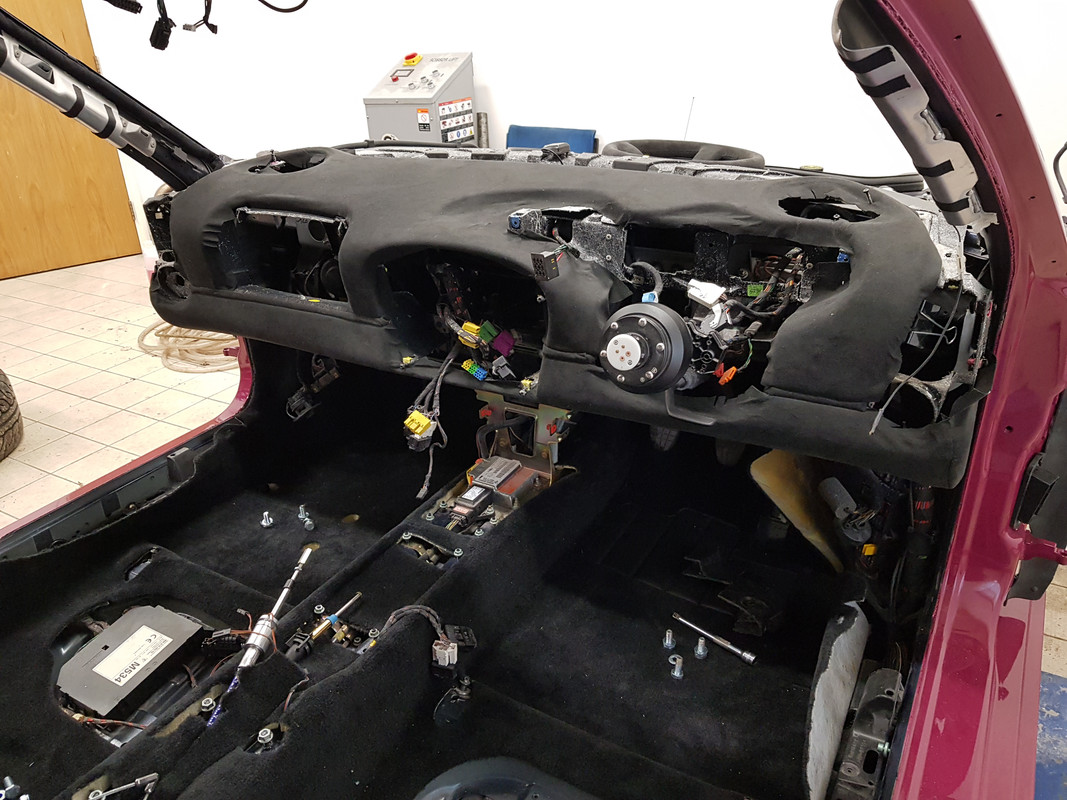
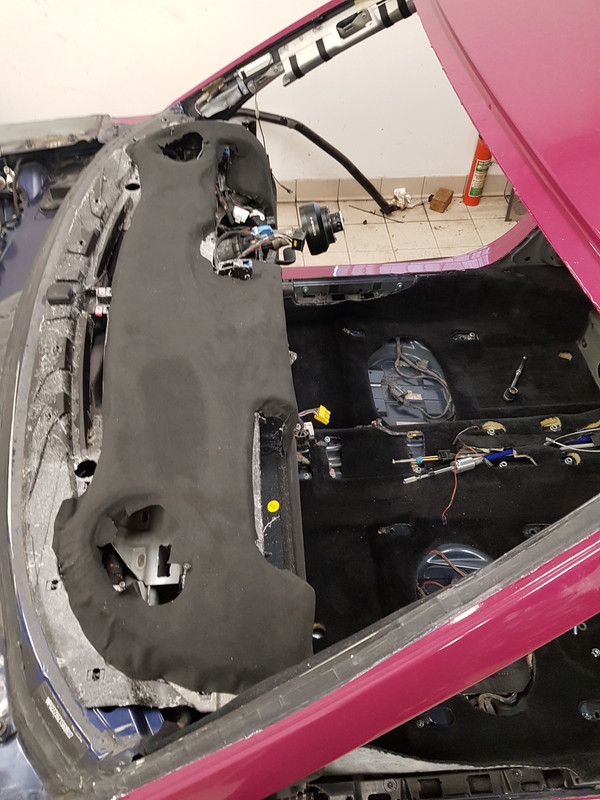
It was done at a place called Car and Coach Trimmers in Colwick, Nottingham.

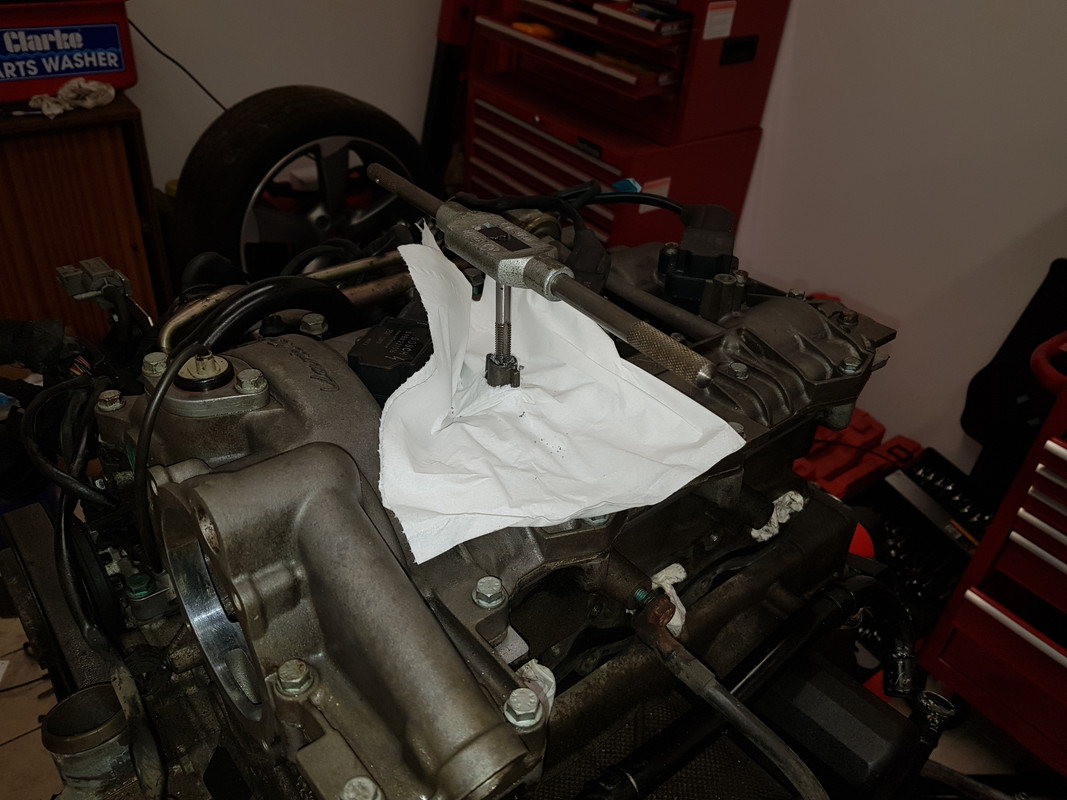
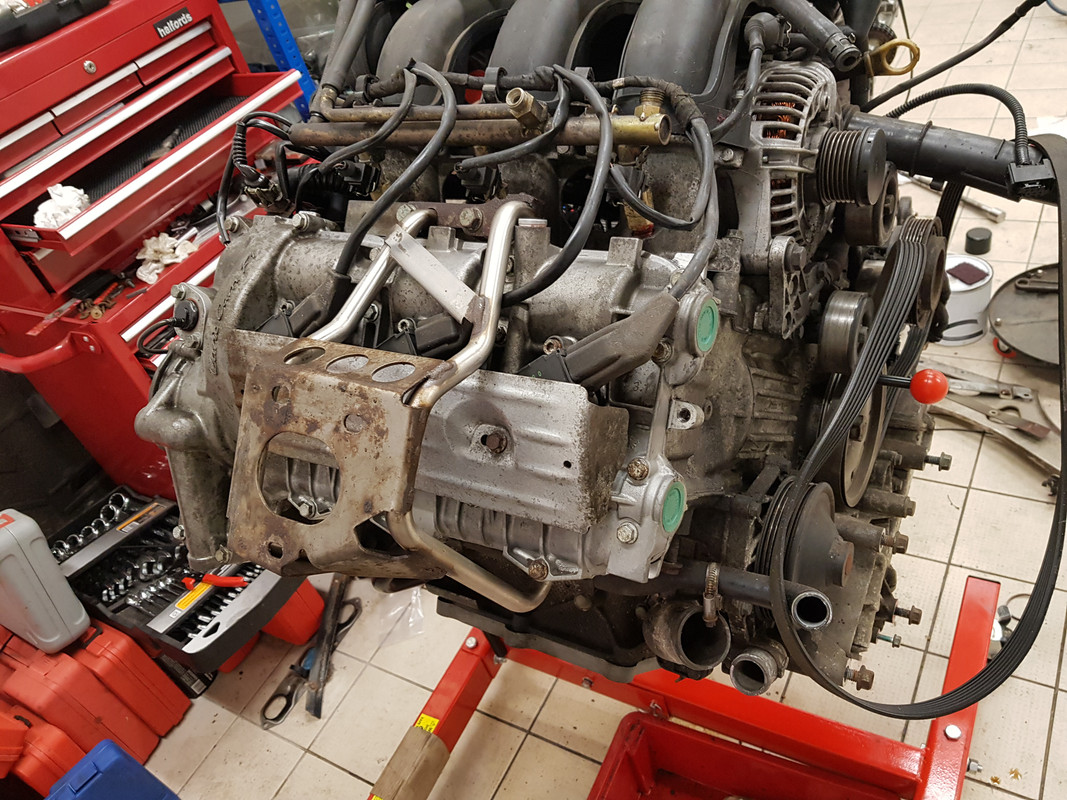
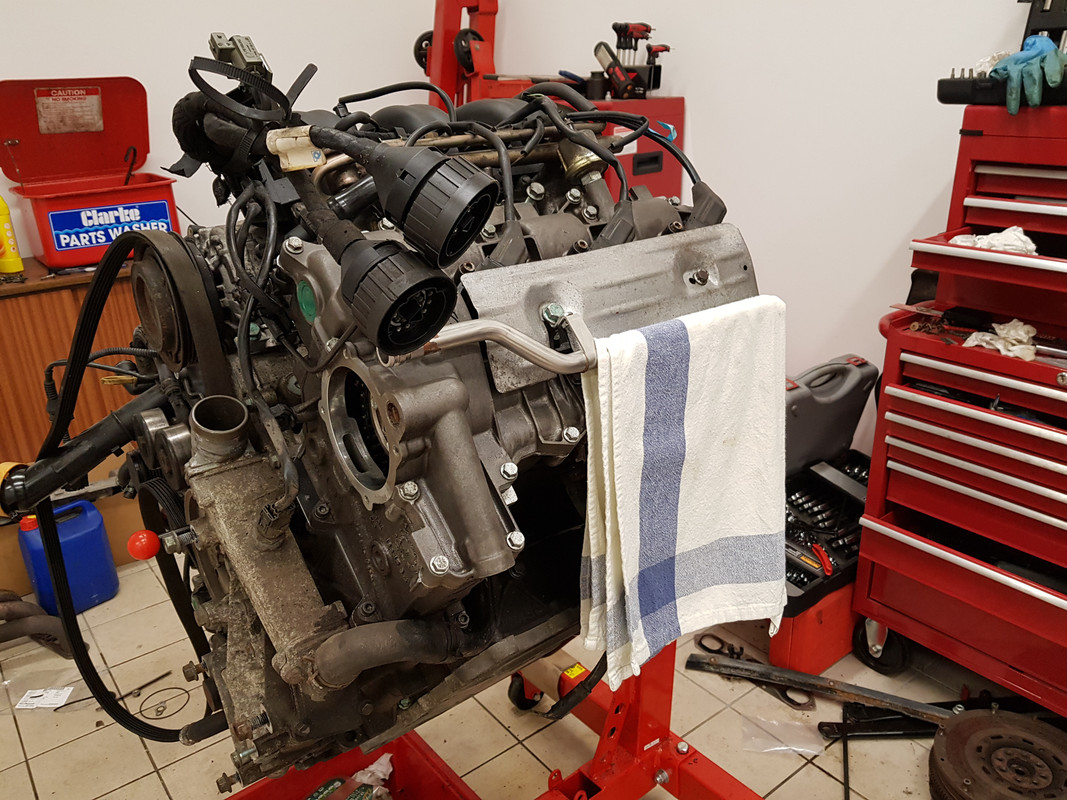
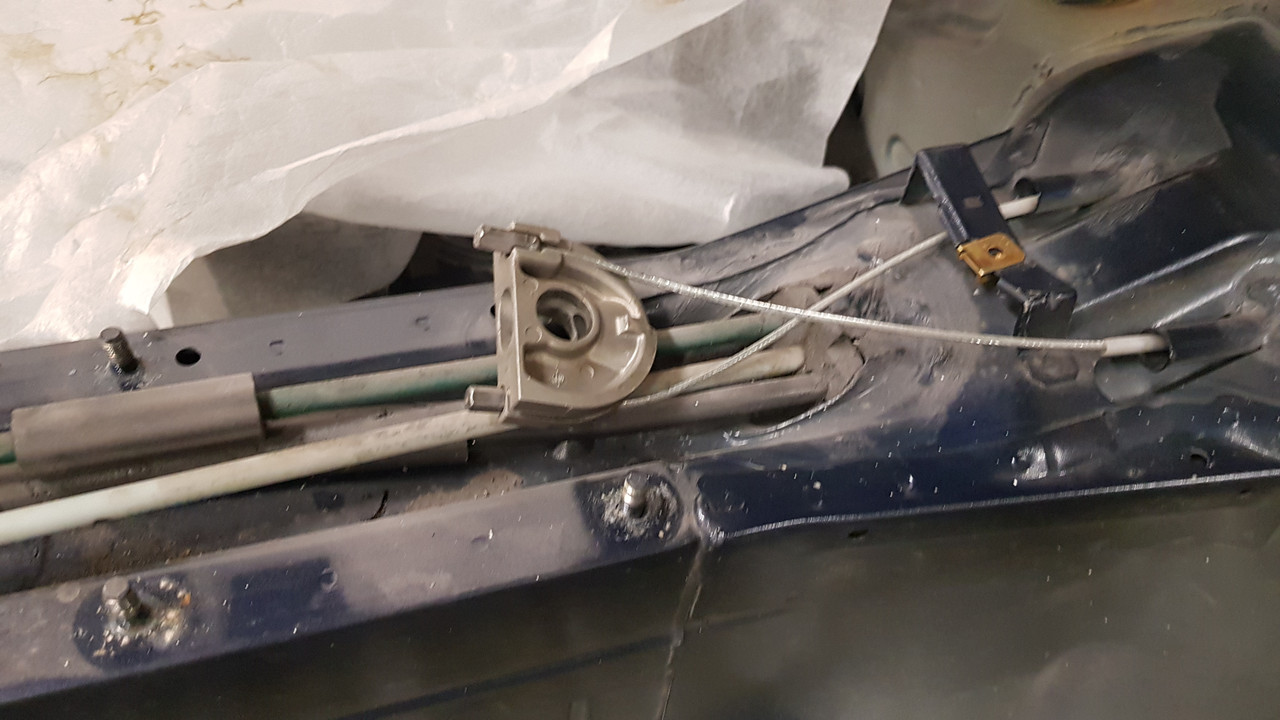
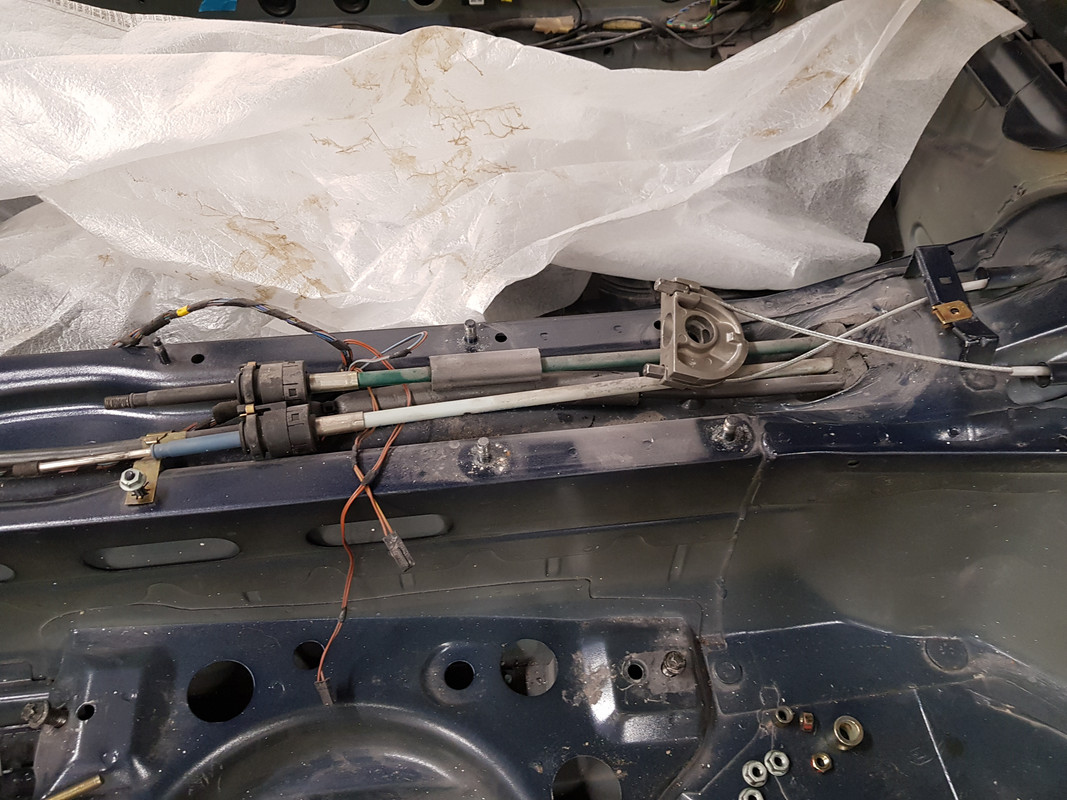
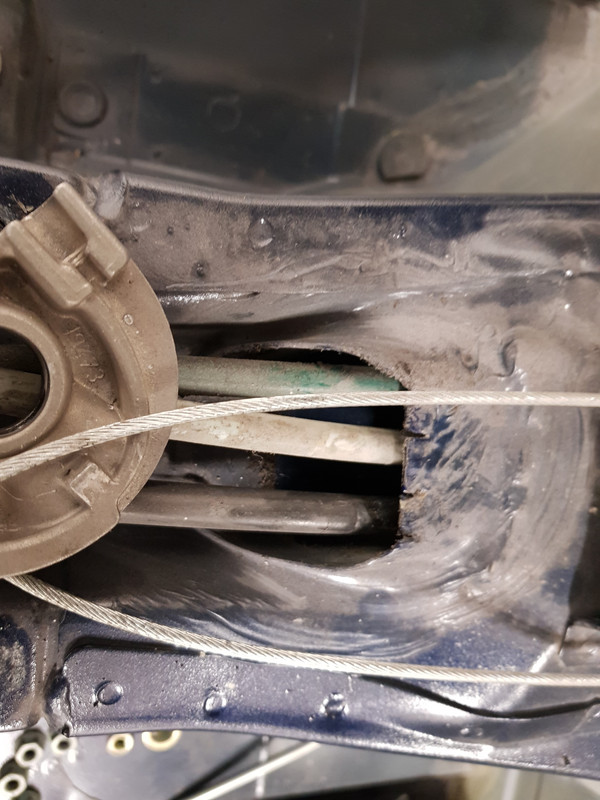
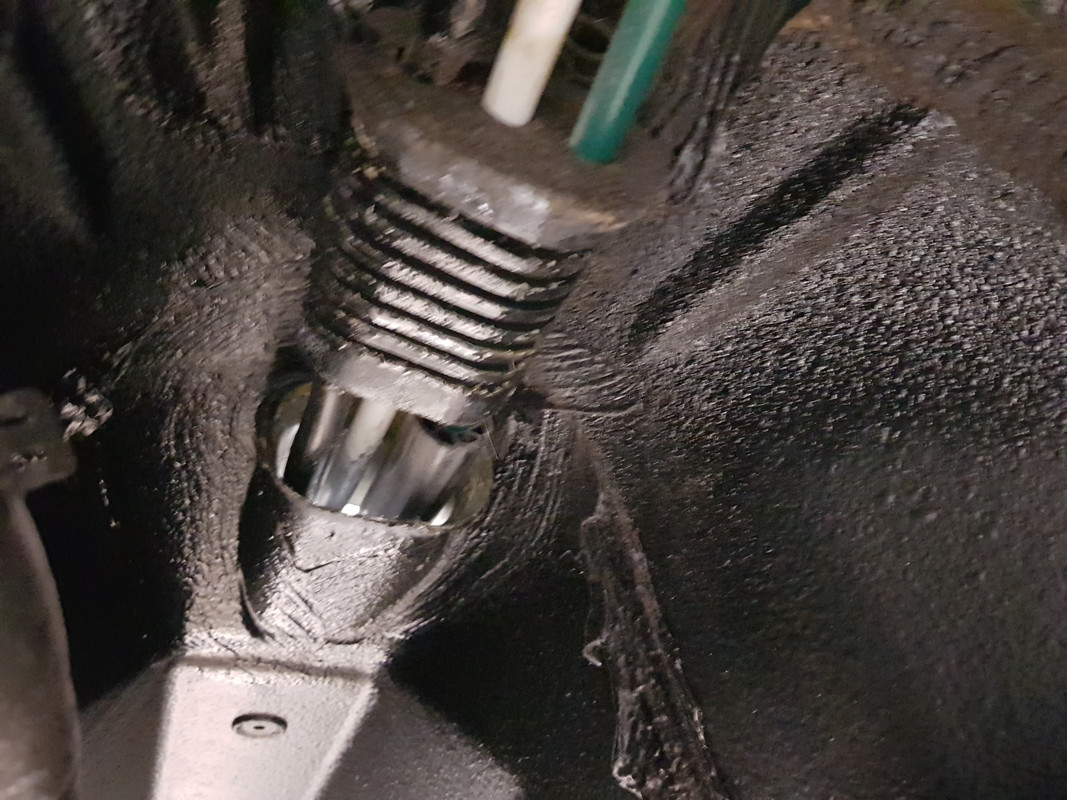
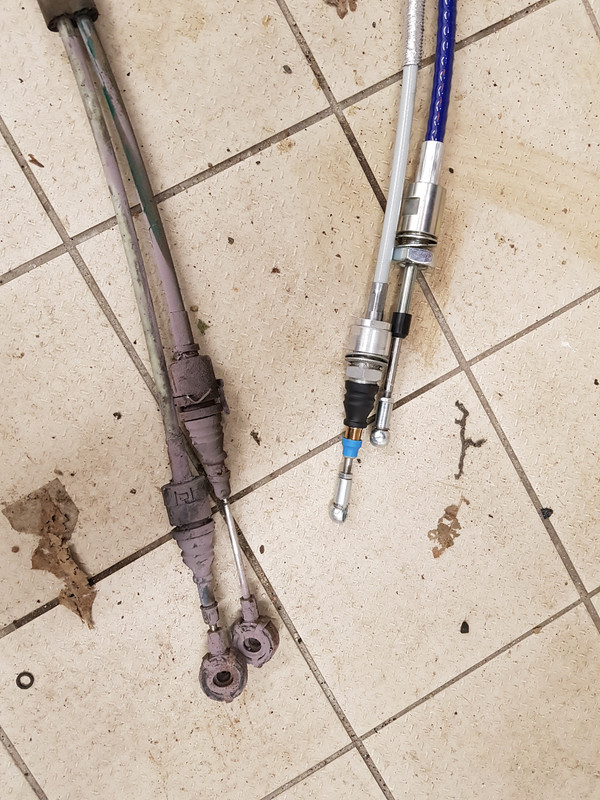
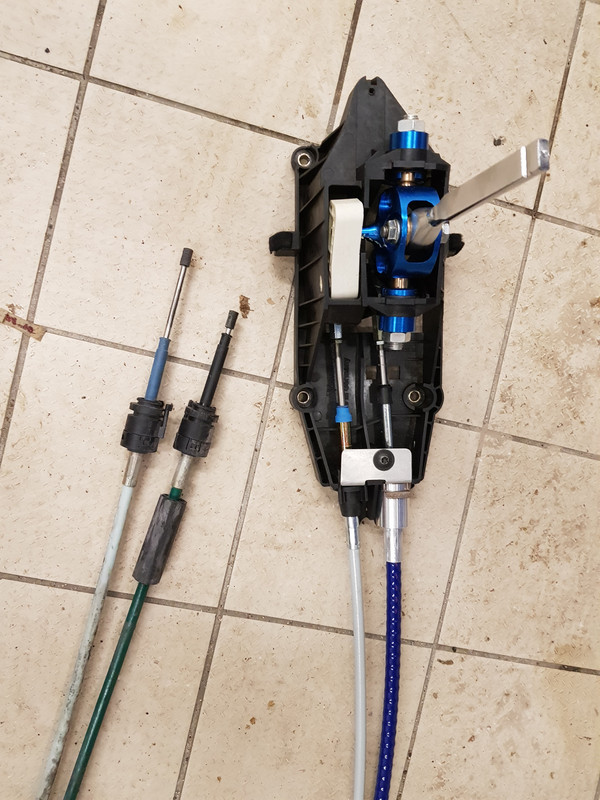
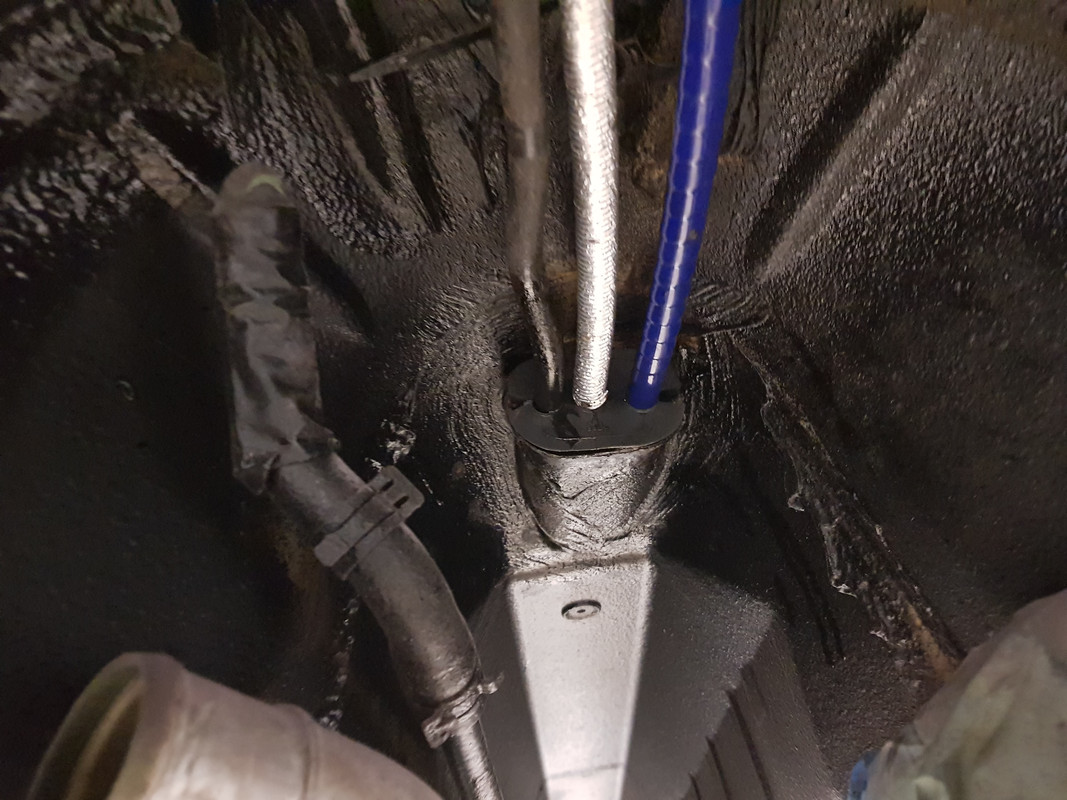
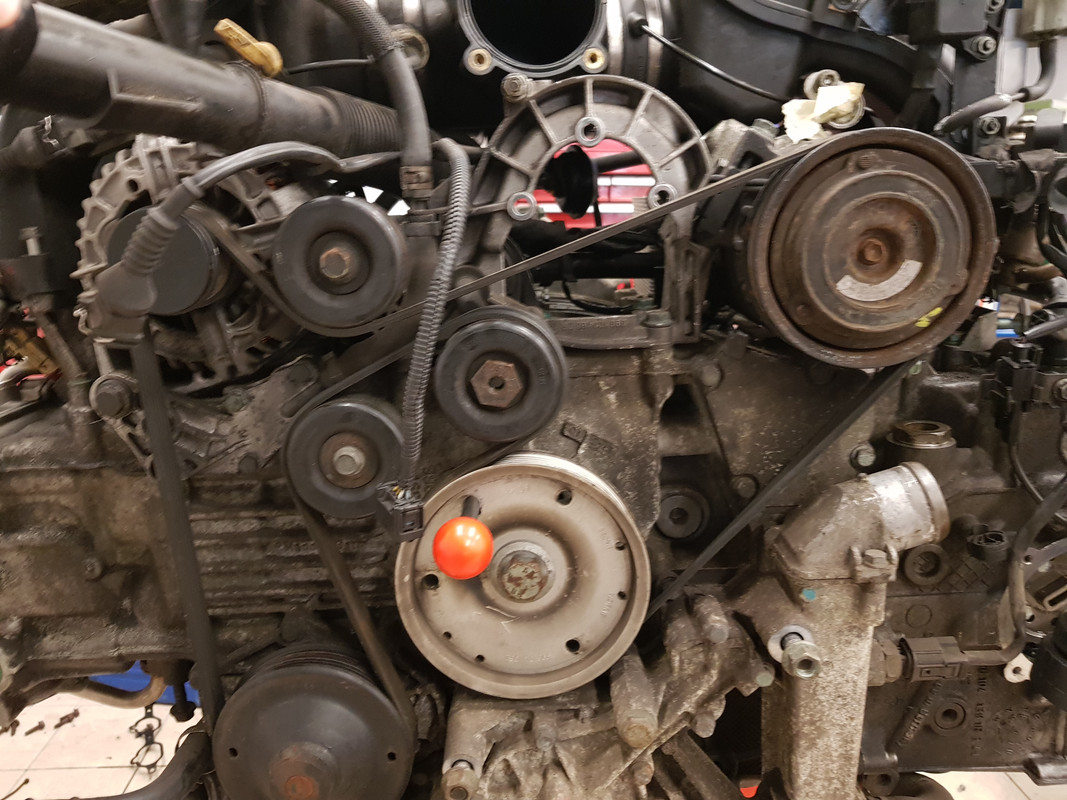
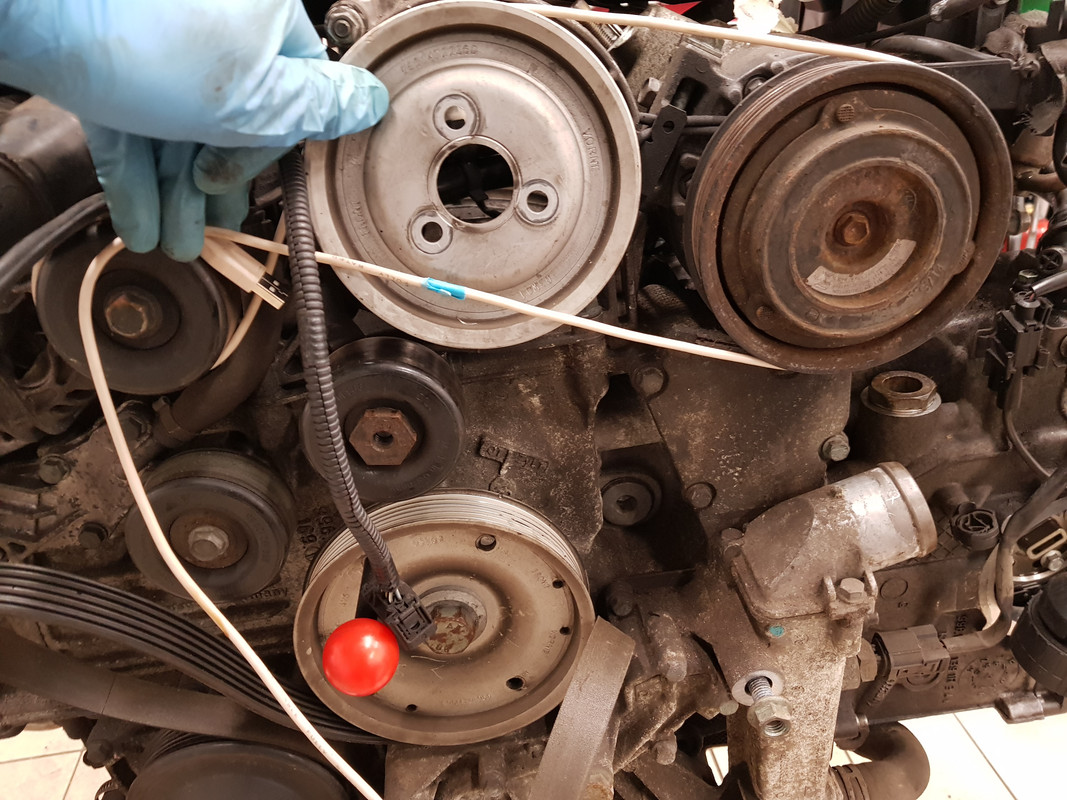
One of the jobs I have done over the last month or two was removing and refitting one of the heads, here is a guide as to what was involved.


MC
 
Brilliant, thanks!
 
One of the bolts which holds the heat shields on has a stripped thread, so that was tapped out to the next size up to fit a bigger bolt. I tried to use a helicoil but the thread was so messed up that I just couldn't get it to go in.


MC
 
Fitted and tested the towel rail, along with both coil covers after cleaning up, checking, and fitting coils. Getting towards the stage where I need to think what exhaust to run next. I have a full Top Gear system but wouldn't mind testing the manifolds on the dyno, so might refit the standard manifolds.


MC
 
Back in the garage after 11 months. Time to get stuck in to putting it back together.


MC
 
MisterCorn said:
Back in the garage after 11 months. Time to get stuck in to putting it back together.


MC

Oh God, I hope my daughter doesn`t see this picture of a pink 911 or I`ll be bankrupt in no time :D

It`s coming together now matey, great work as usual :thumb:
 
Both sills and areas around the inside of the rear arches have been injected with ML penetrating wax. It isn't easy to see where it has been applied by taking photos, but from what was coming out at the bottom of the sills I'm assuming that I have good coverage.


MC
 
I'm trying to do more on video, so I knocked up a quick video on where I'm up to with the project.


MC
 
Great Video, Great Detail and Great explanation of your project.

Thanks for sharing and inspiring to say the least :worship: :thumbs:

Please keep them coming and look forward to the next instalment.
 
Thanks for the kind words, you don't have to wait long :)

I am going to start putting the interior back together ready for getting the glass in. First job is to change the shift cables from the standard ones to the cup ones.

The shift tower is already out, so just need to undo and remove the handbrake assembly, 4 nuts holding it down and a pair of locking 13mm sockets for the adjustment and it lifts off.


The grommet then pushes out from inside, or pulls out from underneath. There were a couple of metal tabs on the inside which needed bending up slightly to get clearance for the plastic parts to fit through.


Old and new cables side by side. Note the metal fittings and thicker cables on the cup units.


Apply a bit of lubricant so it is less painful to insert, and push/pull the new cables in from underneath.


I then gave the inside a quick clean up with a damp cloth and vacuum cleaner ready for trial fitting of the main carpet section.


MC
 
Dropped the carpet in place, looks like it fits OK, the cutouts for the front bar are not in the right place as it is clearly different between the cage I have and the GT3 front cage. I need to take the front cage section out to get the dashboard to fit in.


MC
 
This could end up being the best 996 on the planet. Every morning I read your progress, and every morning I shake my head in amazement of what you're capable of. You are a ninja of many facets.
My only ninja skills are catching things that are falling and spotting pregnant women before they announce it to the world. And no it's not because I make them preggers before you all chime in. :grin:
Great stuff. This will end up in a magazine spread for sure.
 
TBH I think most people can do what I'm doing, if they were just daft enough to try it and had the patience to see it through. I don't have any specialist training in this, I'm an electronics engineer who just like messing about with cars.

This is the route the ancillary belt will be taking with the power steering pump removed.


It is very similar to the standard route, rather than measuring the entire belt I just measured the difference between the two paths with a trusty USB cable I found on my desk..


The difference is about 50mm. I'll see if I can get one the right length. The standard one fits but is a little loser than I would like. I believe that 2115mm is the original spec.

I managed to get the front cage out without smashing it in to the paintwork or causing other damage, so I can now drop the dashboard back in place ready for some screws.


MC
 

Forum statistics

Threads
124,555
Messages
1,441,479
Members
48,969
Latest member
Stulees65
Back
Top