

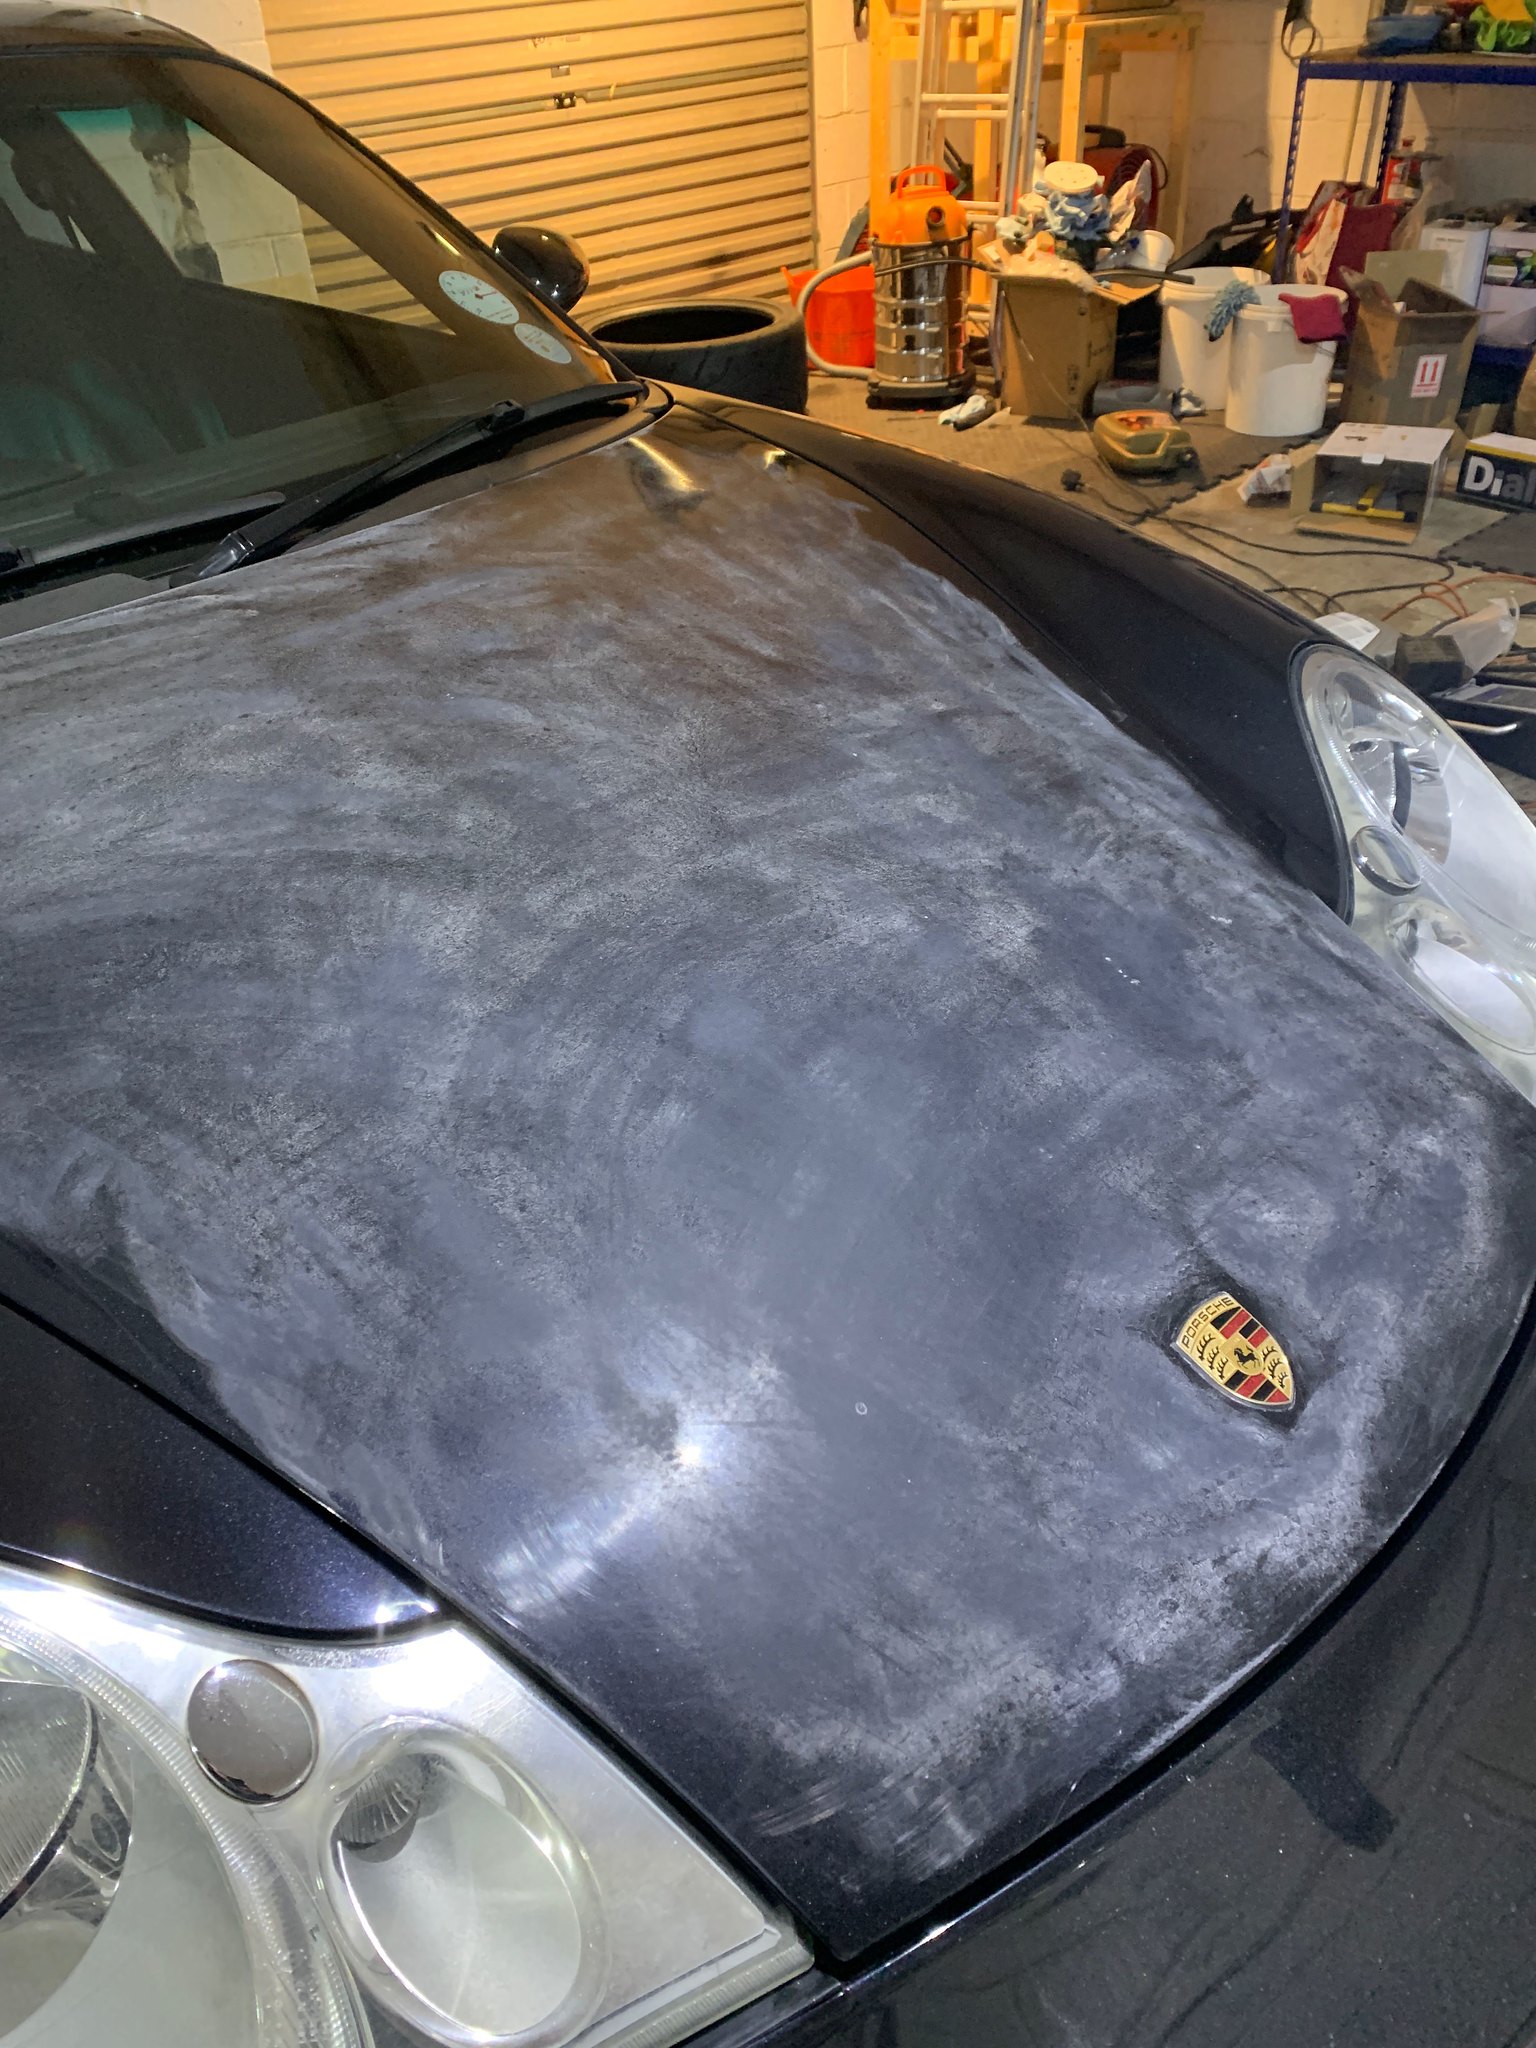
ha ha you wish that was all the muck under there to fall out. Not so. When we did ours , we estimated that we had removed over 2-3 stones of crap, dirt in weight. Everything that came off was allowed to drop onto the driveway , let dry and then brushed into a container and weighed .. its like putting your car on a crash diet but then weighing over 2 tons, I doubt that much weight loss will make a difference ")
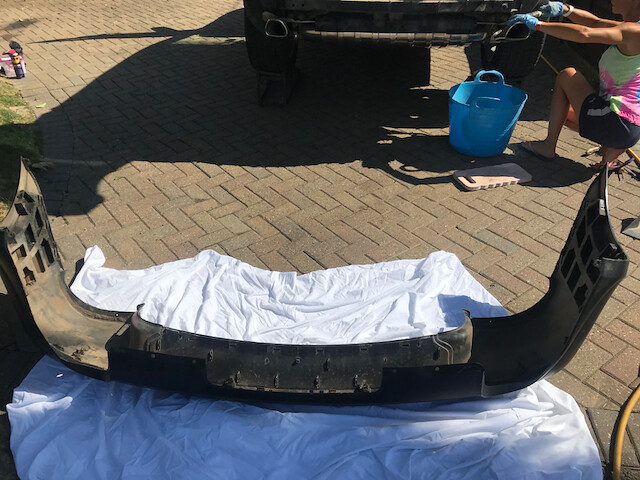
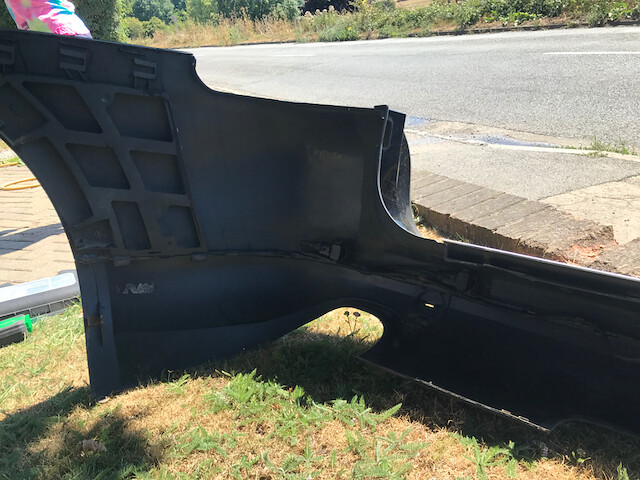
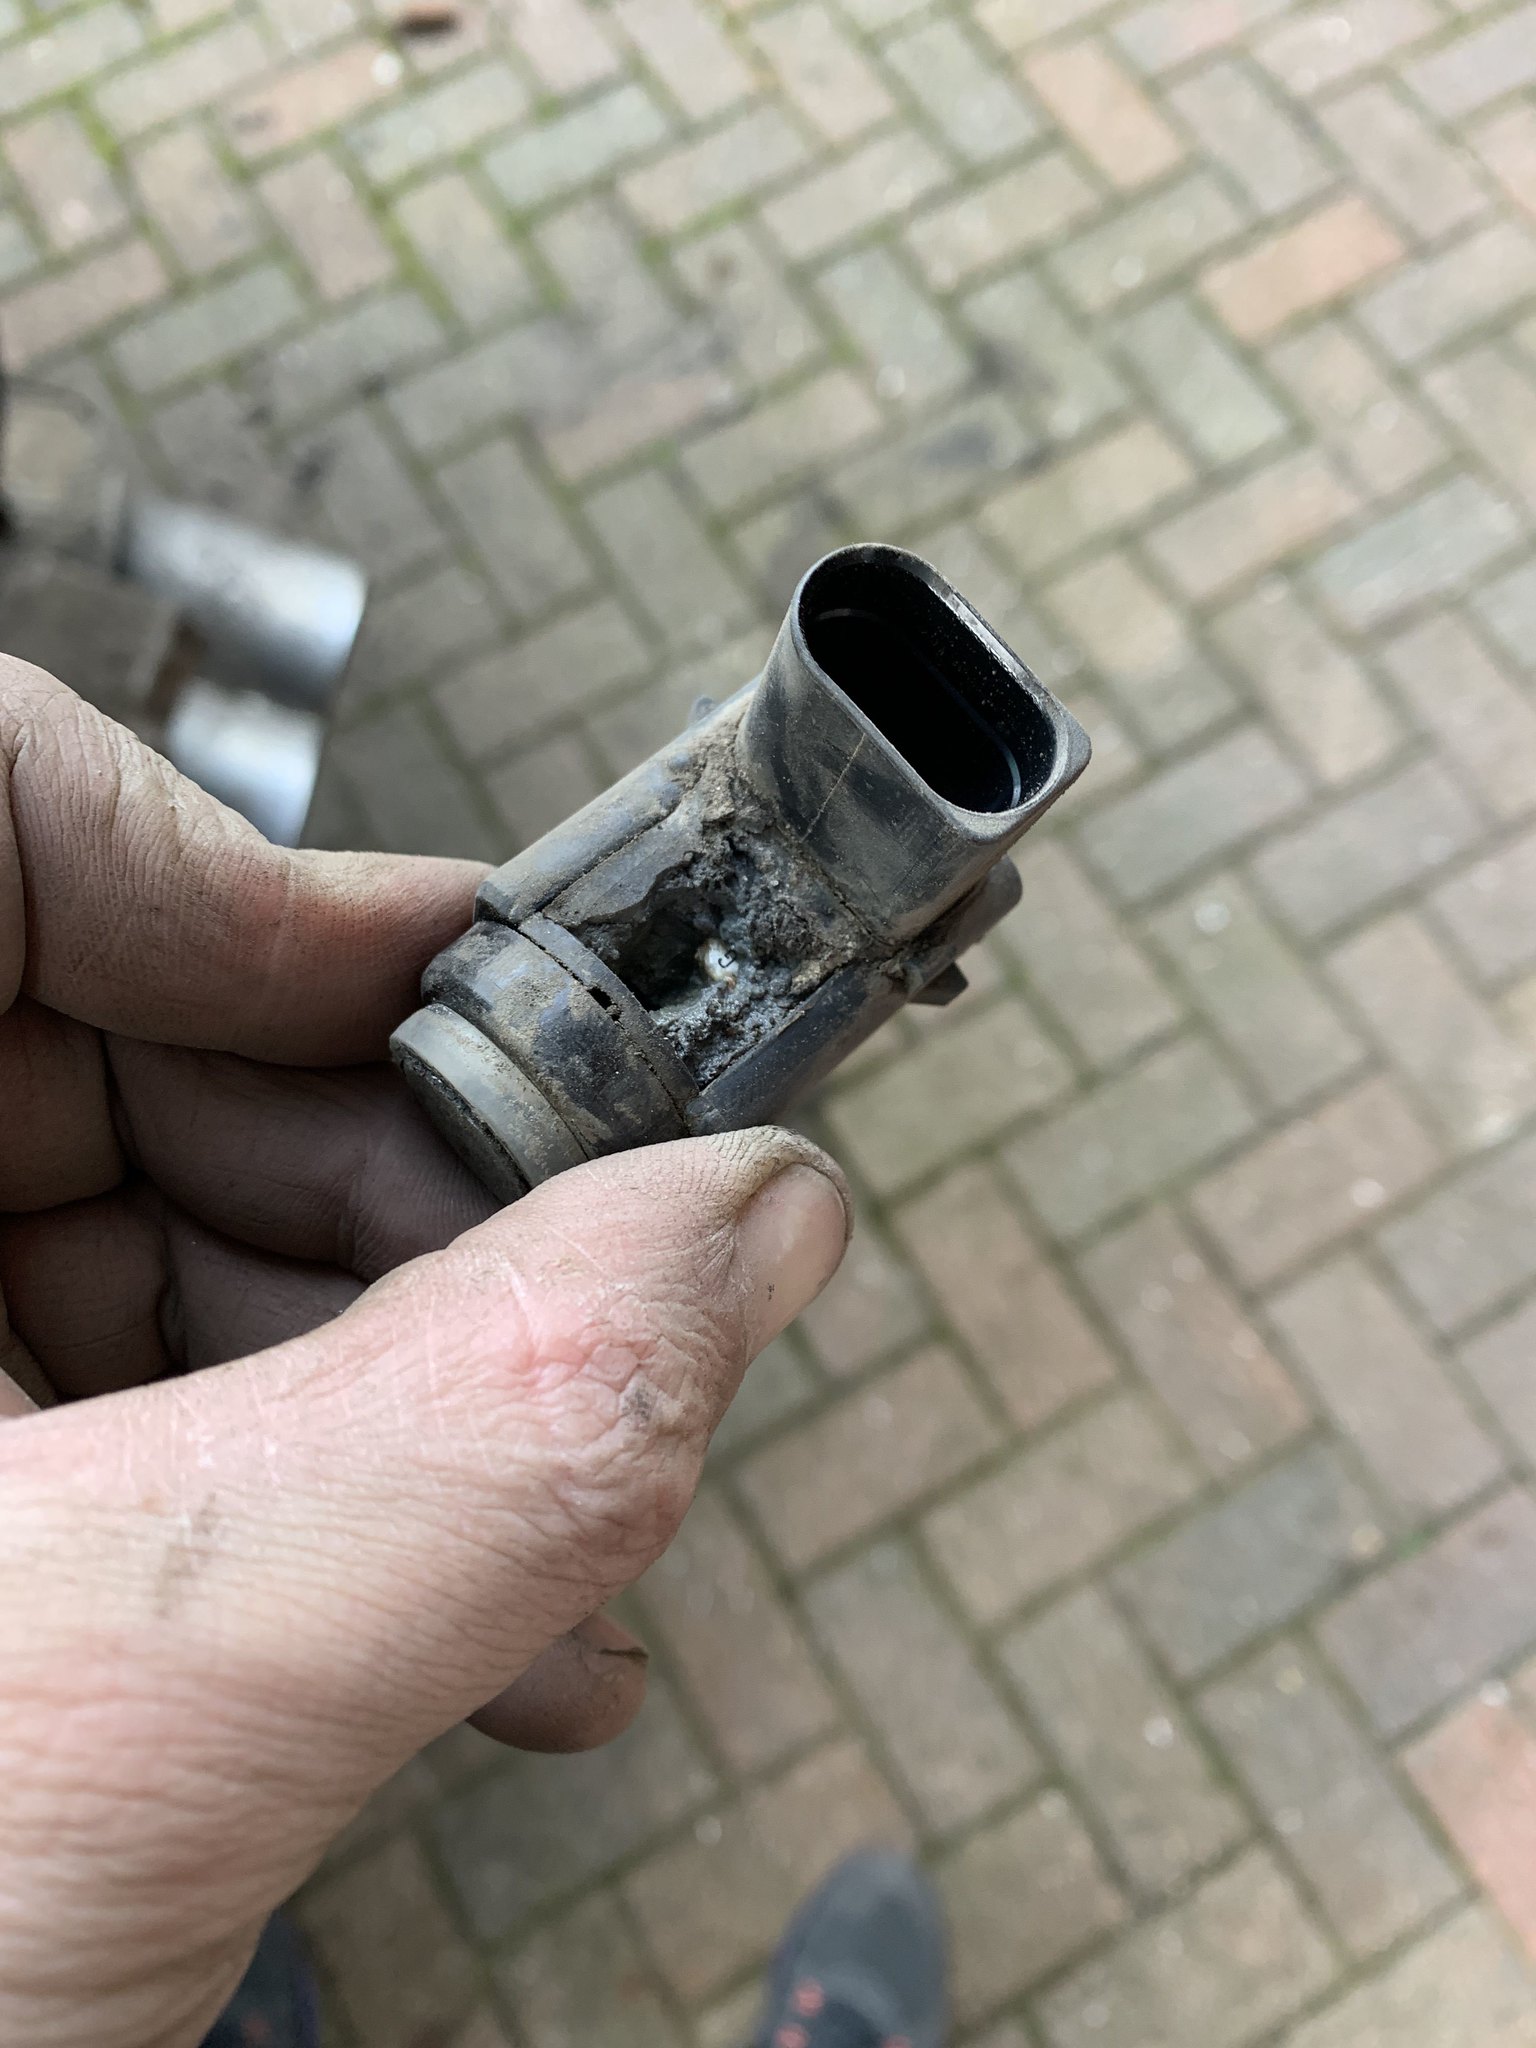
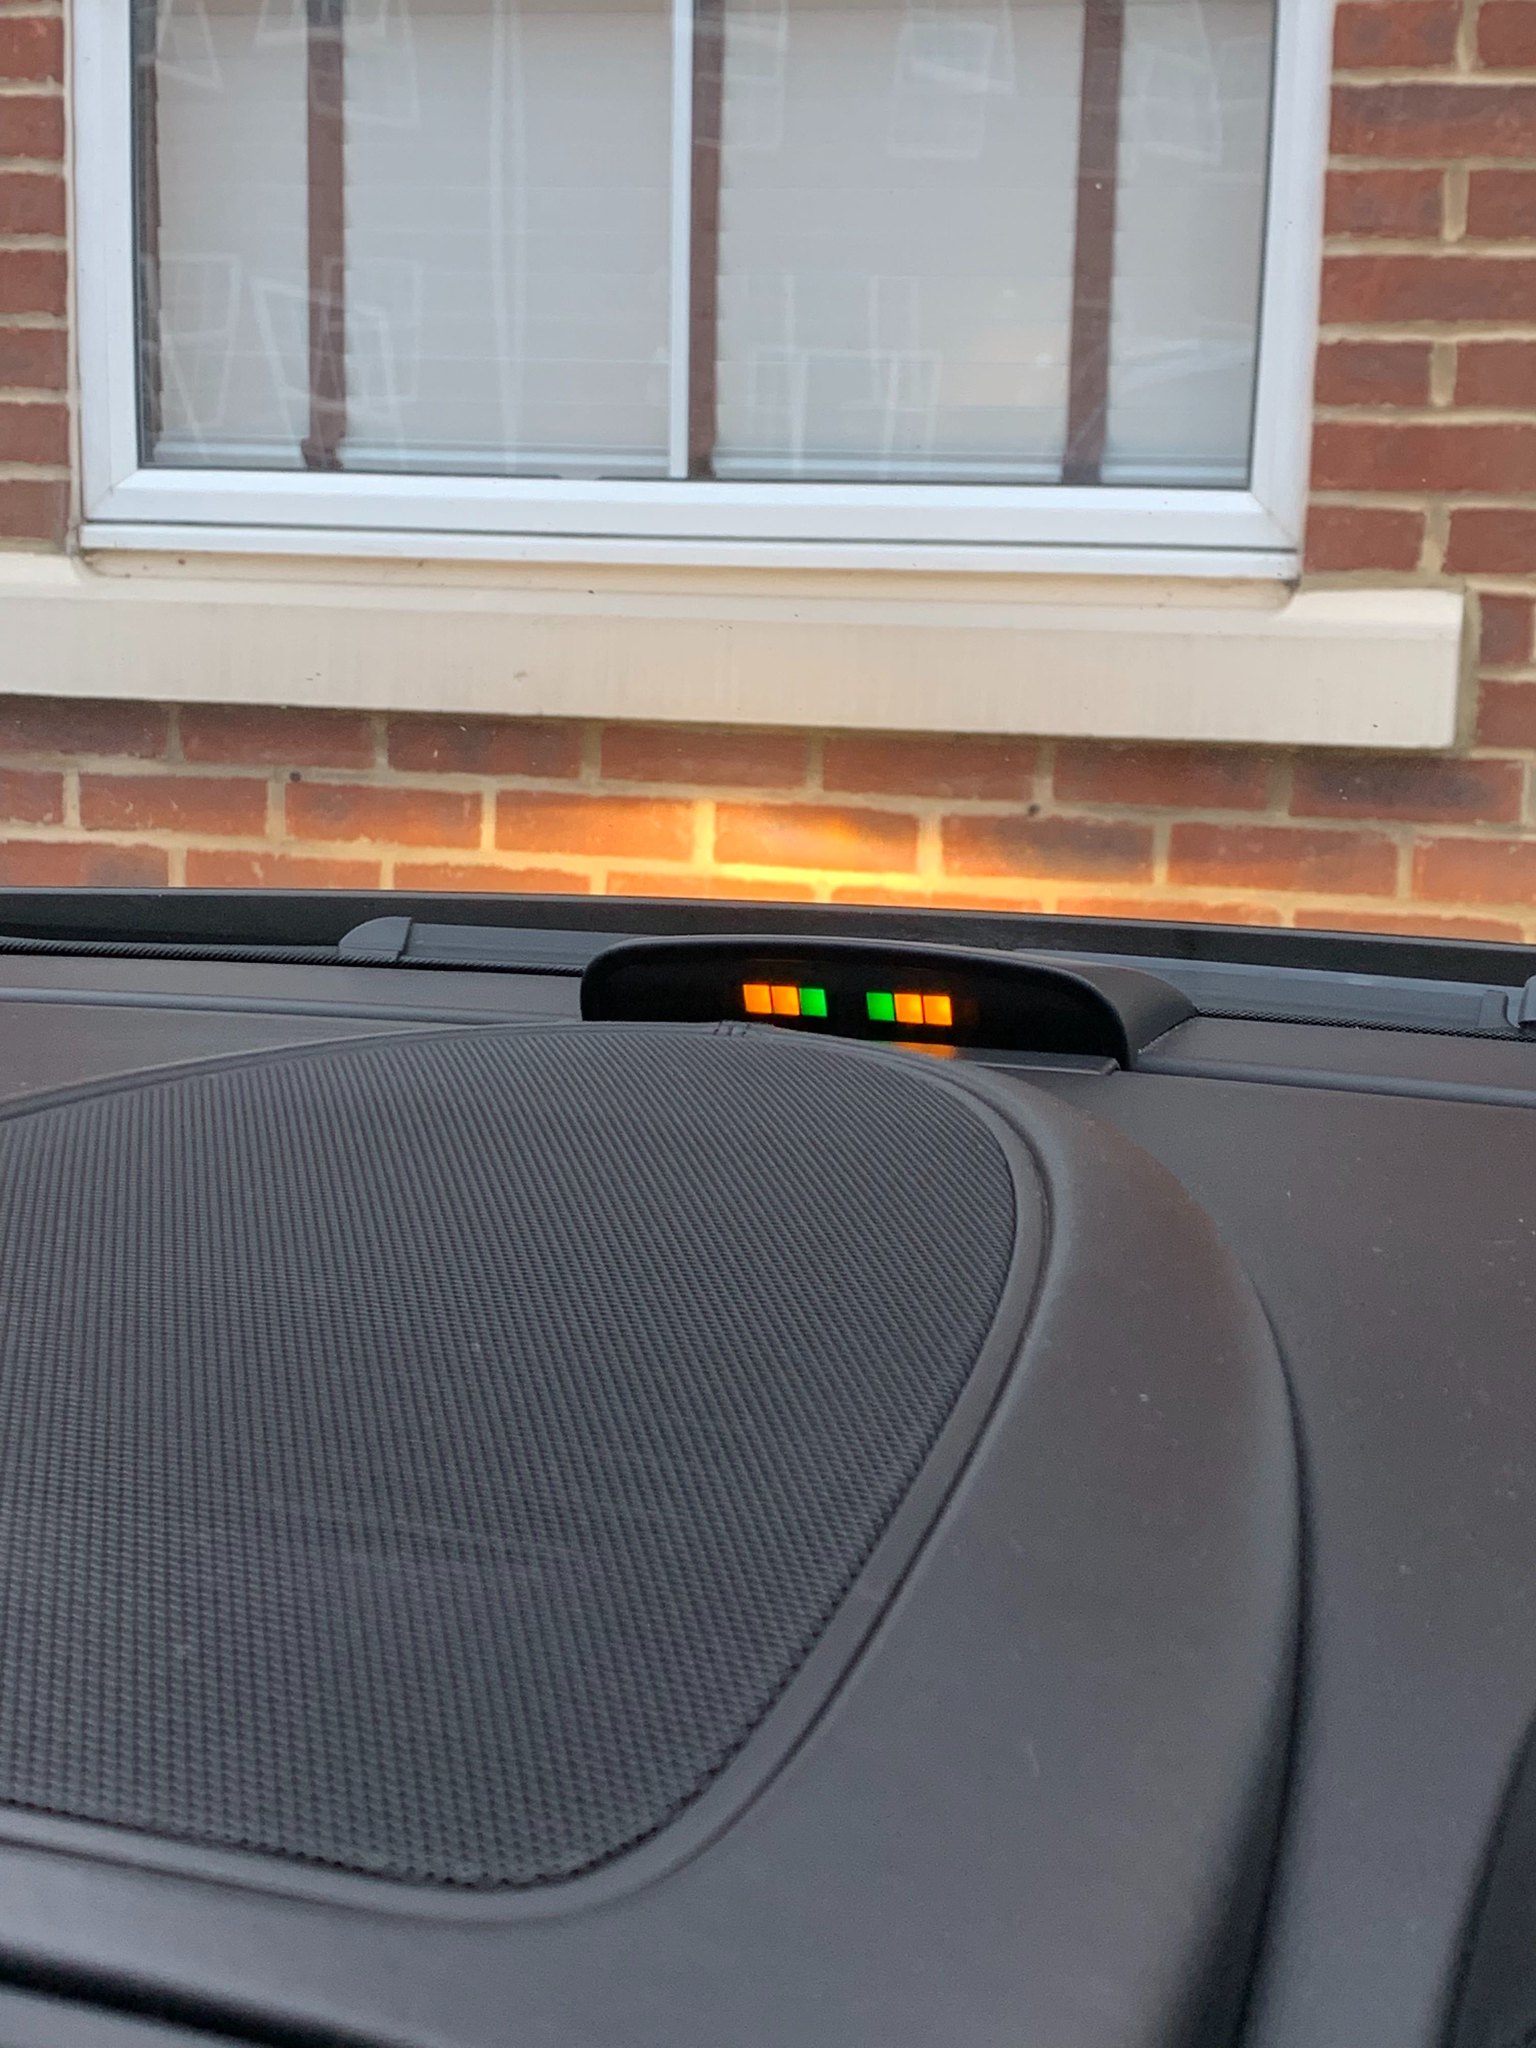
Where it really accumulates is in the wheel arches. Front wheel arch looking back to the sills and in the rear arch just about everywhere. When you do eventually take off the rear bumper you will find that there is a huge amount where the parking sensor loom sits. Its not a major deal to separate the loom from the rear bumper to clean, just take your time but I found it impossible to diagnose the wiring fault until it was clean
 IMG_2480 by Chris Dodsworth, on Flickr
 IMG_2486 by Chris Dodsworth, on Flickr
Where it really accumulates is in the wheel arches. Front wheel arch looking back to the sills and in the rear arch just about everywhere. When you do eventually take off the rear bumper you will find that there is a huge amount where the parking sensor loom sits. Its not a major deal to separate the loom from the rear bumper to clean, just take your time but I found it impossible to diagnose the wiring fault until it was clean
IMG_2480 by Chris Dodsworth, on FlickrIMG_2486 by Chris Dodsworth, on Flickr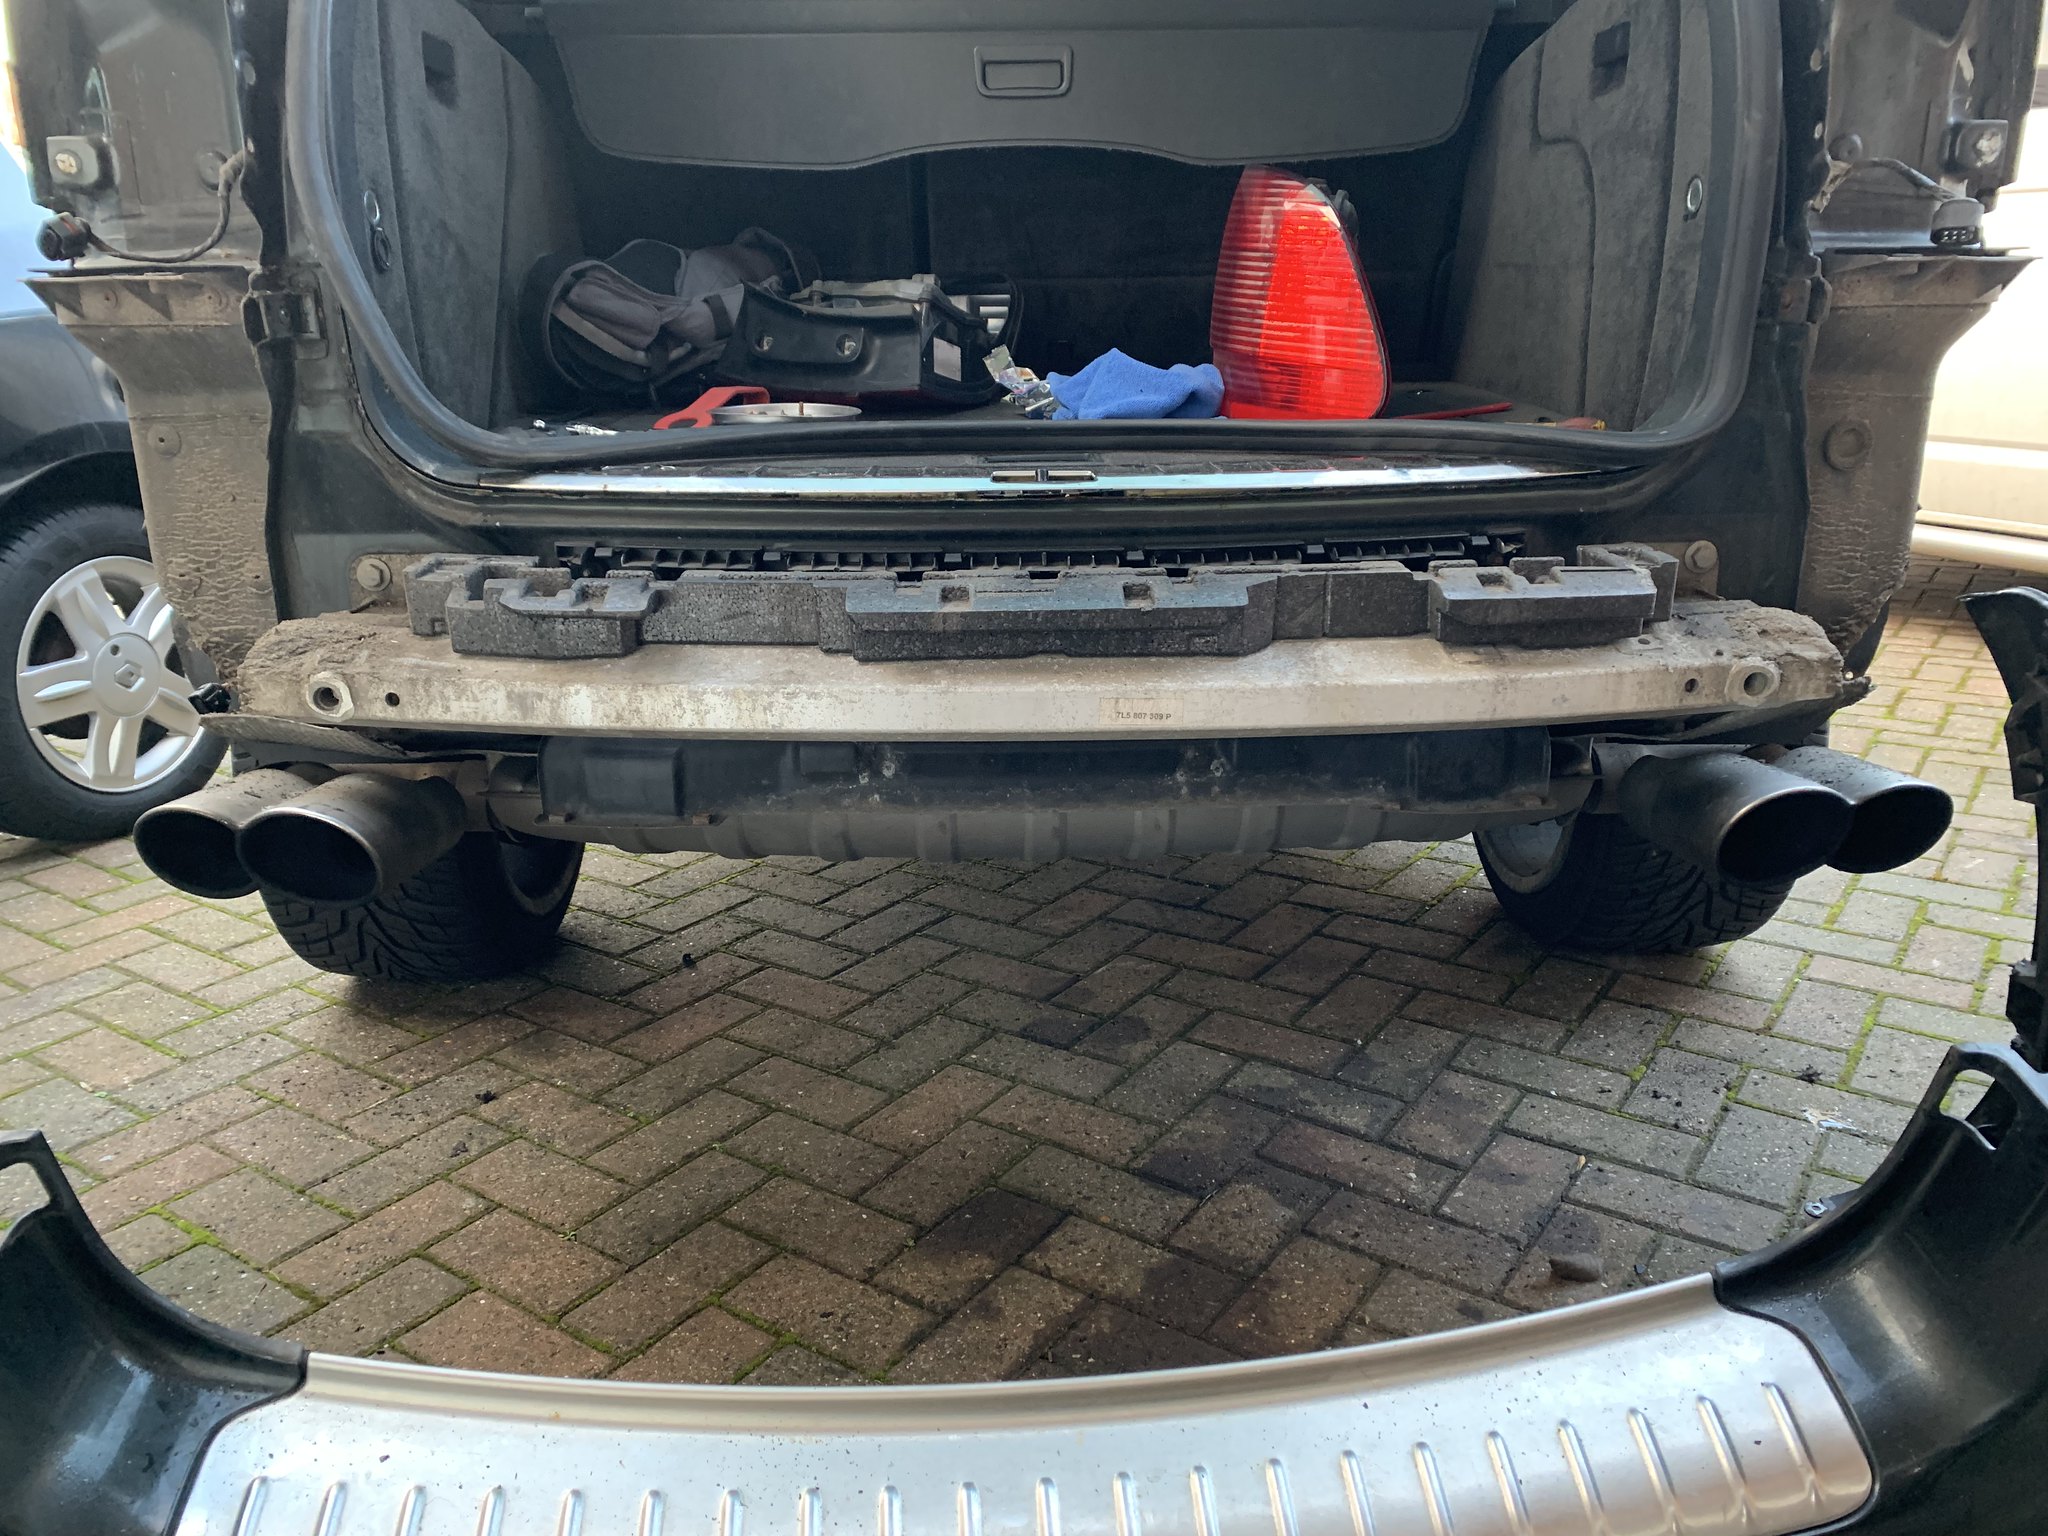


")


