Porsche 911 UK Enthusiasts Online Community Discussion Forum GB

Welcome to the @Porsche911UK website. Register a free account today to become a member! Sign up is quick and easy, then you can view, participate in topics and posts across the site that covers all things Porsche.

Already registered and looking to recovery your account, select 'login in' and then the 'forget your password' option.

2001 C4 project car

skinny_monkey said:
Wow you aren't mucking about!!
:D

Do, or do not. There is no mucking about.
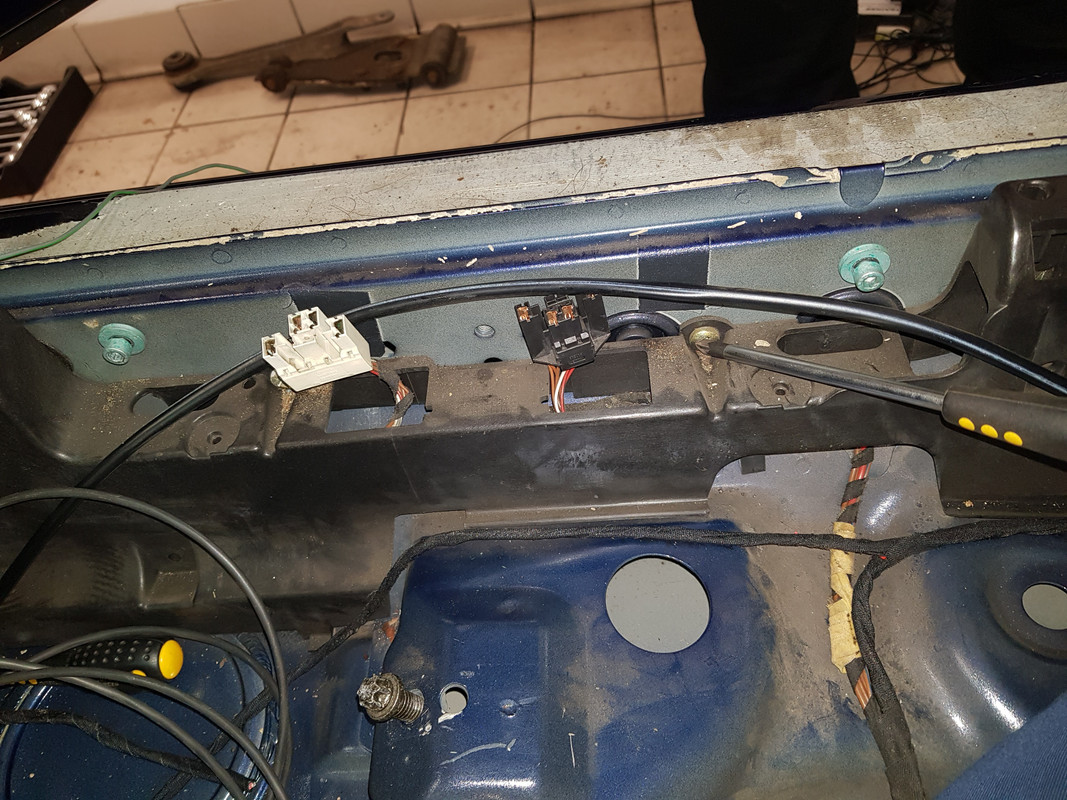
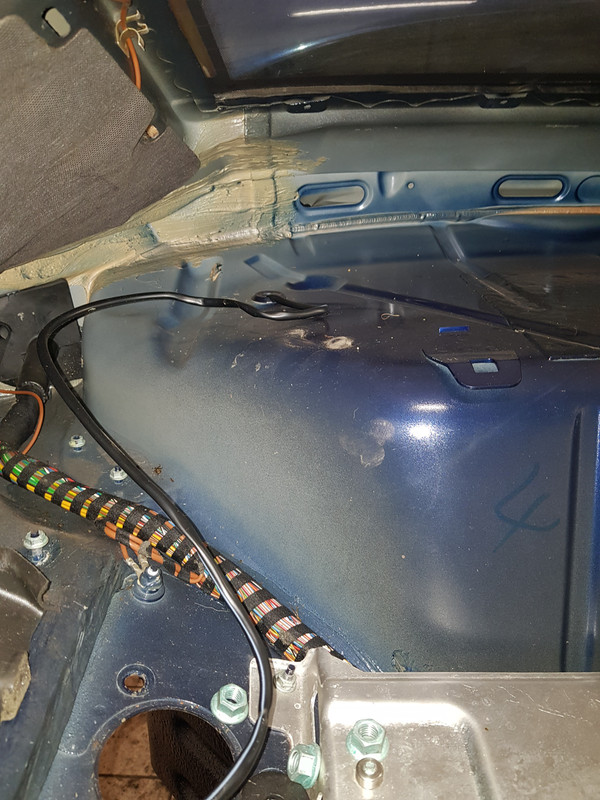
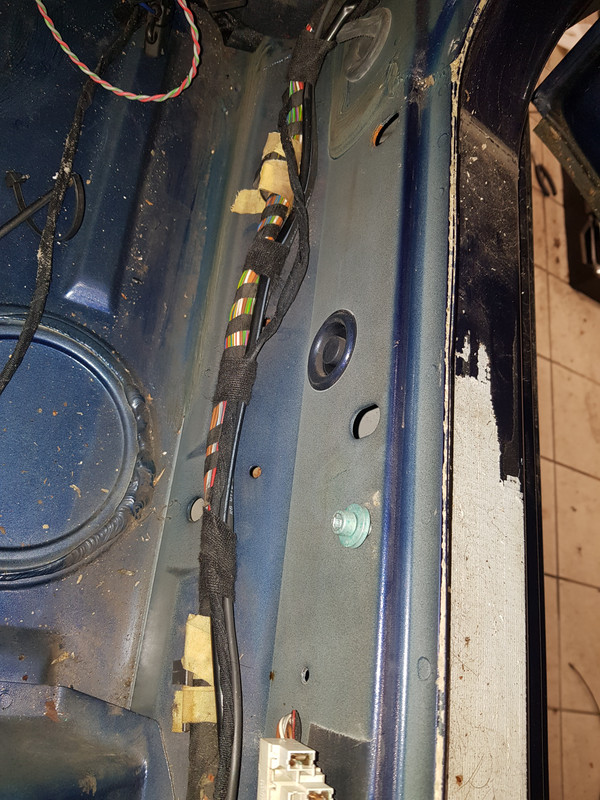
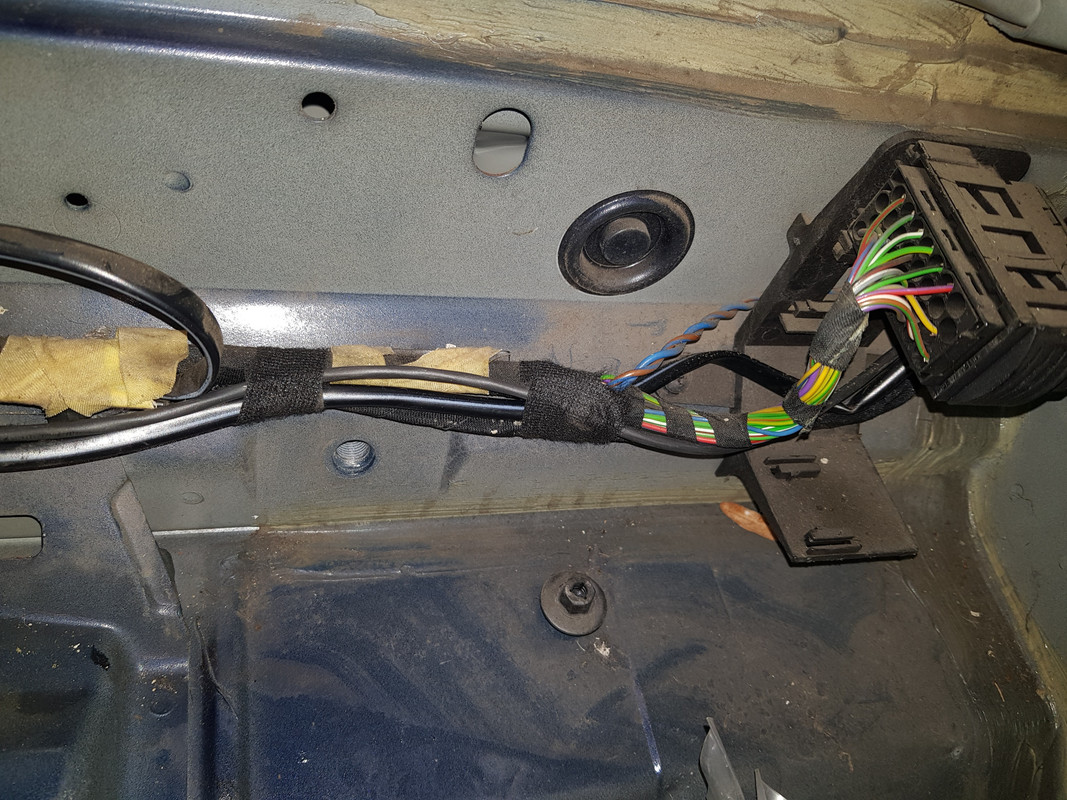
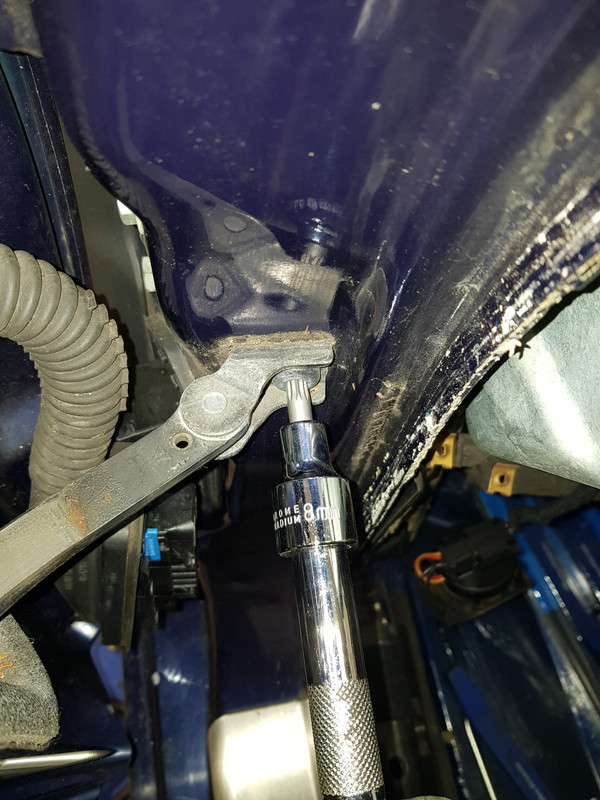
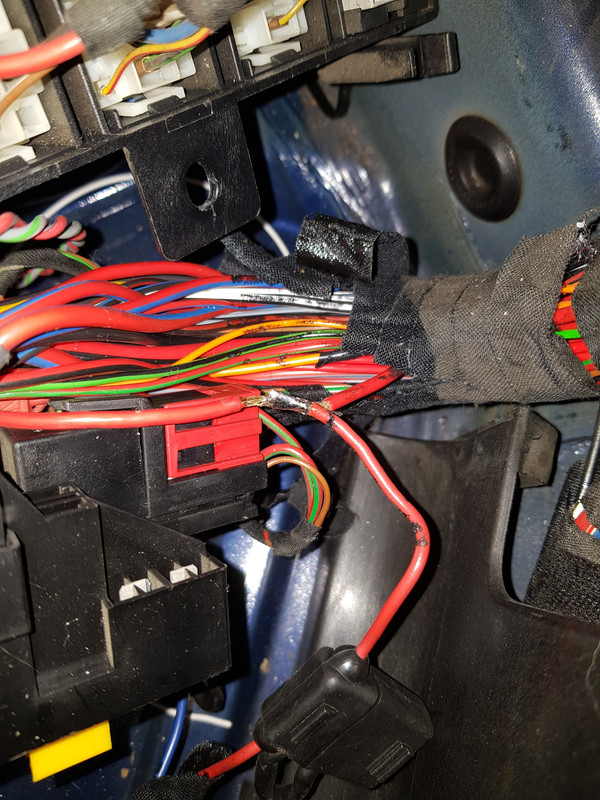
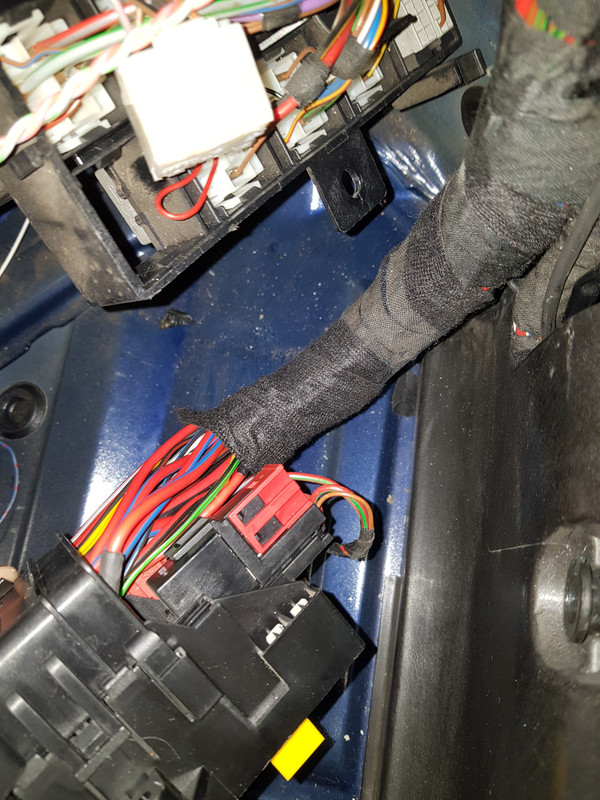
Seriously though, all that I have done is needed for the work involved. I want to retrim the dashboard so it needs to come out. I also want to do some wiring behind it. Now I know how easy it is to remove I would just do so for the wiring, previously I wouldn't have as I assumed it would be a massive and complicated job. On my C2 and turbo I have done jobs which knowing what I know now I would have removed the dashboard. These cars are very well designed; they come apart and go together easily.

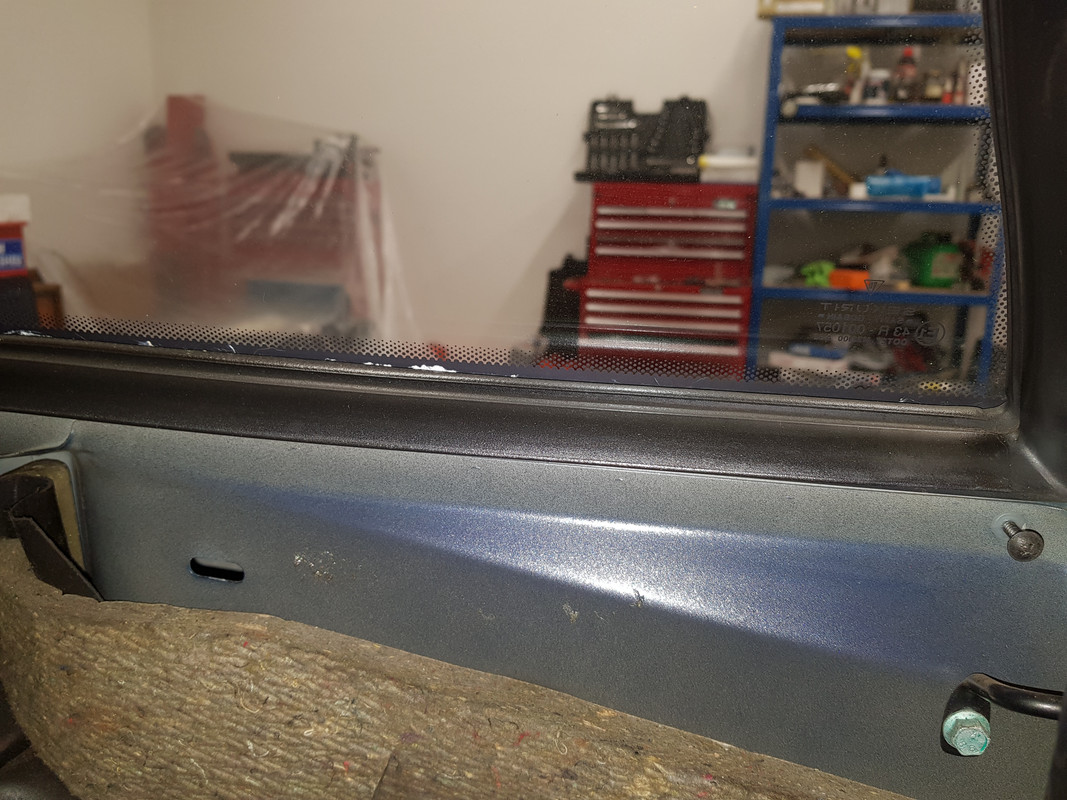
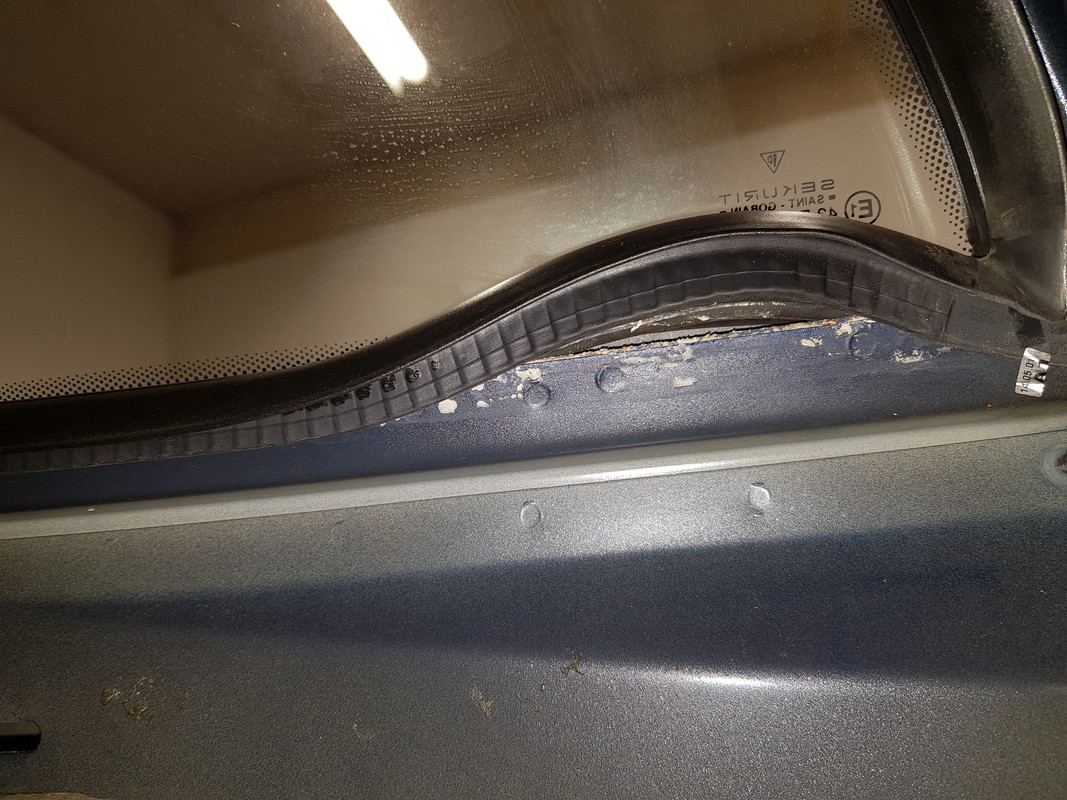
Despite the fact that the car looks like a wreck at the moment, for the first time today I feel that the end is in sight. My unknowns on the wiring are sorted from inspection of what is there and wiring diagrams. I know exactly what I am doing on the bodywork. The only unknown is sound deadening, but that isn't scary. The engine and gearbox will remain standard for now.

MC
 
Over 38k views Martin. :worship:
 
Some of the photos in this thread are just gold dust (even though one on this page turned my stomach the other day. I can't even bare to look at it again).

Epic thread and worth every one of those 38k views :thumbs:

Keep up the fantastic work!!

......and yes - these cars do come apart and go back together quite easy. Nicest car I've ever worked on.
 
7mm hubcentric spacers fitted and trial fit of the wheels. Certainly no clearance issues at the rear.


MC
 
Nice to see black bells :thumbs:
 
The car had previously had a PSE system installed, but the cable routing wasn't good, it just ran along the floor under the carpet and up to the rear parcel shelf area, then through a grommet above the engine. The correct routing is more down the side of the car. I have to run another cable there anyway so moved them both.
There is a plastic cover on side of the sill which is held in by two screws, a plastic washer, and a push in fitting. When these are removed it just pulls out.

Remove this nut


And these two screws.


Here you can see the cable going through the grommet in to the engine bay.


Cables neatly routed and tied up.


The cover is now back on.
The wiring from the relay carrier board up to the dashboard horseshoe has been passed up behind the dashboard and along the top with the other wiring.


The two relays for the radiator switch are in place, they are the one with the two holes in the top and the one to the left of it.


Just a few wires to tidy up around the back.


I haven't refitted the PSE relay yet as I have to add in the extra two contact to the switch, these are the two which can be seen twisted together.

MC
 
Horseshoe wiring complete, it might not look like much but this took around 1.5 hours with figuring out exactly which wire goes where and making all of the joints.


MC
 
Doors have been removed, I should have done this earlier as it makes access easier.

Undo the T20 screw at the bottom of the electrical connector, then lift the connector up slightly and pull it out of the door frame. Push downwards on the latch at the bottom to release the connector.


Unscrew the door stop strap, unusually this uses an 8mm spline bit.


Then undo the two nuts at the bottoms of the hinges. There are torx bits in the tops of the hinges to stop the hinges rotating, these are super tight to get in to and Porsche have a special tool for it. Fortunately I didn't need it. I expect I will when they are greased before they go back on. 8mm spanner for these.


Then lift the doors off.

I will be stripping the doors when I'm at home over Christmas, should keep me out of mischief. I am replacing them with fibreglass ones but will have these sprayed up as at the same time so that if I ever want to change back I can do very easily. It only takes 5 minutes to take the door off.

MC
 
Hi Martin
What's the end goal with this project? Is it a road or track car when you finish?
 
Cunno said:
Hi Martin
What's the end goal with this project? Is it a road or track car when you finish?

It will be a fast road car which can be used on the track. Hence the options on front cage / door bars and doors. There will be engine and gearbox work done in the future, but first I'm doing the suspension/brakes/interior/bodywork/cooling.

It certainly won't be for long journeys....
Mostly though, it is an excuse to have a really good mess around with a car in the garage and make something unique.

MC
 
Some wiring had been added in previously for a hands-free kit, so this has been removed and tidied up:


I also bought a scruffy secondhand handbrake so that I can have one fitted and working for when I have to move the car to the bodyshop. It isn't properly adjusted, but it is working.


MC
 
Power wiring for the old tracker removed and tidied up.


MC
 
Side windows removed.
After removing the interior trim, remove the inner rubber seal by pushing it up and out.


Undo the single bolt at the back.


Then undo the two front nuts, top and bottom here, whilst holding the centre adjusters still.


Lift the glass out from the outside.


There is a strip which is rivetted in all the way along the bottom and around the top edge, this will be removed soon.

MC
 

New Threads

Forum statistics

Threads
124,563
Messages
1,441,544
Members
48,979
Latest member
Lb456
Back
Top