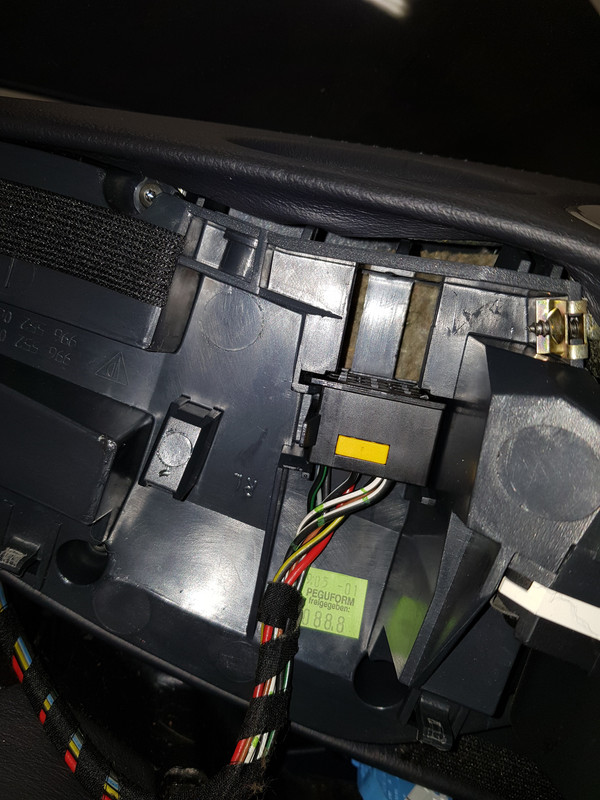
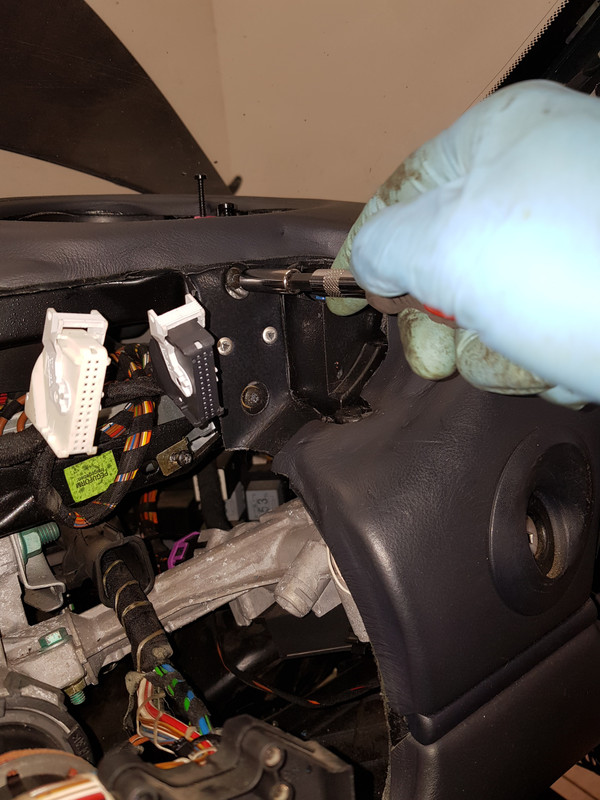
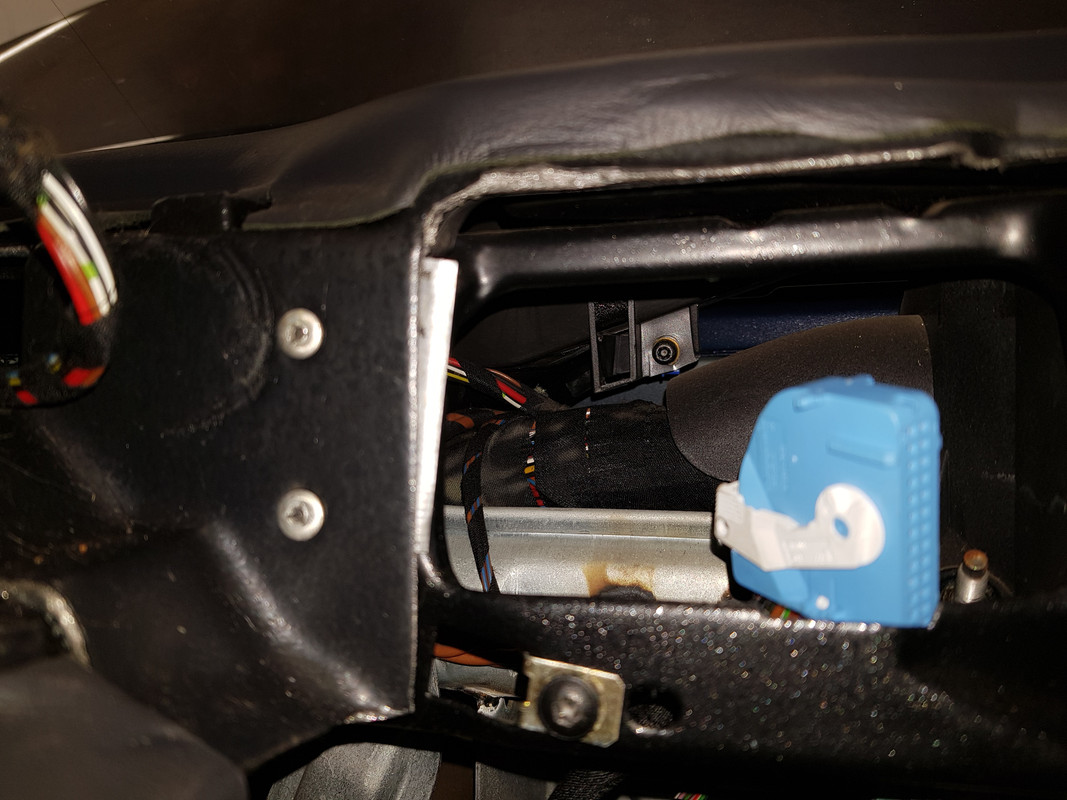
Porsche 911 UK Enthusiasts Online Community Discussion Forum GB

Welcome to the @Porsche911UK website. Register a free account today to become a member! Sign up is quick and easy, then you can view, participate in topics and posts across the site that covers all things Porsche.

Already registered and looking to recovery your account, select 'login in' and then the 'forget your password' option.

2001 C4 project car

MisterCorn said:
Front seat belts were removed by undoing the 17mm bolts and taking them out. I'm in two minds as to whether or not to refit them since I will have a harness fitted. Opinions welcomed.

MC

In my experience of harnesses in a TVR I'd keep the belts as well. Harnesses have to be properly adjusted to work, which means checking and potentially adjusting if you wear different clothes, move the seat or obviously switch driver (or passenger if you have a passenger harness).

They're a lot more hassle to secure than a seat belt, which doesn't matter if you're on a long journey or a track but becomes a pain if you 'pop to the shops". They're also more restrictive, so looking over your shoulder when reversing etc is more difficult.

I'd go further actually and suggest that for a road car they're best fitted with quick release fittings and eye bolts. In my experience you'll hardly ever use them on the road. I can't remember the legality but removing them avoids questions at MOT too.

Having said all that, they're great when they're properly installed and fitted and before the novelty wears off!
 
I have full harnesses in my Westfield and that is OK, but then it is never used to just pop to the shops. I'll probably leave them in, it saves thinking about what to fill the holes with.

Speakers are removed by undoing the two screws, lifting out, then taking the connector off the back. These will be upgraded before replacing.


To remove the instrument cluster press the hazard switch so that it sticks out, then use a couple of small screwdrivers on the sides to prize it off. Two clips then hold the base in place. Pull the switch out with a pair of pliers. When I did this the switch and surround came out together.


Remove the microphone cover and then undo the screw behind this and the one near the hazard switch.


Lift off the instruments and remove the three connectors from the back.


Also unclip and remove the hazard light switch base.


To remove the side vents, remove the cover at the front to reveal a screw. Undo this screw along with the other two on the side and then pull it out.


Release the clips and push back on the temperature sensor to remove that from the dashboard.


The other side is similar expect that the switch for the headlights needs to be removed. Pull it out then use a small screwdriver to push in the release clip at the bottom.


MC
 
I managed to sneak in to the garage this morning to do a bit more.
Remove the steering wheel and airbag, then unscrew and remove the top and bottom column covers.


Unscrew and remove the contact ring, being careful to make sure that it doesn't rotate. Don't move the steering when this is off.


Mark the location for the depth of the switches on the column, then undo the 8mm bolt underneath and slide them off.


Remove the two screws which hold the cover on underneath the instruments and remove it.


Moving on the horseshoe. Lever off the two side panels and remove the electrical connections.


Then remove the surround on the front of the AC controls, remove the 4 screws to get the unit out and remove the electrical connections.


MC
 
Like lots of others, I'm really enjoying this thread, I'm sure it will be useful for years to come.

I'm particularly impressed by your photos, all sharp and well lit, I've taken photos along the way and I know it's not always easy. Do you use a flash? I've had trouble with reflections when I try that.
 
maldren said:
Like lots of others, I'm really enjoying this thread, I'm sure it will be useful for years to come.

I'm particularly impressed by your photos, all sharp and well lit, I've taken photos along the way and I know it's not always easy. Do you use a flash? I've had trouble with reflections when I try that.

Thanks, the garage is pretty well lit, but I do use flash a lot. Just have to be careful with the angles. Currently using a Samsung Note 8.

MC
 
Good pics and you've just reminded me I need to find and fit the 997 cigarette lighter I have somewhere, before my road trip next year. :thumb:

Definitely leave the seat belts in alongside the harnesses. Harnesses are a faff for the road and make the driver look a bit silly. :grin:
Unless you're having a cage with front section, then you'll want harnesses and helmet on all the time so you don't crack your head on the cage if you roll, as alluded to earlier. :wink:

Another thing about harnesses when not in use, is that whenever you brake hard the shoulder straps swing forward and smack the back of your seats. Worth remembering if you fit nice seats and don't want them chipped.
You'll have to put some Porsche socks on the harness buckles. :grin:
 
Chief said:
Martin, this is looking so impressive. I wish I possessed just some of your wiring skills :bandit: I'm fretting over fitting heated seats and a decent stereo and there's you going all NASA :oops:
Never mind group buy's. we need to do a group visit and guided tour 8)
1. Chief
2. Kurly Kris
3. Peter S
4. Waz
5.

I`m up for that Chief, we need a Midlands gathering before Happy New Socks day, might as well have MC make the tea :grin:

oh, and I`ll give you a hand with any wiring/electrical shenanigans on Project Blue Book, I was a sparky in a former life :thumbs:

Great work Martin, as always, brilliant thread too, I always forget to take photos when doing anything :grin:
 
We have two kettles at the office. We can do about 10 cups of tea at a time. You will probably get a Race Technology mug as well.
It would be nice to arrange a get together before Christmas. Who wants to arrange it??
As for the photos, a part of it is so I can see how to screw it back together. Sometimes I look at the mess I have made with parts of car all over the place and wonder if I can ever put it back together again!

MC
 
MisterCorn said:
We have two kettles at the office. We can do about 10 cups of tea at a time. You will probably get a Race Technology mug as well.
It would be nice to arrange a get together before Christmas. Who wants to arrange it??
As for the photos, a part of it is so I can see how to screw it back together. Sometimes I look at the mess I have made with parts of car all over the place and wonder if I can ever put it back together again!

MC

PeterS is the best organiser I know, he can actually organise complete chaos at the drop of a hat, I`ll give him a poke tomorrow :grin:
 
kurlykris said:
MisterCorn said:
We have two kettles at the office. We can do about 10 cups of tea at a time. You will probably get a Race Technology mug as well.
It would be nice to arrange a get together before Christmas. Who wants to arrange it??
As for the photos, a part of it is so I can see how to screw it back together. Sometimes I look at the mess I have made with parts of car all over the place and wonder if I can ever put it back together again!

MC

PeterS is the best organiser I know, he can actually organise complete chaos at the drop of a hat, I`ll give him a poke tomorrow :grin:

He'll only organise it to coincide with a PCGB meet :roll:
 
The stereo is removed using the two flat keys which go in to the slots at the bottom. I never seem to have much luck with these but I got it out. Then undo the four screws on the horseshoe and remove it.
At this point all of the dashboard parts are off and the main unit can be removed.

There are two bolts to be removed, accessible through the speaker grills, and a bunch of screws along the back, then two screws at the bottom edge near the front. I also removed the OBDII socket.


I also removed the air vent tubes on each side with the single screw to give better access.


There is also a screw holding the steering lock to the dashboard, this is a bit of a pain to get to.


There are two centre screws, one near the base of windscreen where the gps antenna fits, and one at the bottom.


The dashboard can then be lifted out with no force required. A bit of wiggling around will confirm if you have missed any screws.


From a quick look at the wiring I believe this to be a control box for the telephone which was fitted many years ago, so I think this can be removed with no issues.


MC
 
Mystery box is a tracker. I'm not impressed with the messy installation.


MC
 
The tracker and associated wiring has been removed.

Now that the dashboard is out I can get on with the wiring jobs, there are four jobs to finish.

Fit PSE wiring
Fit wiring for my third radiator flow controller
Add on external SD card reader for the CDR22
Fit tracker with inernal microphone and immobiliser

I had noticed that the car had previously had PSE exhausts fitted and that there was some wiring for this in place. Although there is non of the required hardware on the engine. I assume it was removed with a previous engine swap.

The PSE system fitted is the earlier one which is not switchable by the driver.

The wiring diagram for the new system is like this:


The part number for the relay on the early unit is 996.618.980.02 and on the later unit is 996.618.980.03. Inspection of the relay pinout shows that they are compatible, with two extra wires required to use the new one. One wire to the switch, and one to the switch indicator. So I just need to add on this section.


Before that I'll finish off the wiring for the front radiator controller. The wire was taped and tie-wrapped across the bulkhead with the existing wires and brake pipes, then through the outer bulkhead with the fluid feed for the clutch master cylinder and then in to the cabin through a hole drilled in the large grommet.


It was then relatively easy to route this through to the fuse box where it will be joined with the other wires.


MC
 

New Threads

Forum statistics

Threads
124,590
Messages
1,441,852
Members
49,021
Latest member
Camarocane
Back
Top