Porsche 911 UK Enthusiasts Online Community Discussion Forum GB

Welcome to the @Porsche911UK website. Register a free account today to become a member! Sign up is quick and easy, then you can view, participate in topics and posts across the site that covers all things Porsche.

Already registered and looking to recovery your account, select 'login in' and then the 'forget your password' option.

Marky's 996 ownership thread.

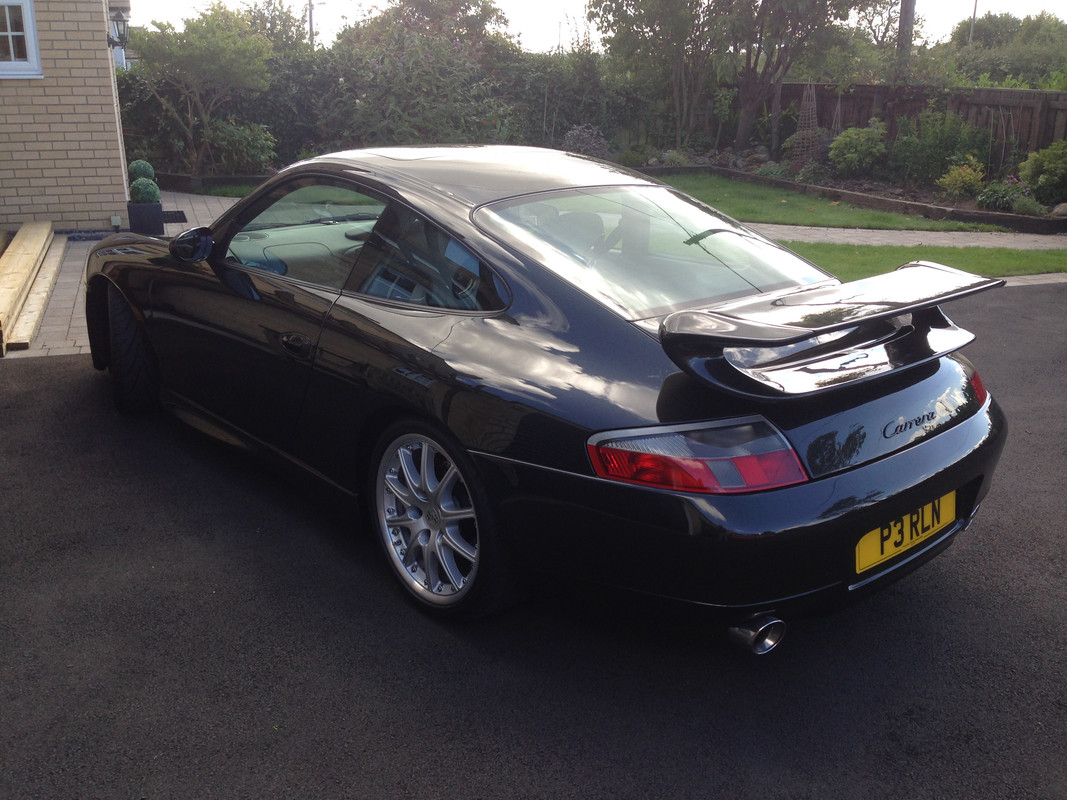
Got the car back today. The forecasted break in the rain came good although the car still got dirty on the drive home.
Damn you farmers and your harvest. Don't they know us townies want to move out here and have clean cars. :D

Am I happy? Yep pretty much.
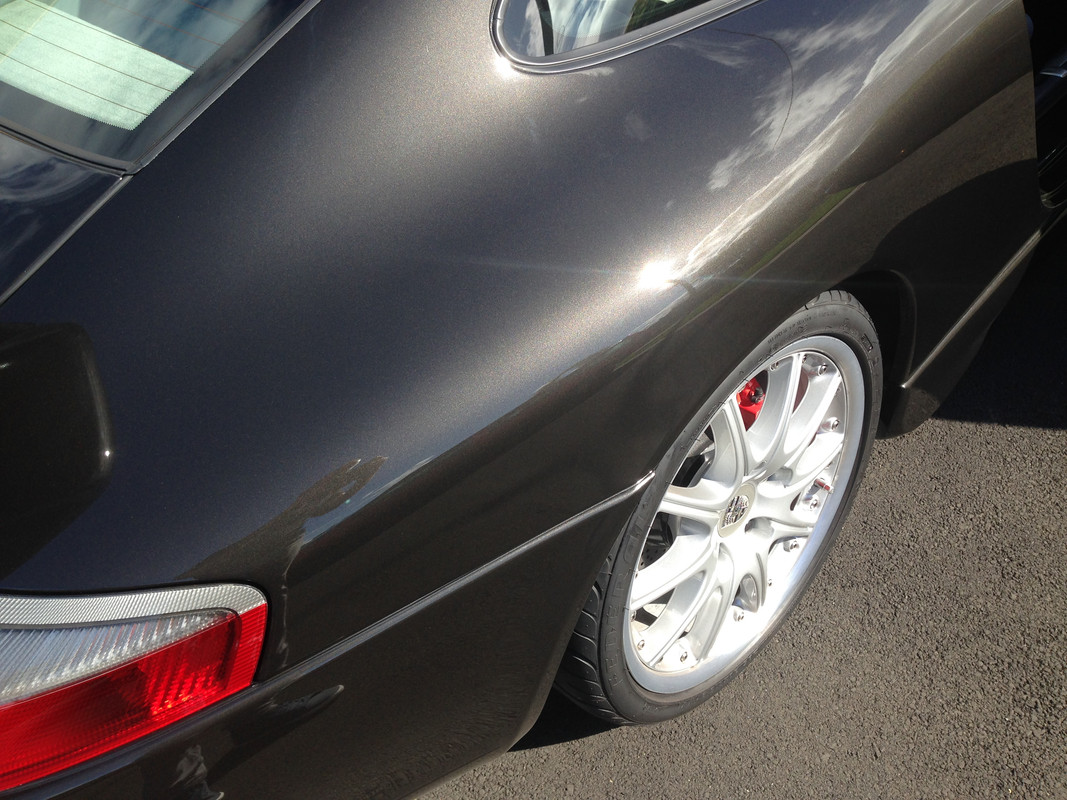
Detail has done its job but has highlighted a couple of things. The main one being scratches on the drivers wing, no doubt from the alignments I've been getting done.
Very very very annoying.

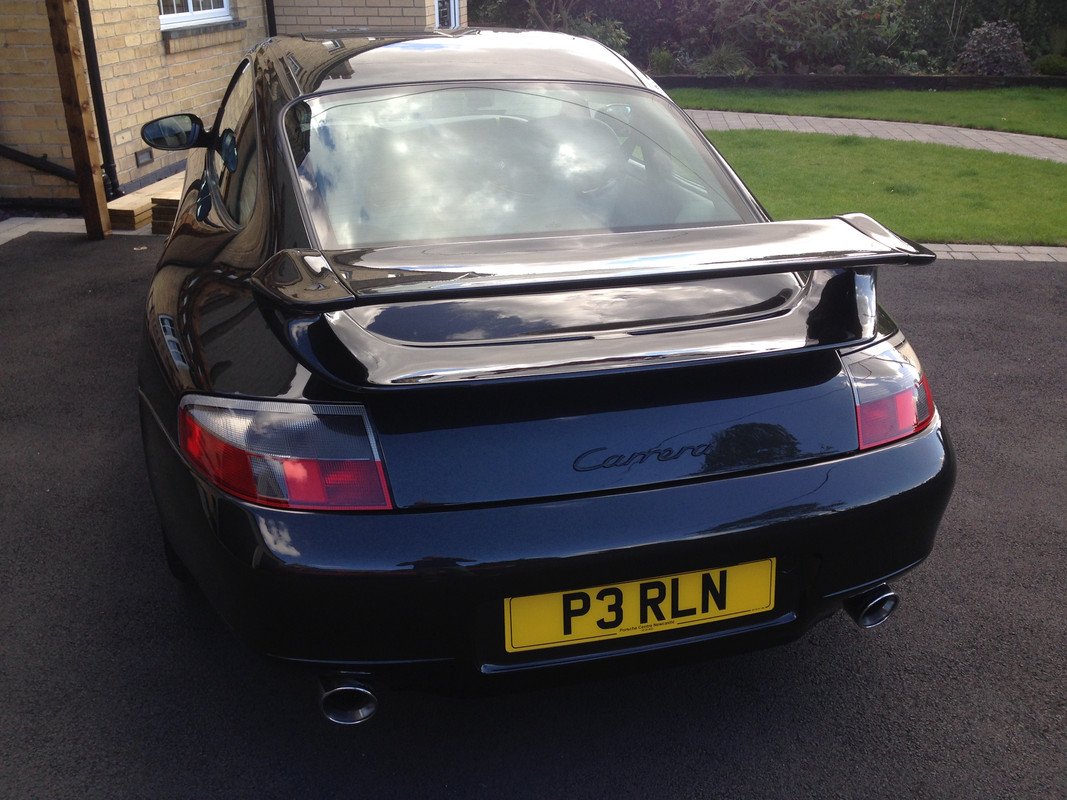
Other main issue is the fish eye on the rear engine lid that has been flatted too far by the bodyshop and has gone through the lacquer. :frustrated:

We already knew about this though and that's what I fell out with the painters over.
I shouldn't have stuck my new badge on until I have the area re-lacquered or painted, but I just want to use the car until winter now. So I'll whip the lid off over winter and get it redone.
There are some high spots on the top blade which I'd expected to be flatted down etc but they haven't been.
Maybe not the detailers job but no matter, I'll get that redone anyway as it's part of the lid.

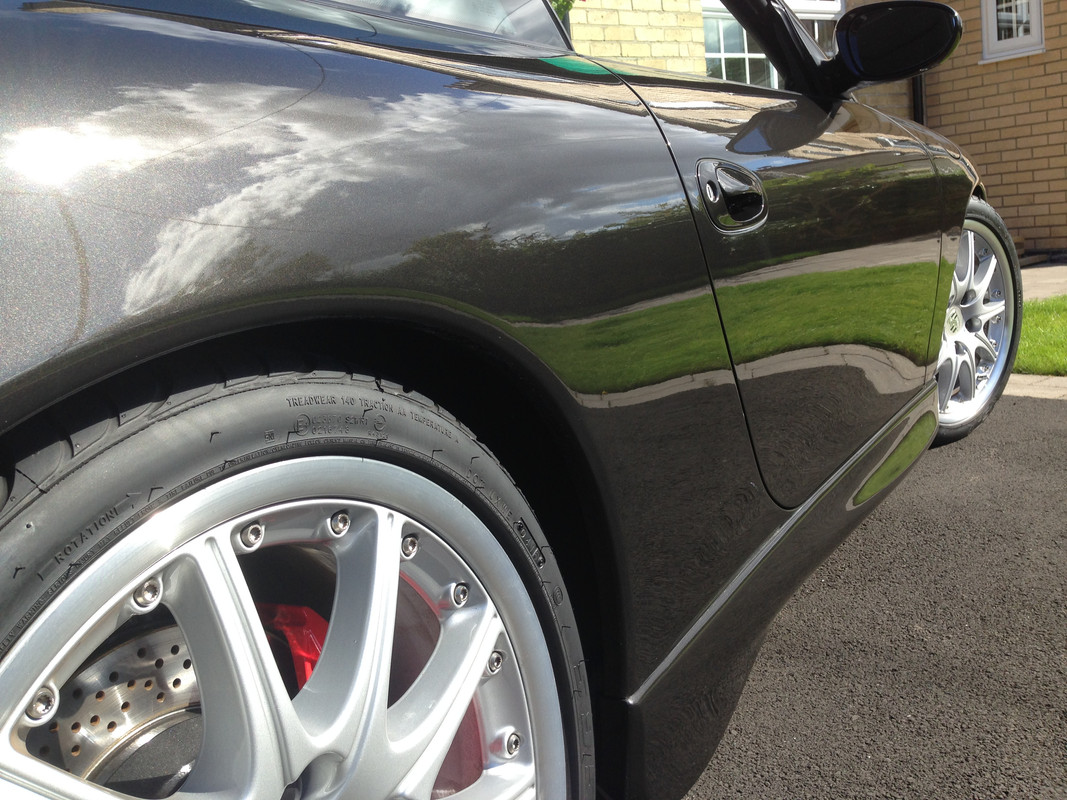
Car looks great but boy is it gonna be a pain to look after. I think I'll never be happy with metallic black anyway. Even when it's mint, it just looks a bit washed out compared to gloss black as the metallic element takes over.

So anyway, yep it's great. Not as "wow" as the earlier pics suggest but I don't think cars ever are, in the flesh. Photos flatter them.
I think after spotting the scratches and little things I've realised that it's never going to be "as new". It's a great example of a 20 year old car, but it's still a 20 year old car.
With that in mind I'm not wasting anymore money on PPF or ceramic coatings.
It will get looked after properly but the old fashioned way. Washed and then waxed when needed.

Even my wife's Abarth has stone chips and light scratches. We bought it new one year ago and it's covered 9k miles.
You just can't keep them like new, so I need to stop trying.

On that "realisation" note, that's it for now.

Couple of pics but I wanted to get back to bed and was a bit miffed about the scratches, so only took a few.

Cheers. :thumb:


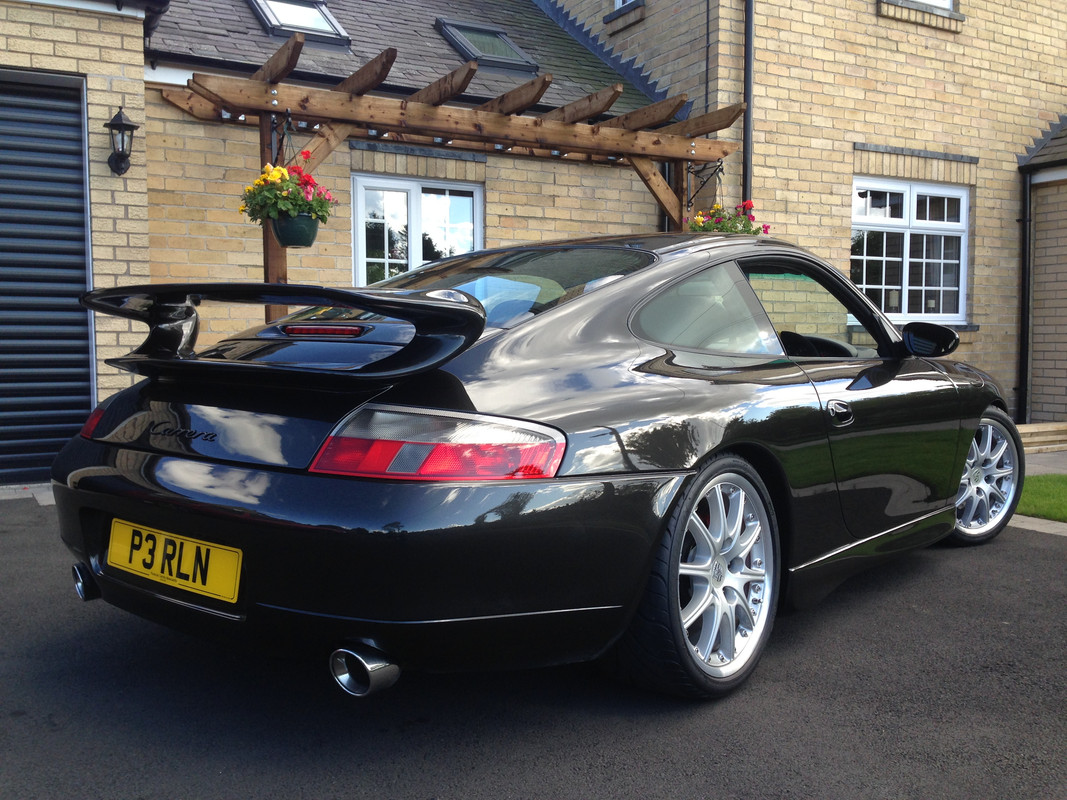
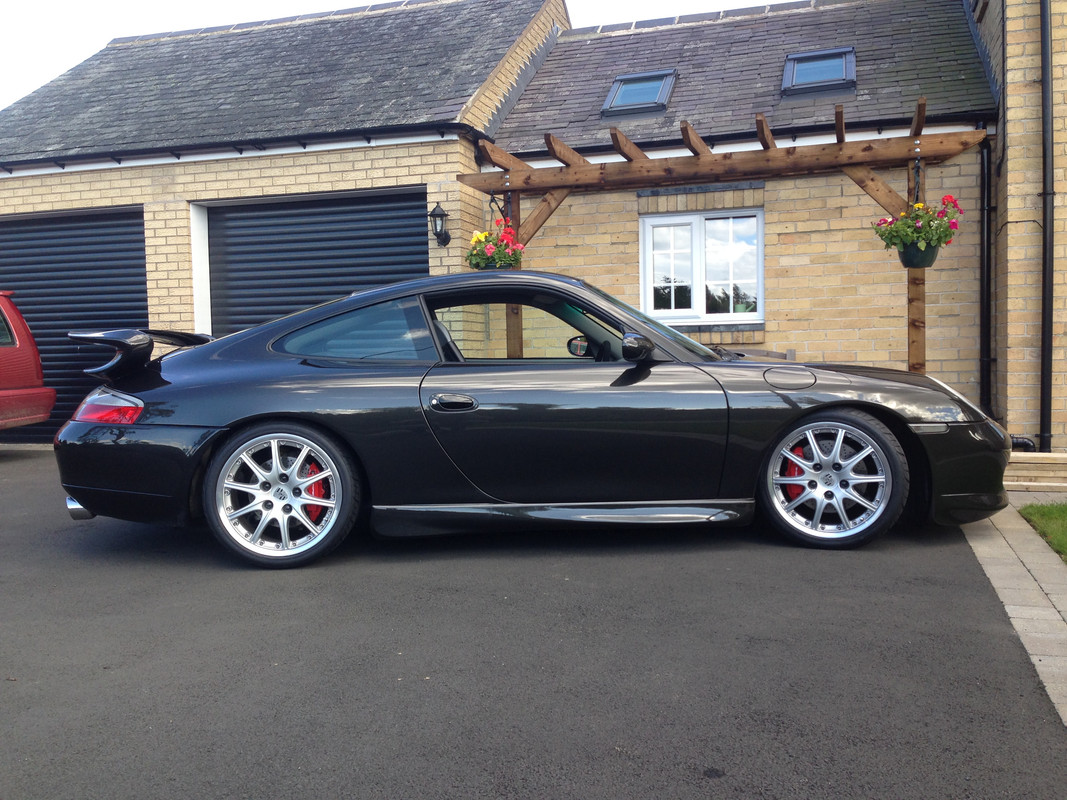
Just to add, after reading that back it all sounds a bit doom and gloom. It isn't and I'm loving the car now with the KWs on. It really is a cracking drive, even with the excessive camber.

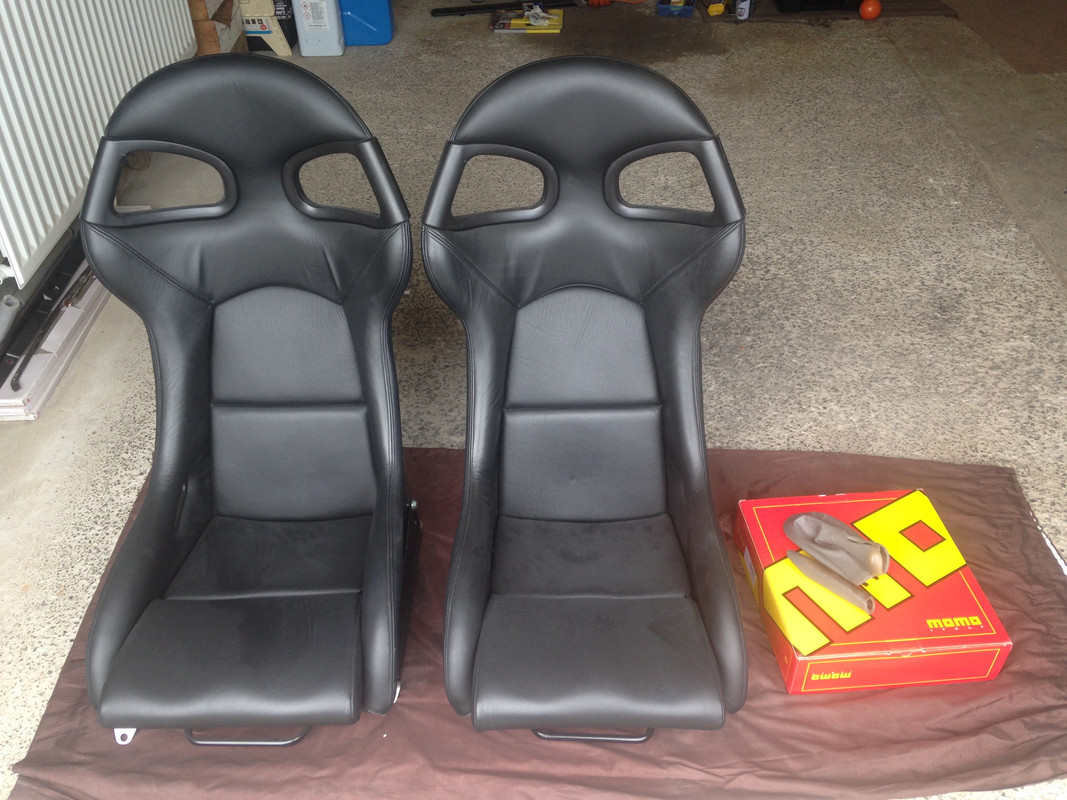
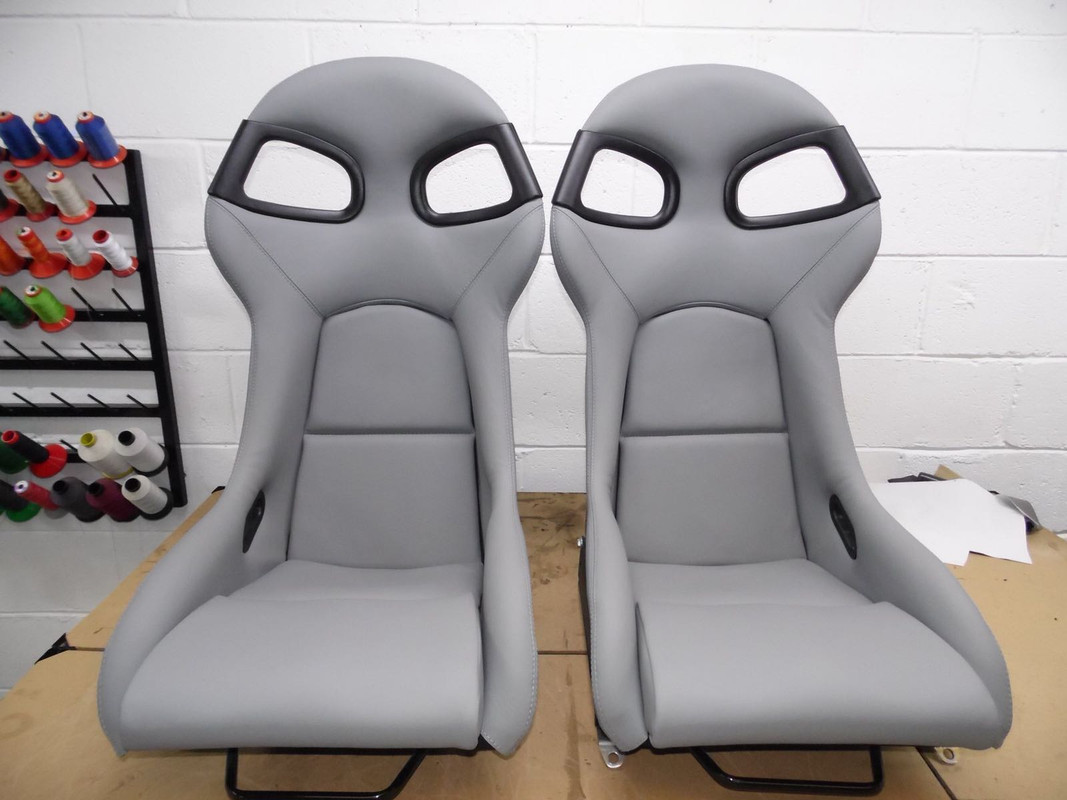
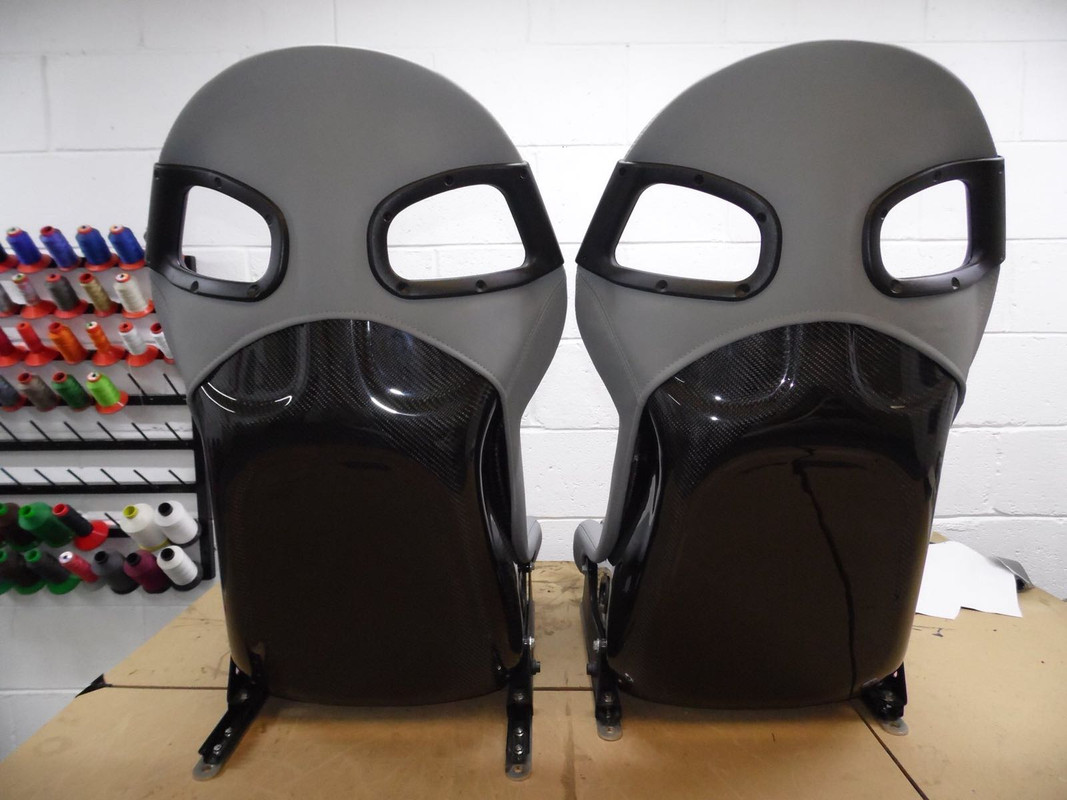
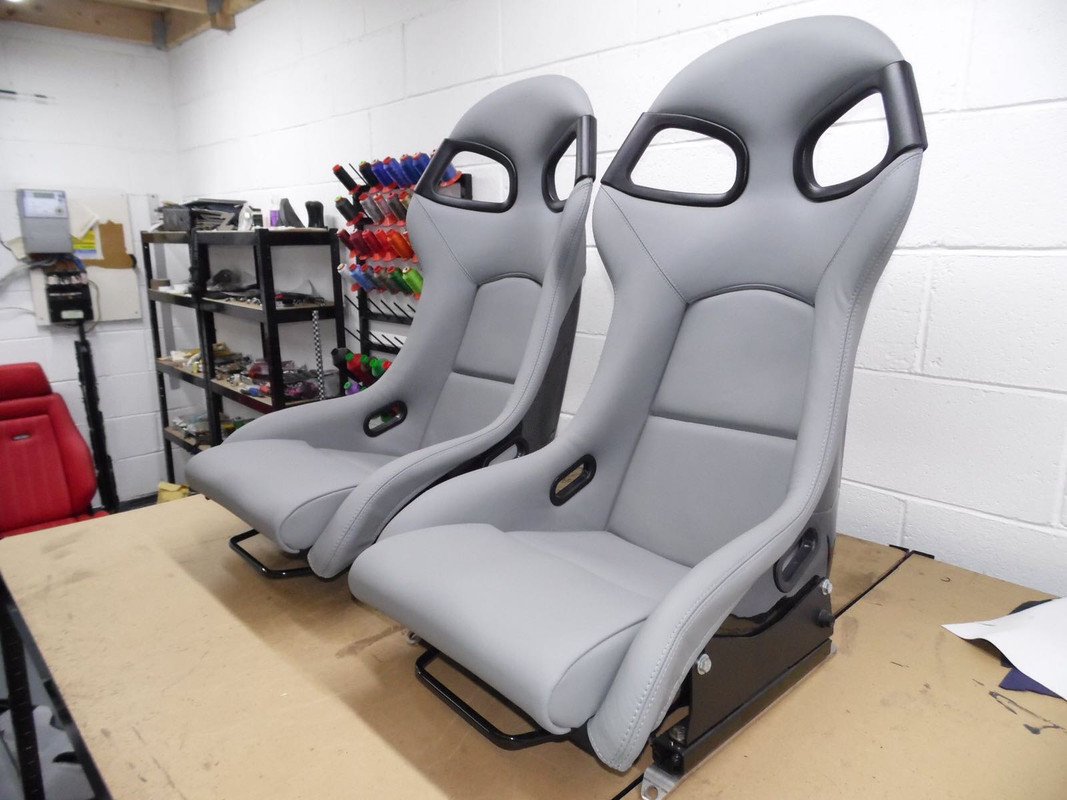
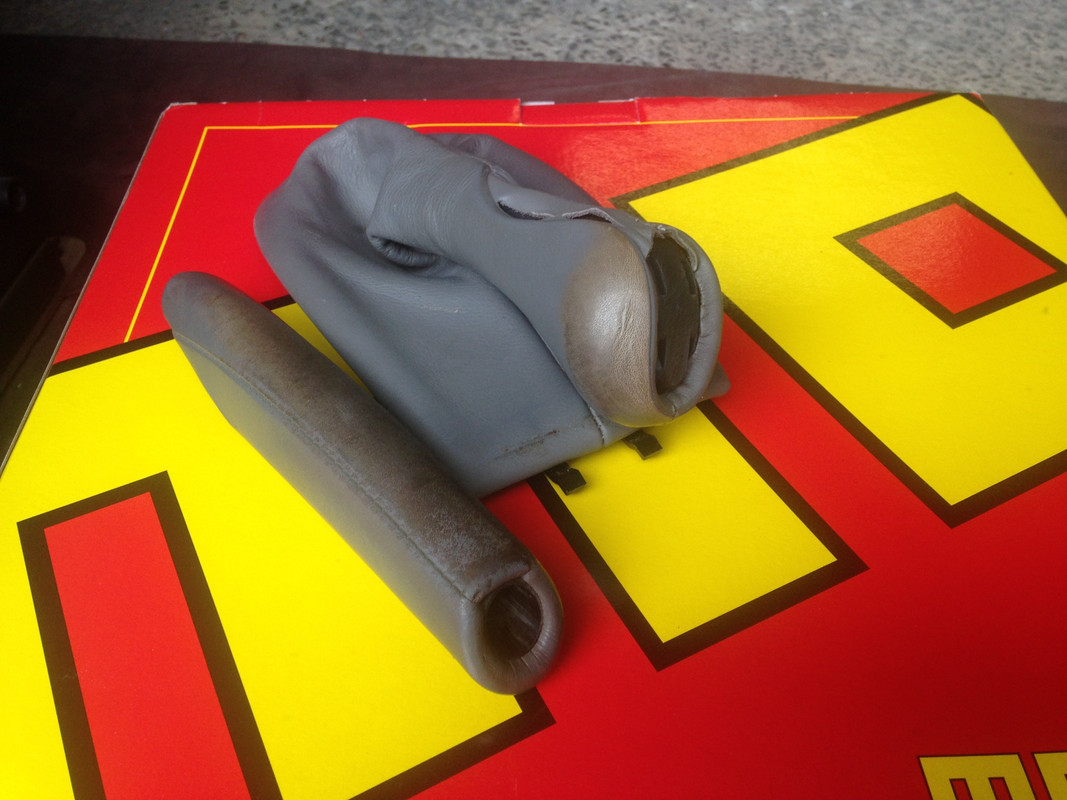
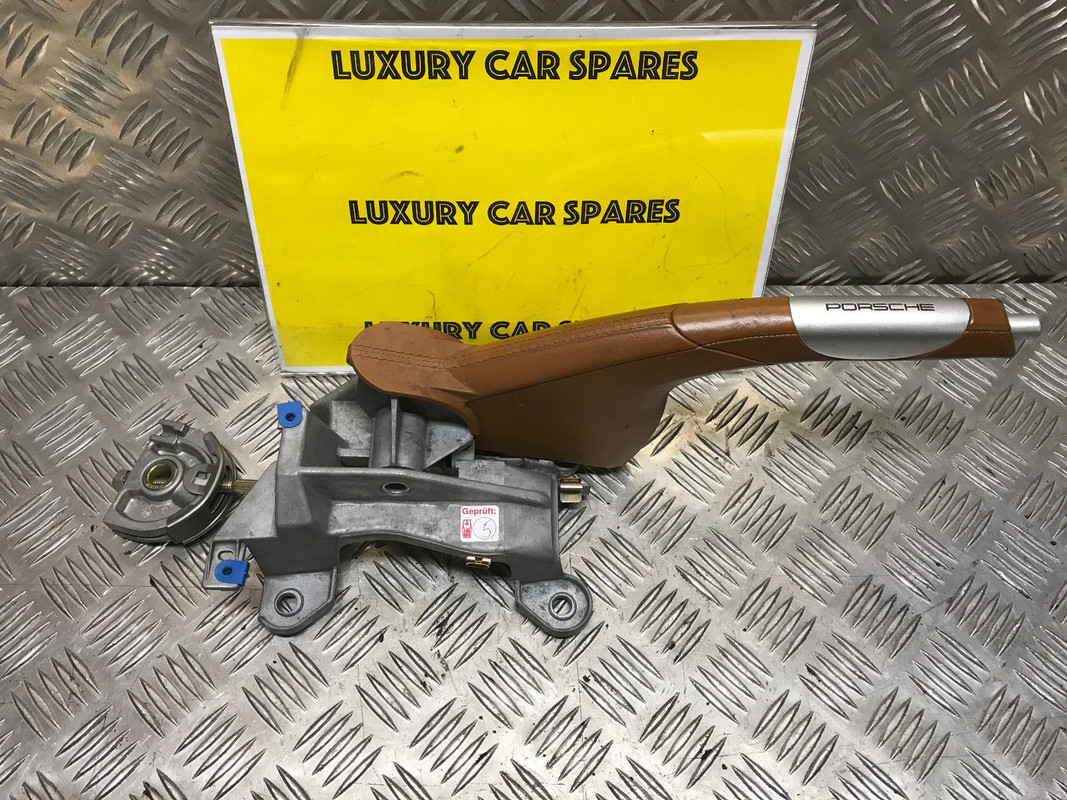
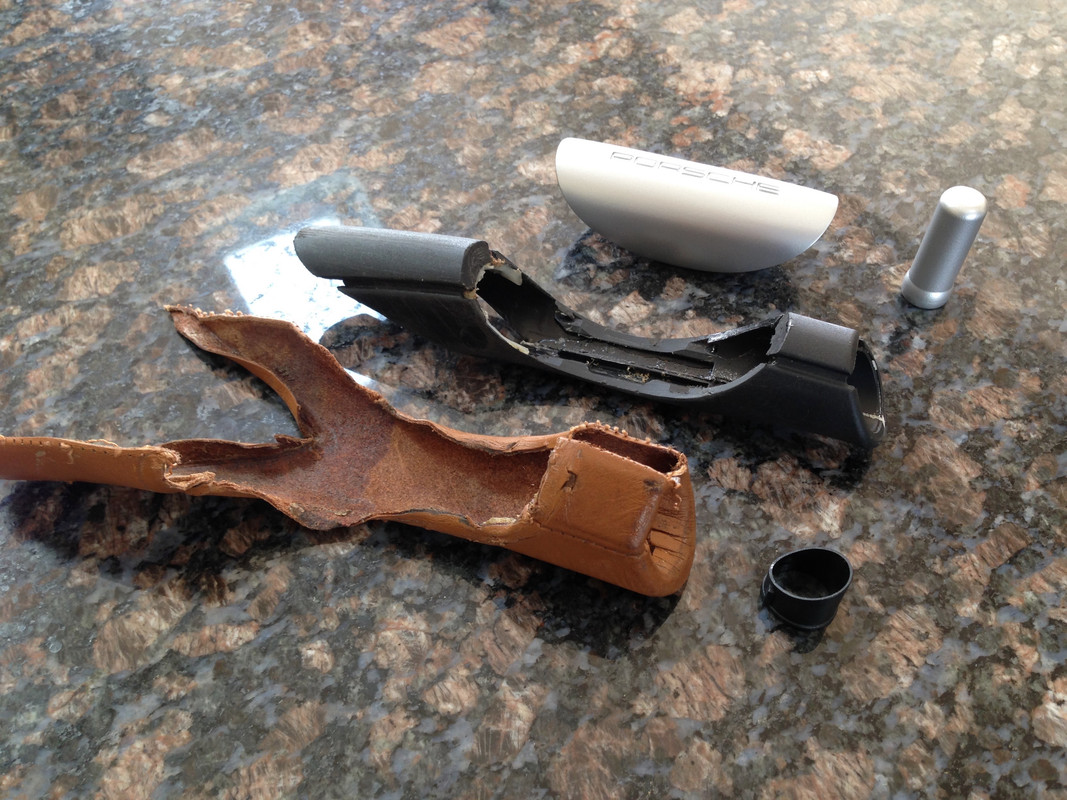
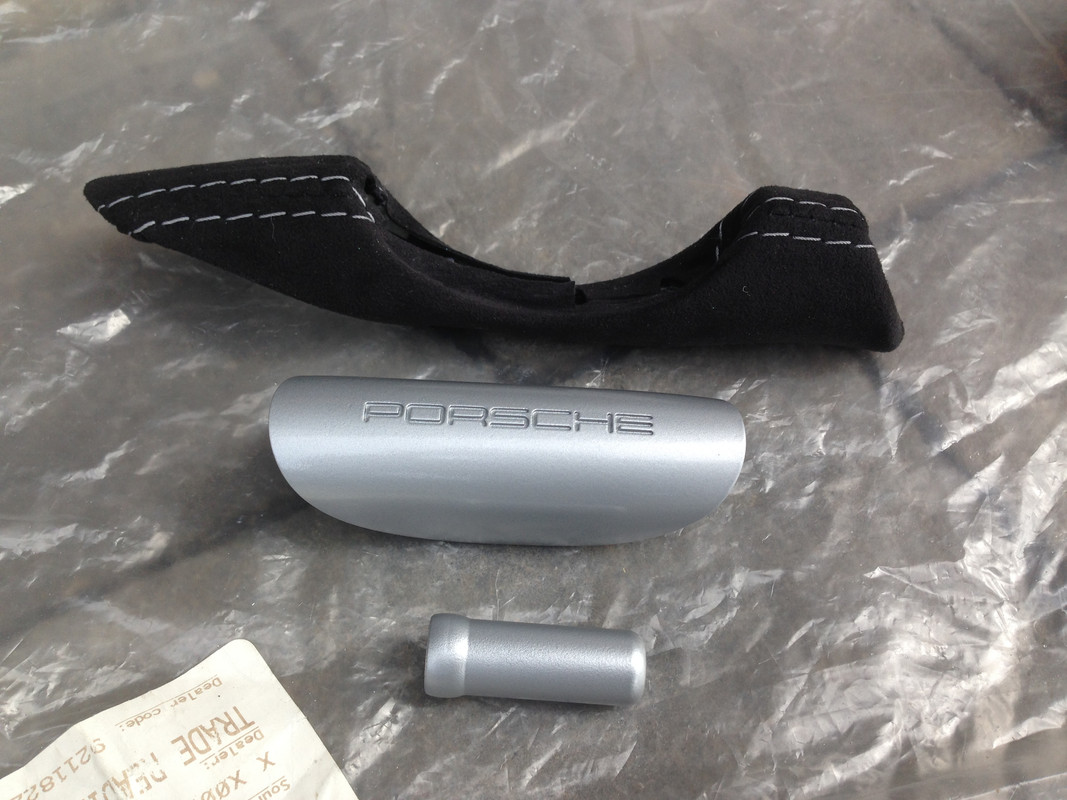
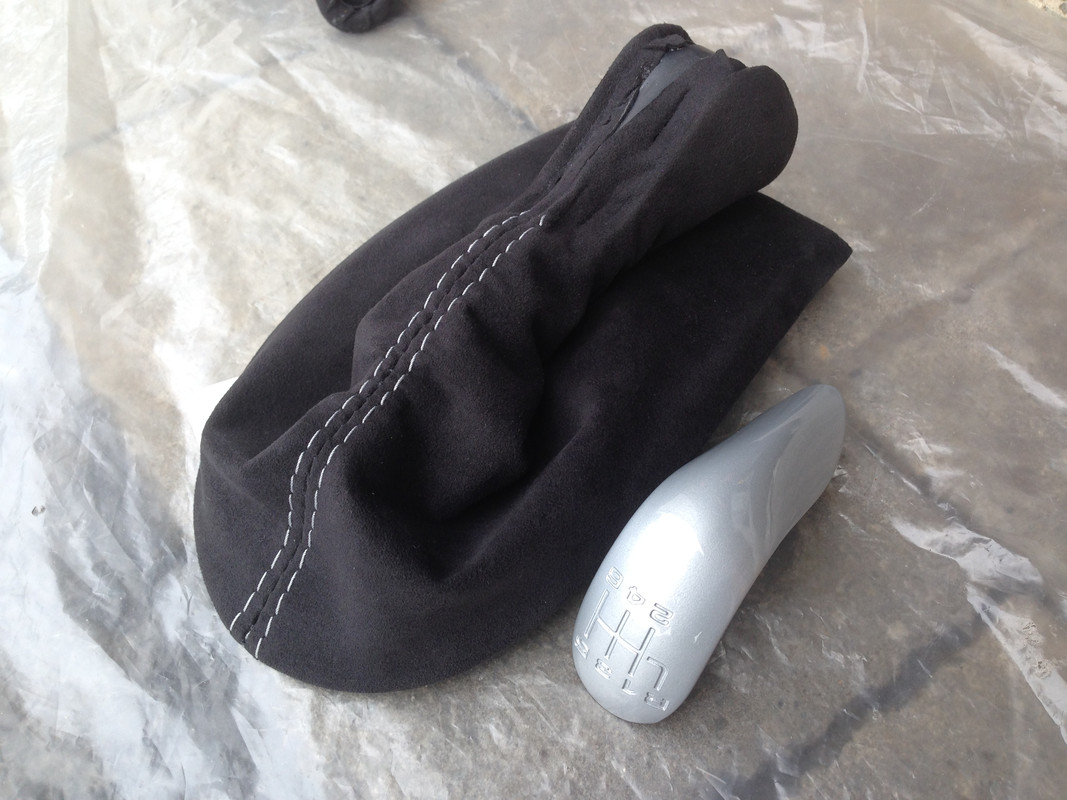
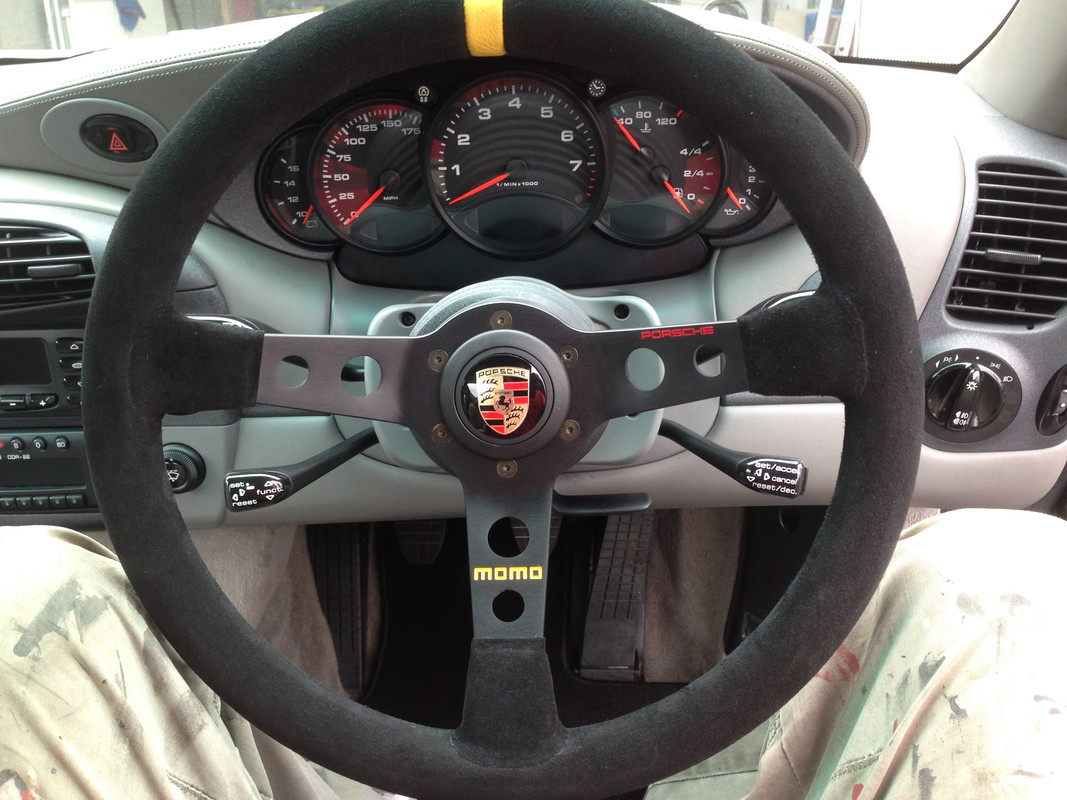
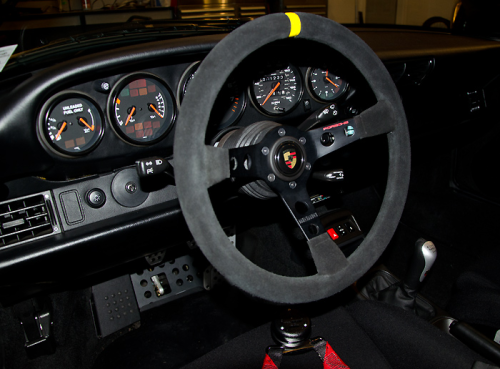
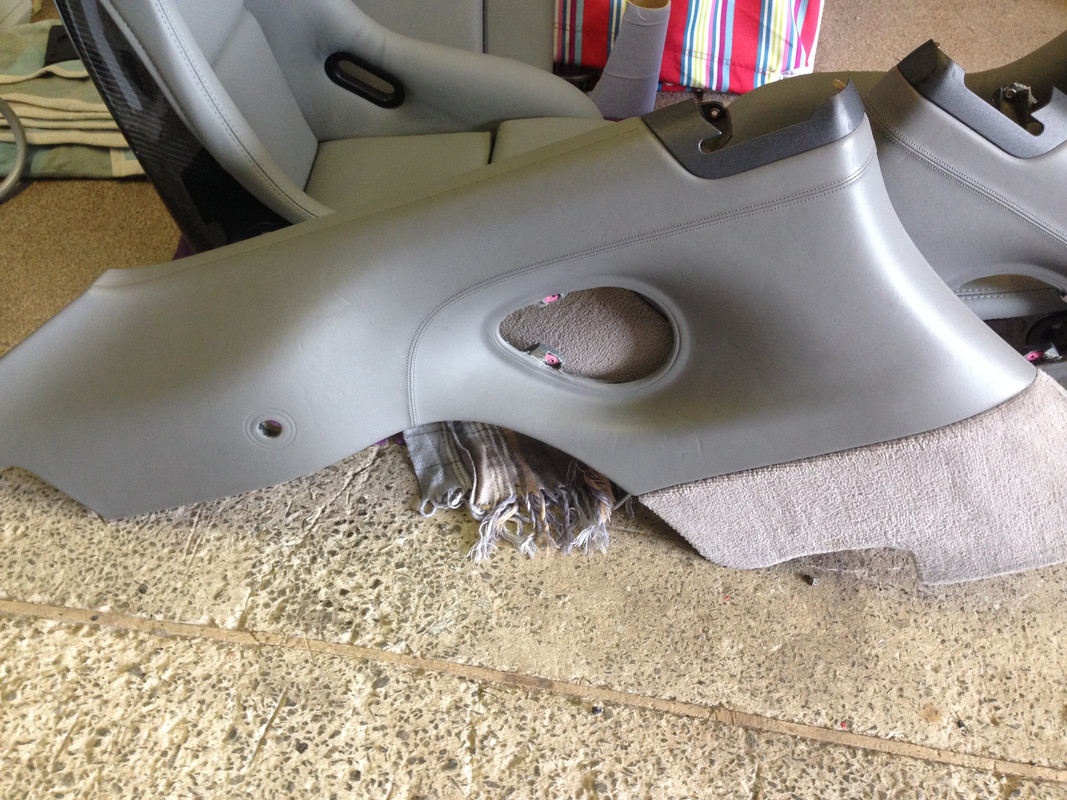
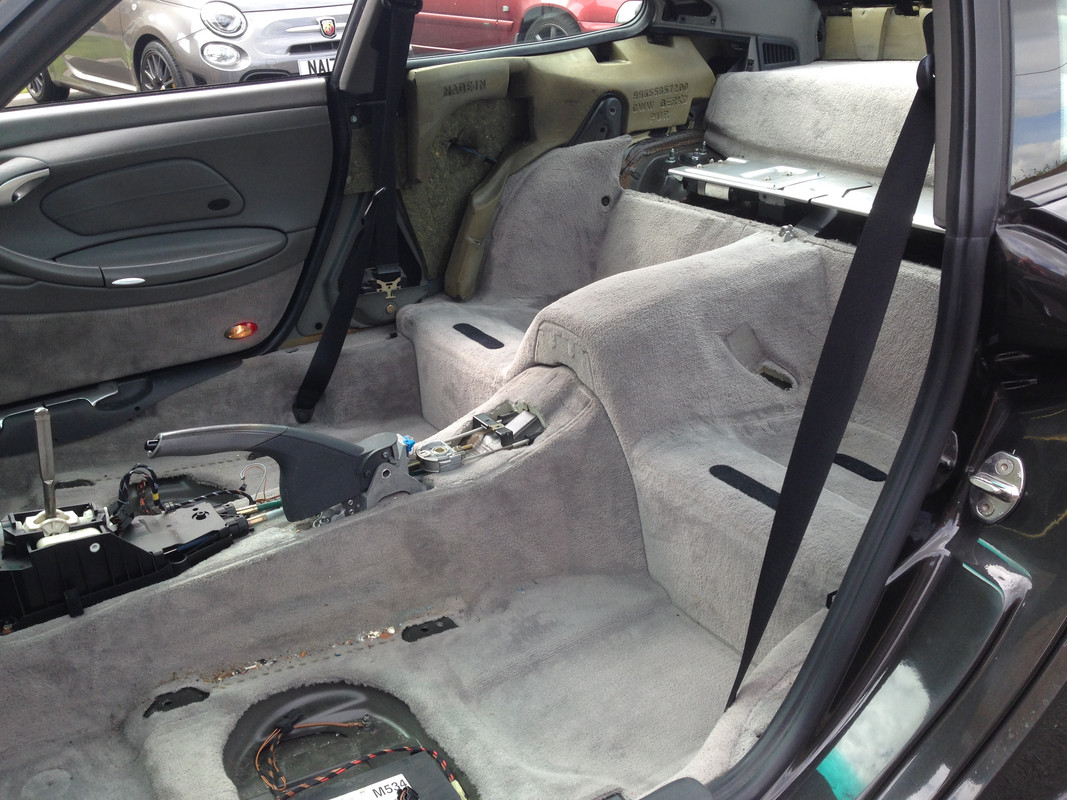
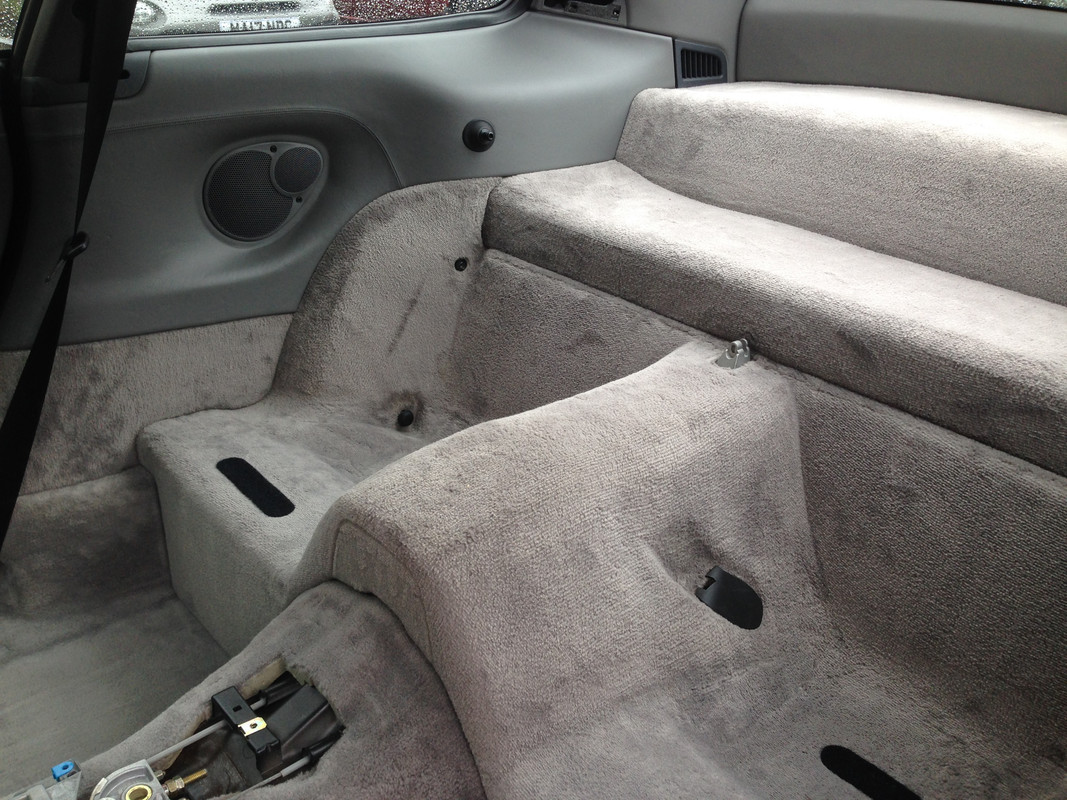
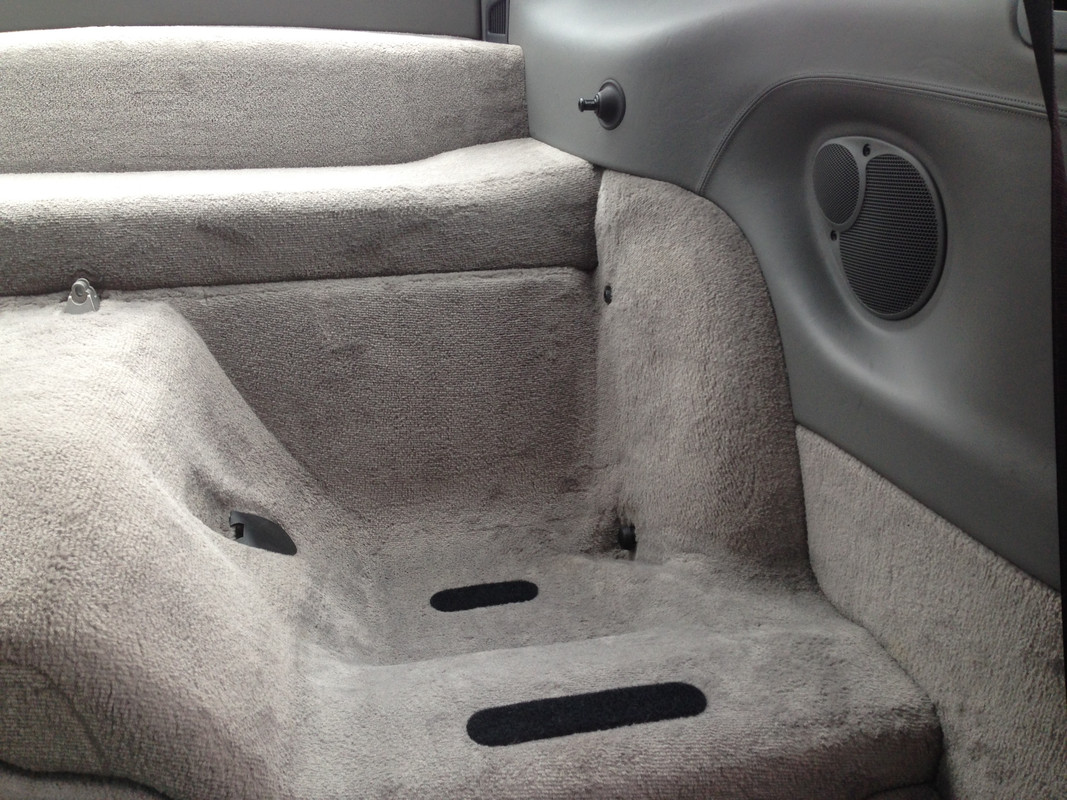
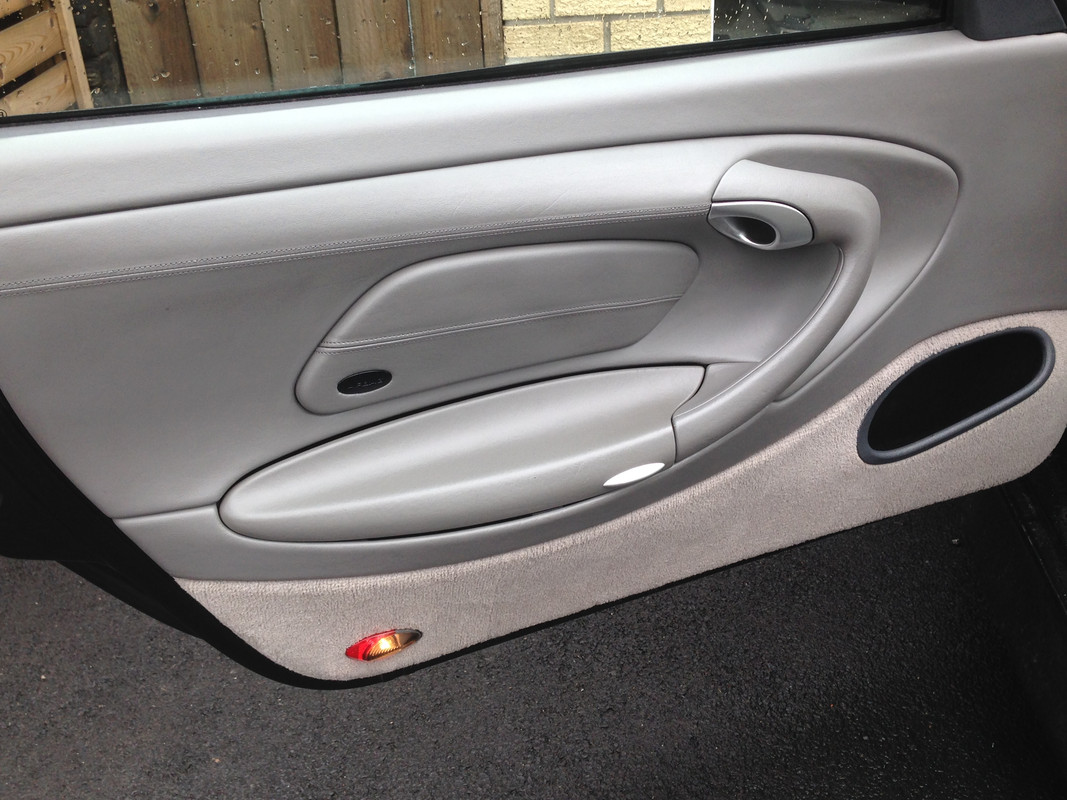
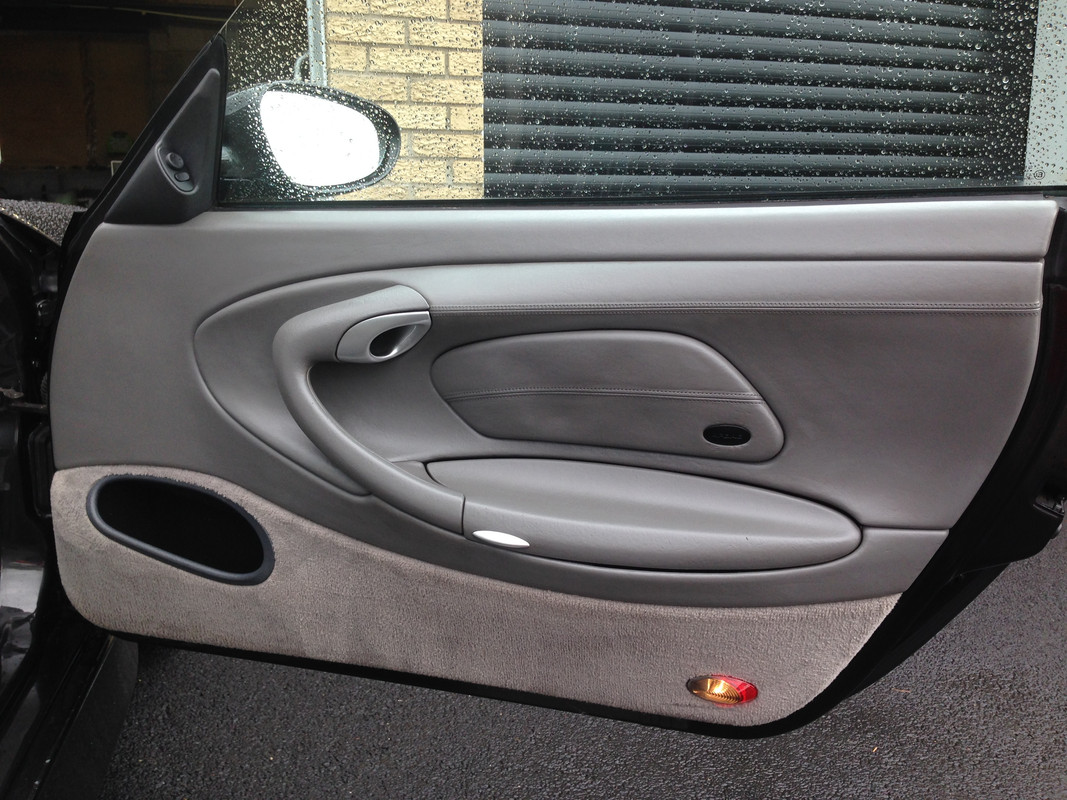
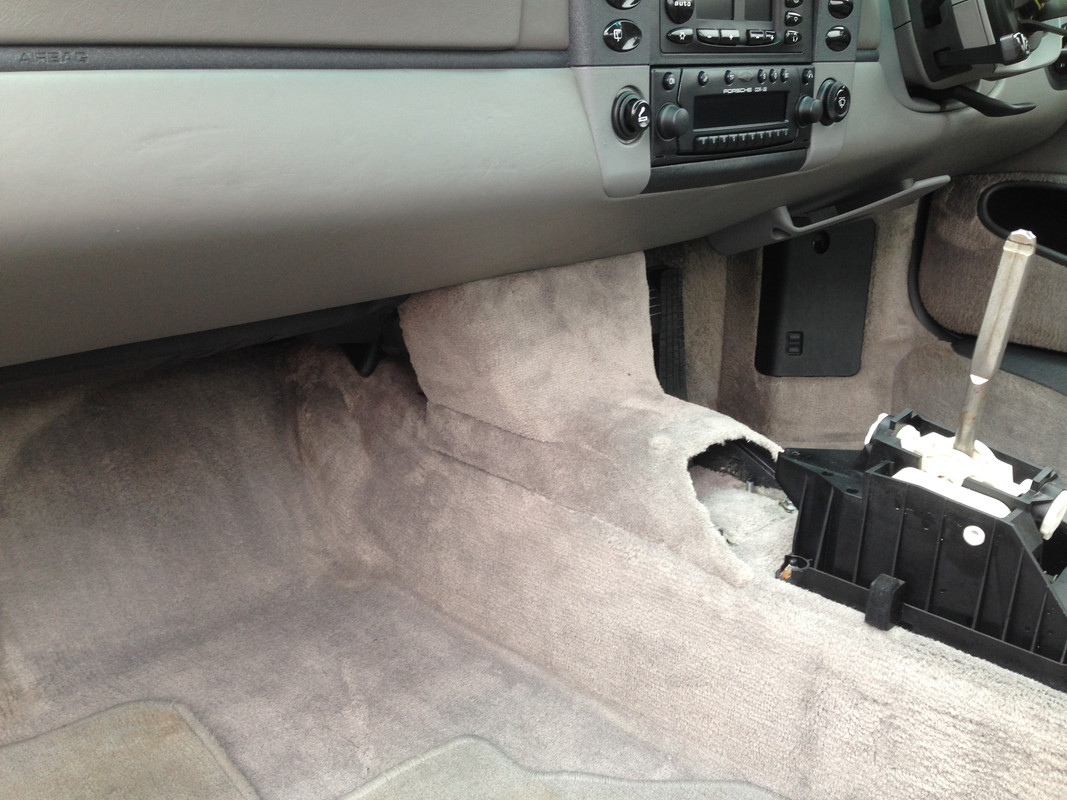
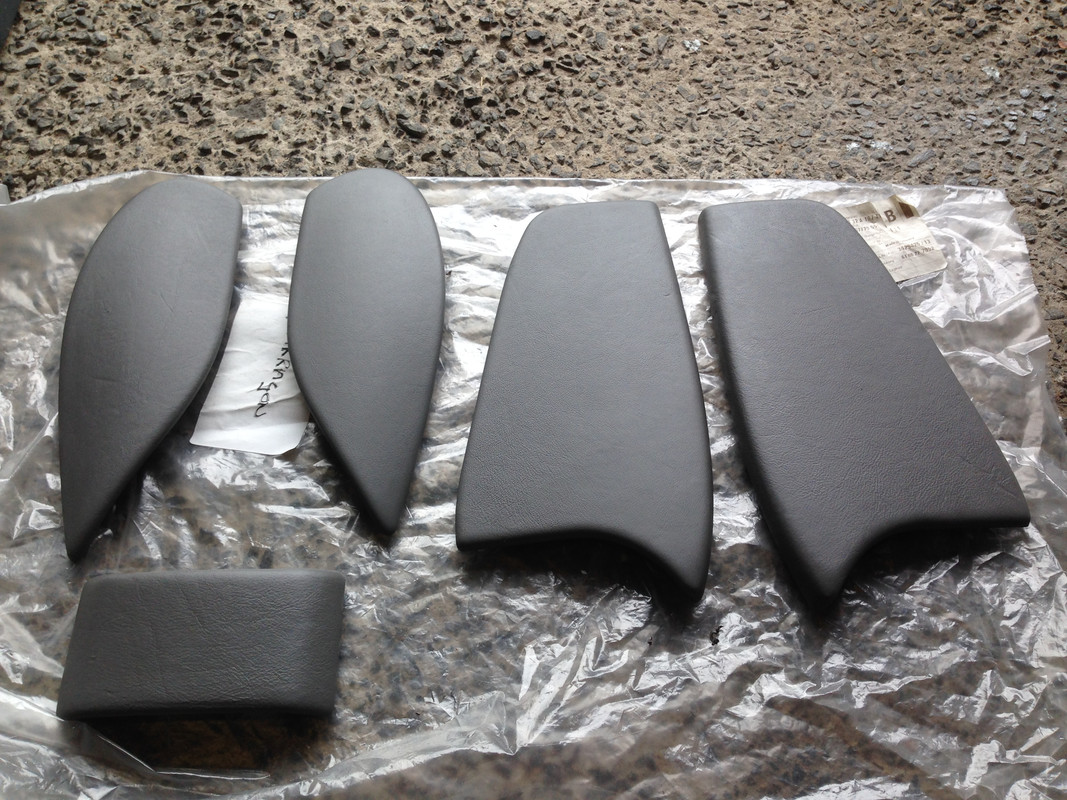
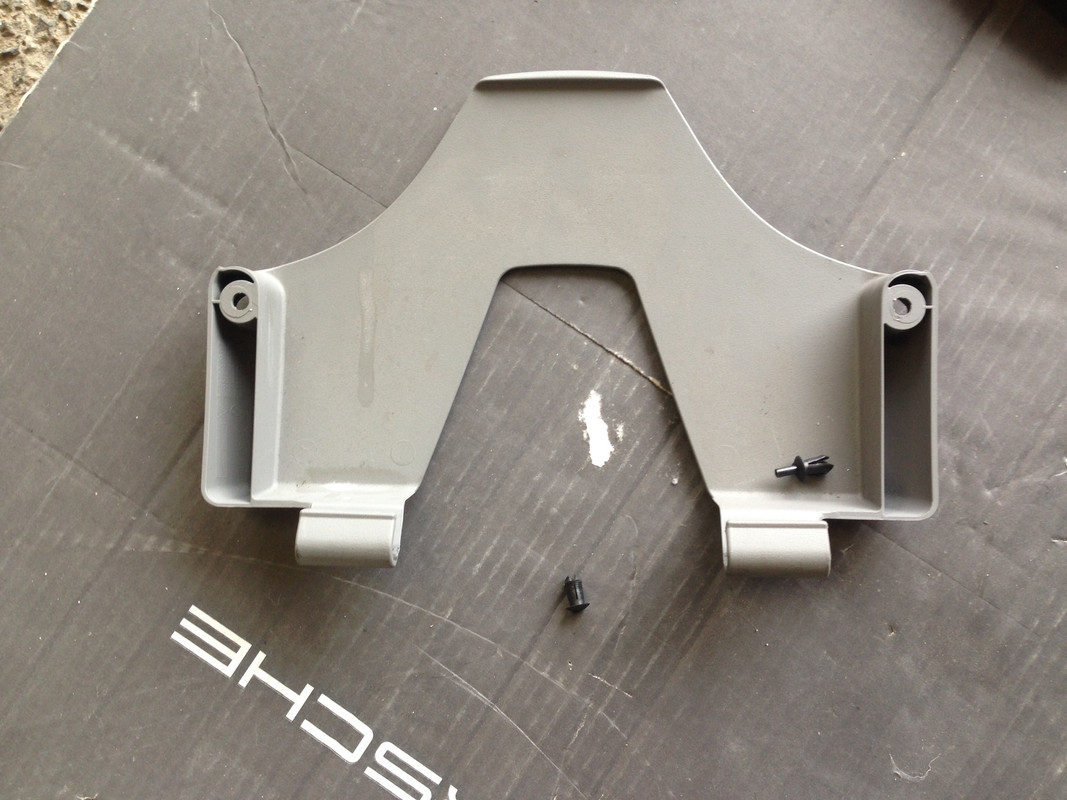
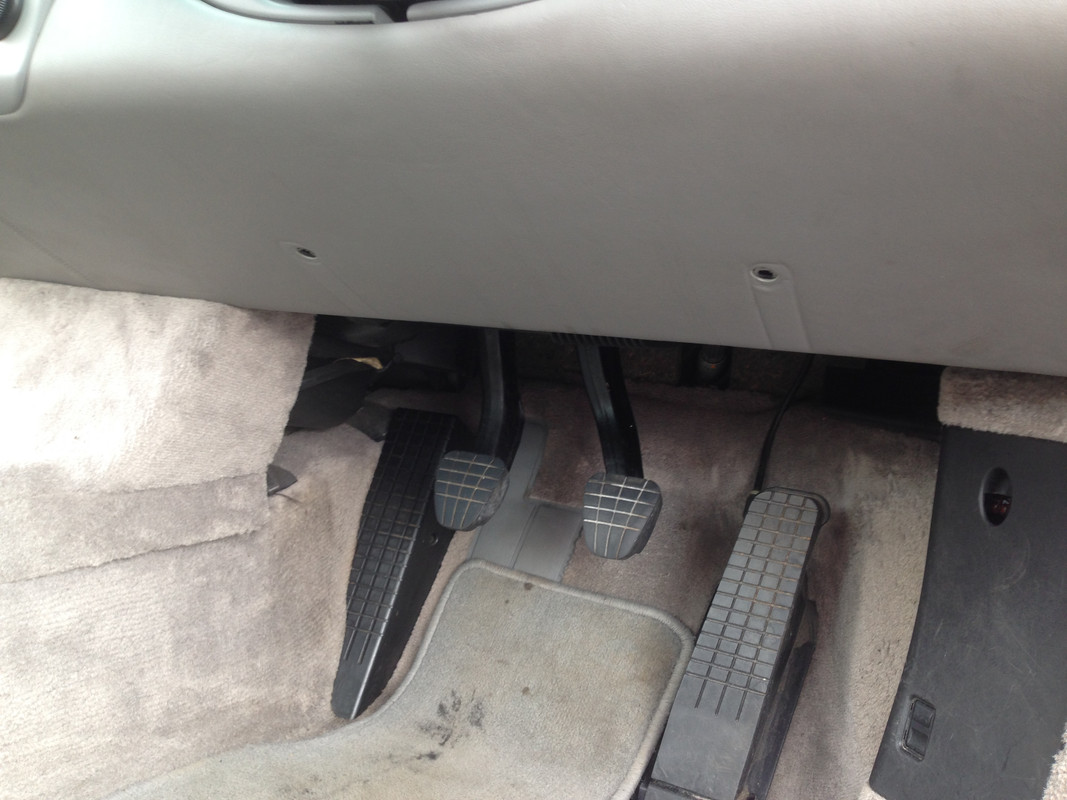
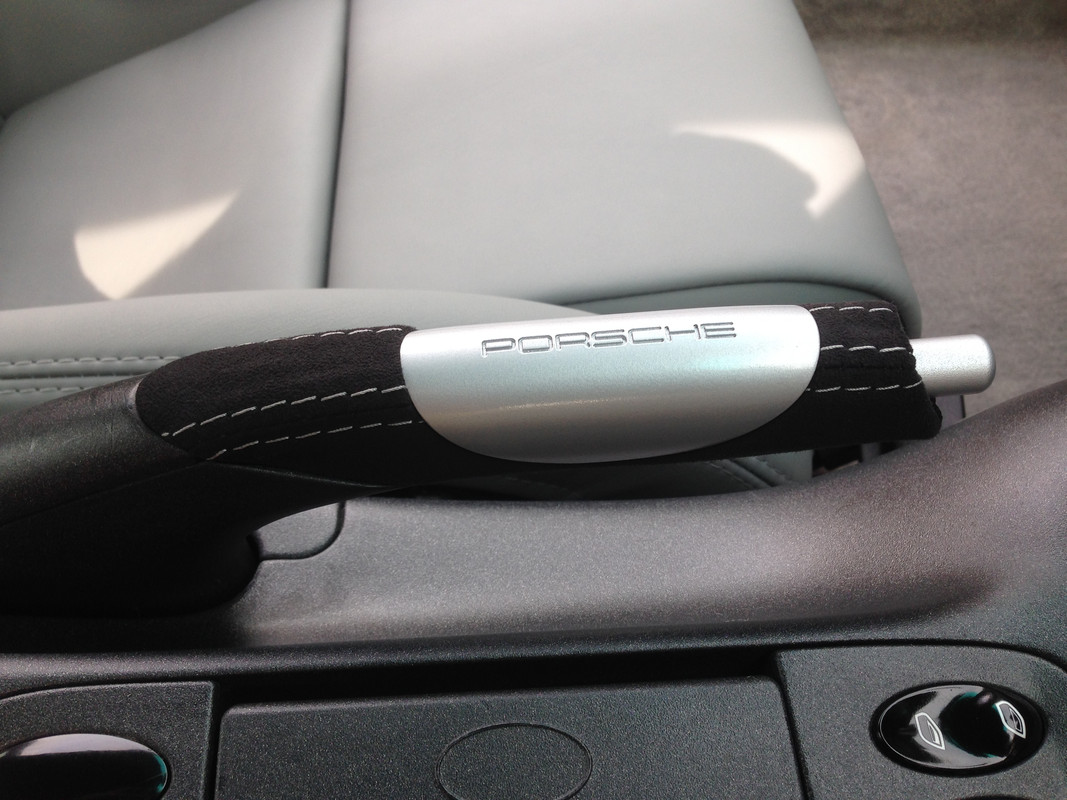
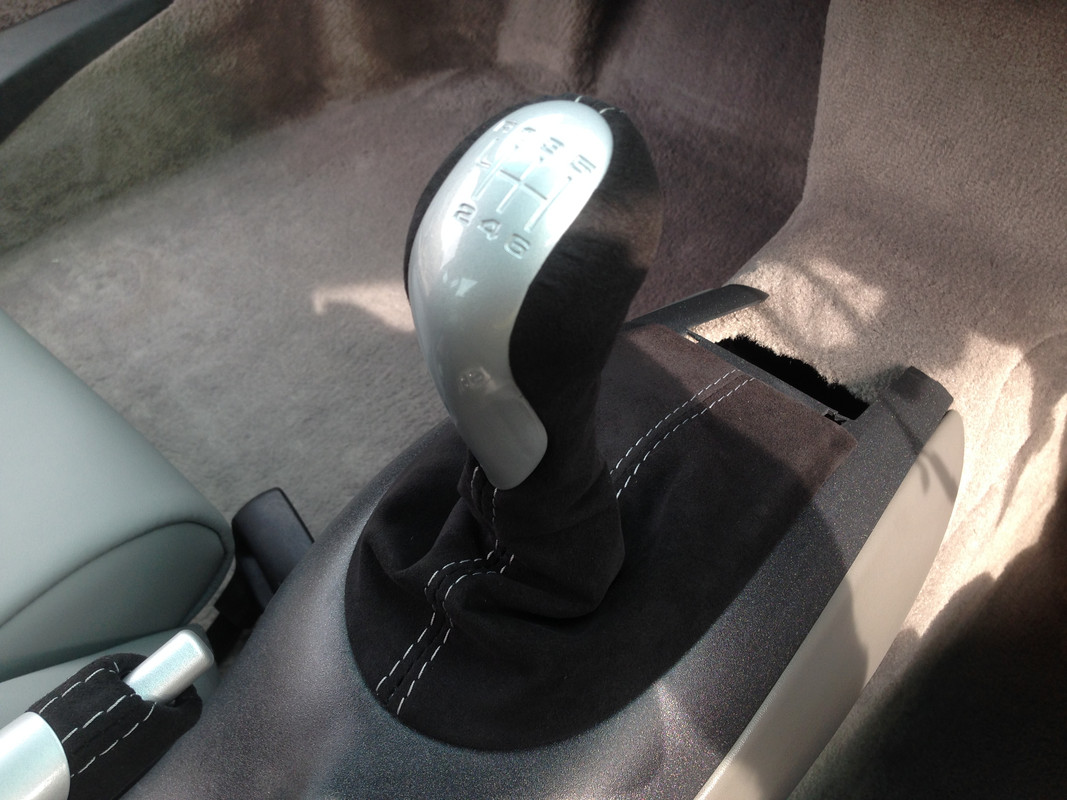
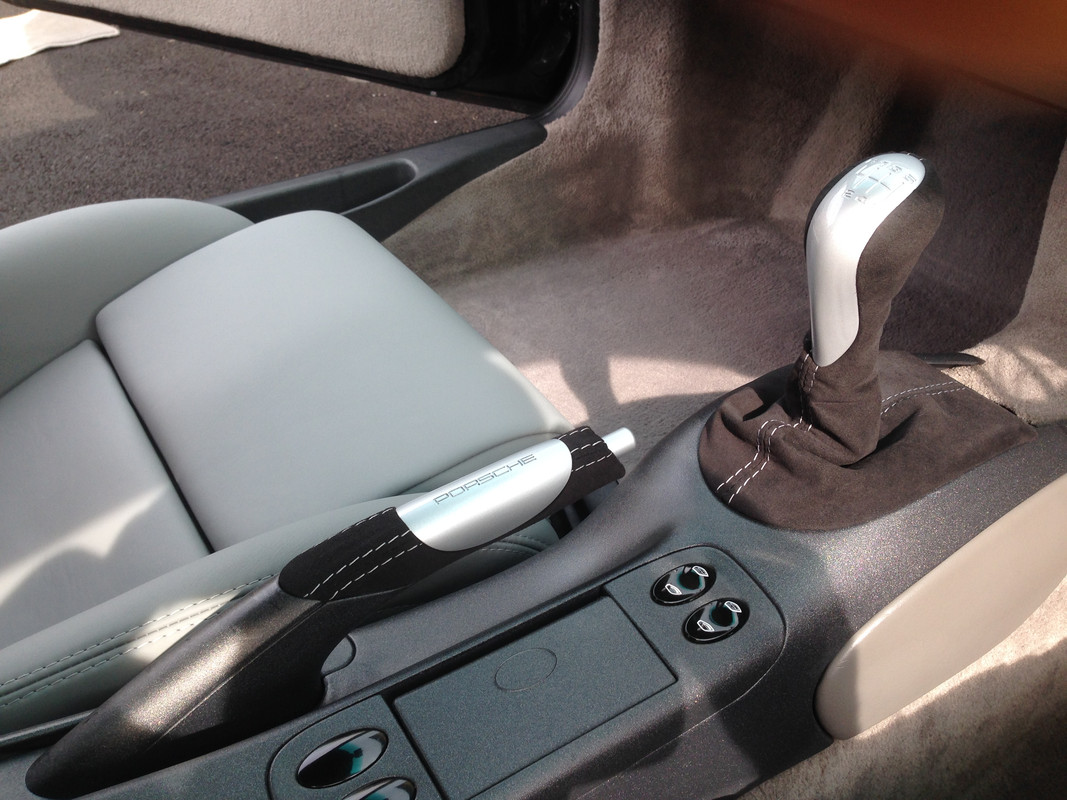
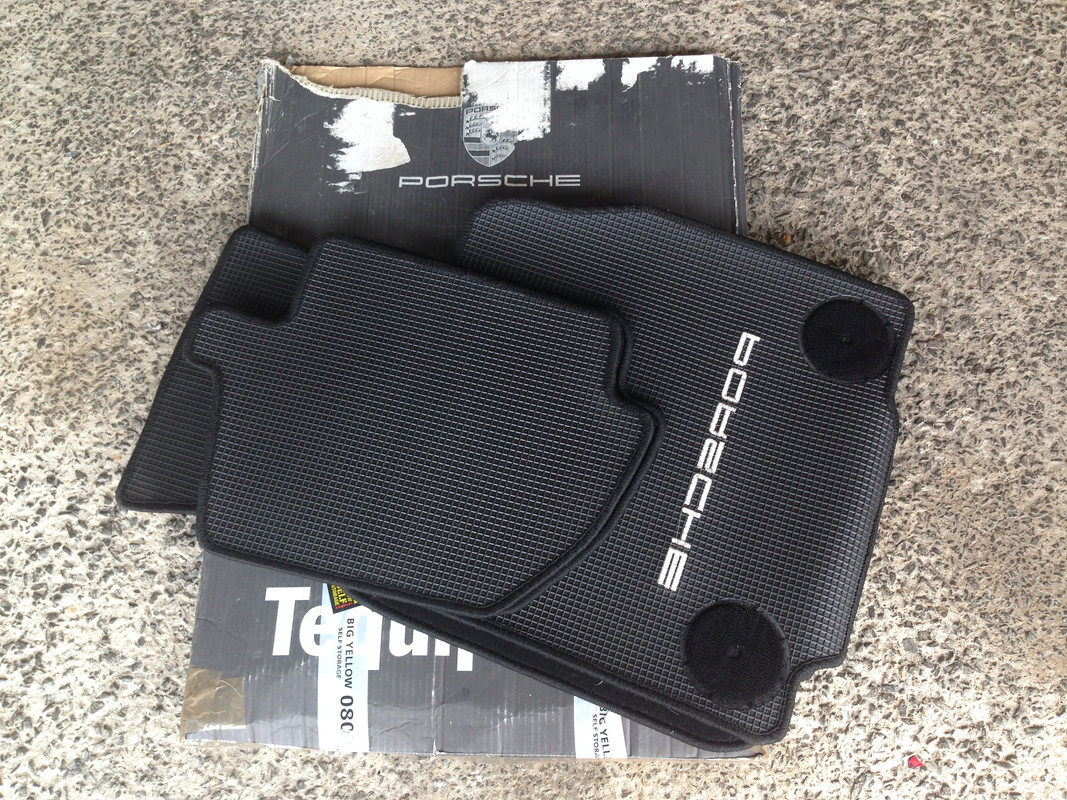
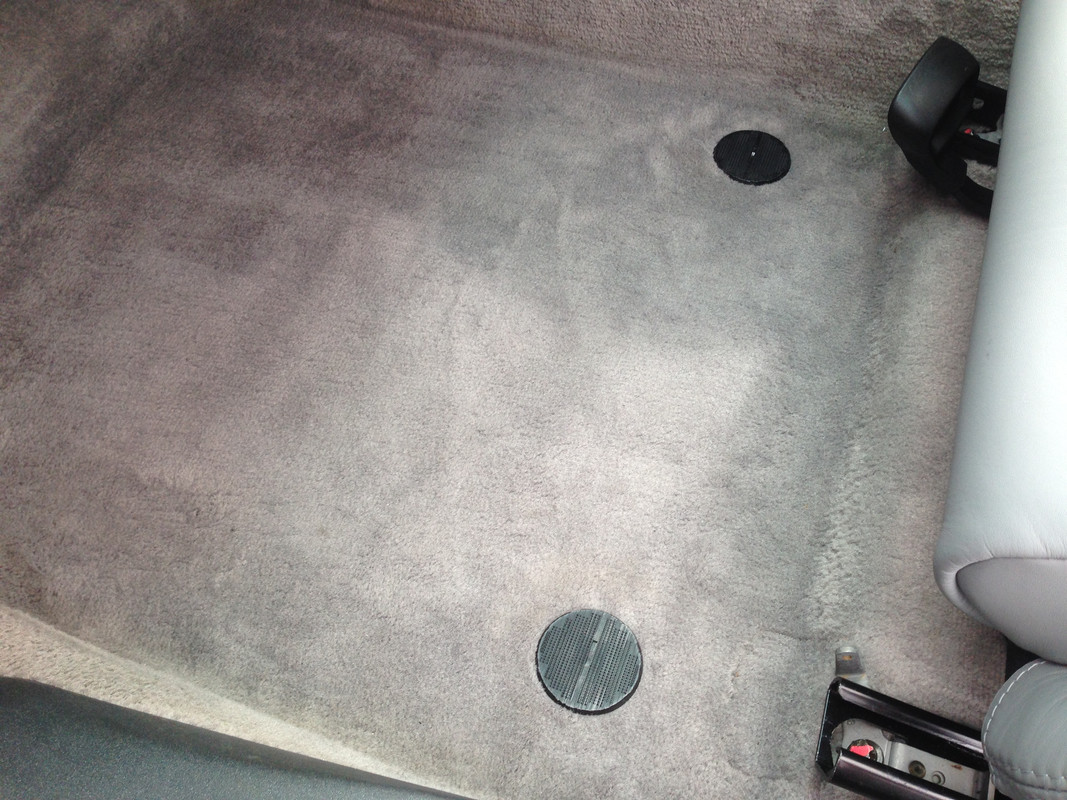
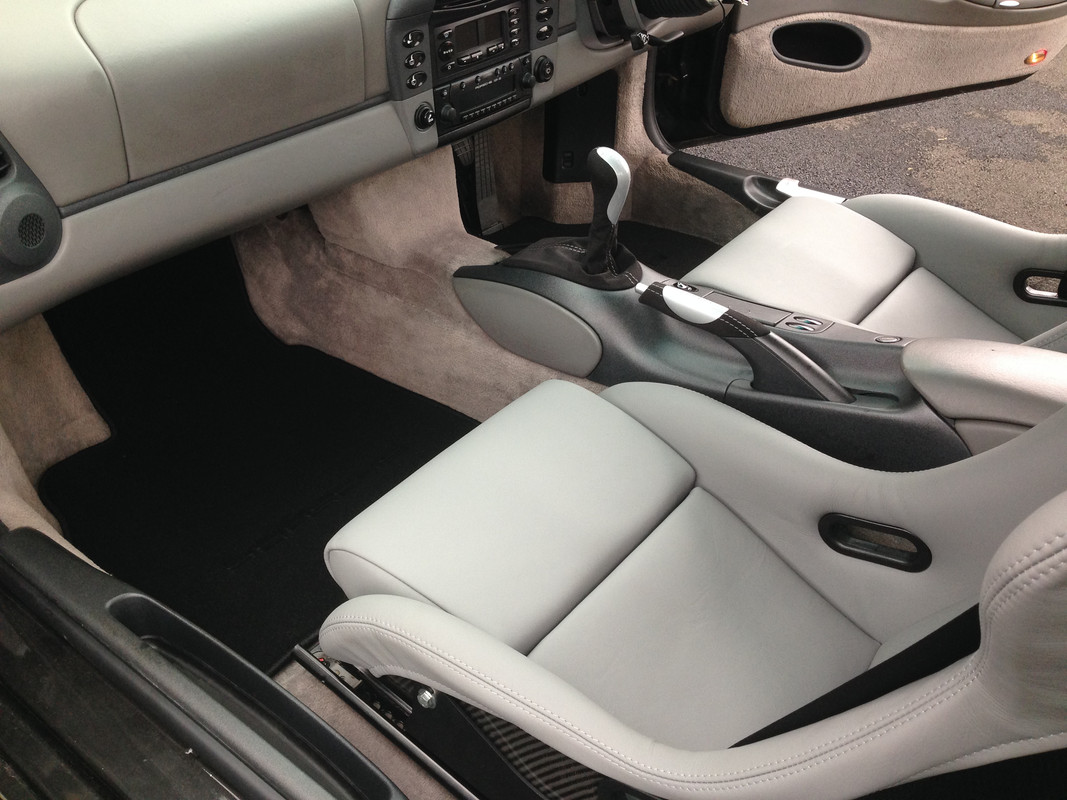
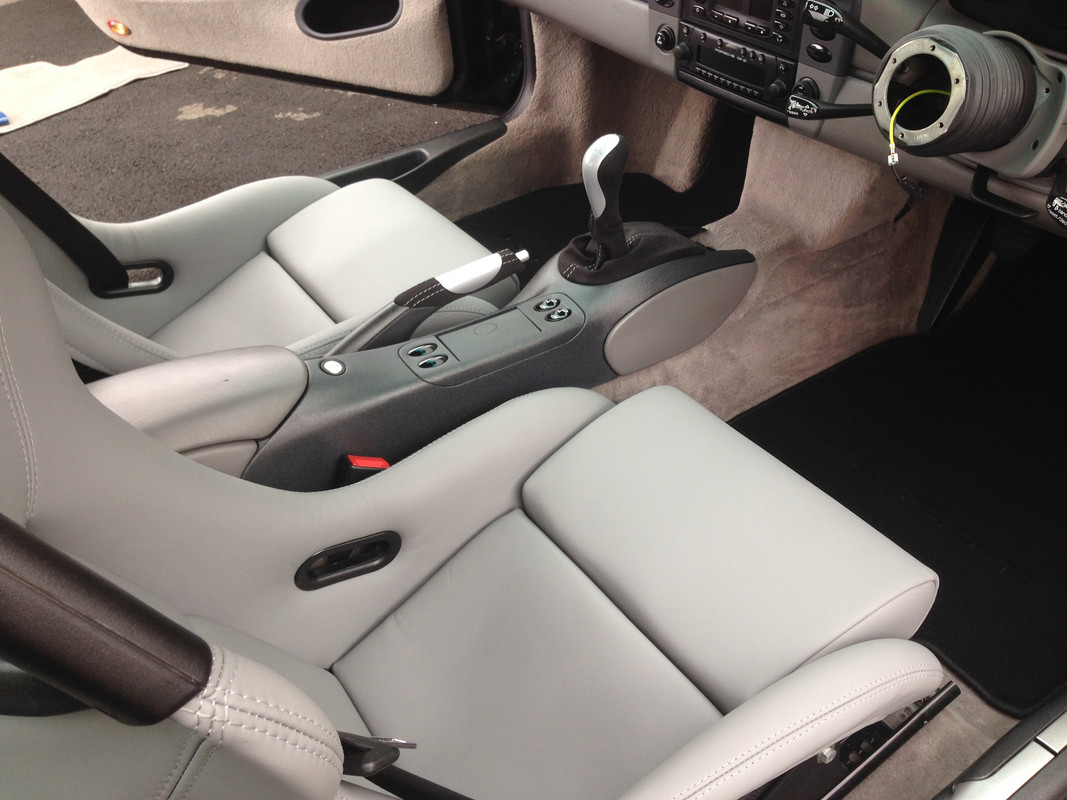
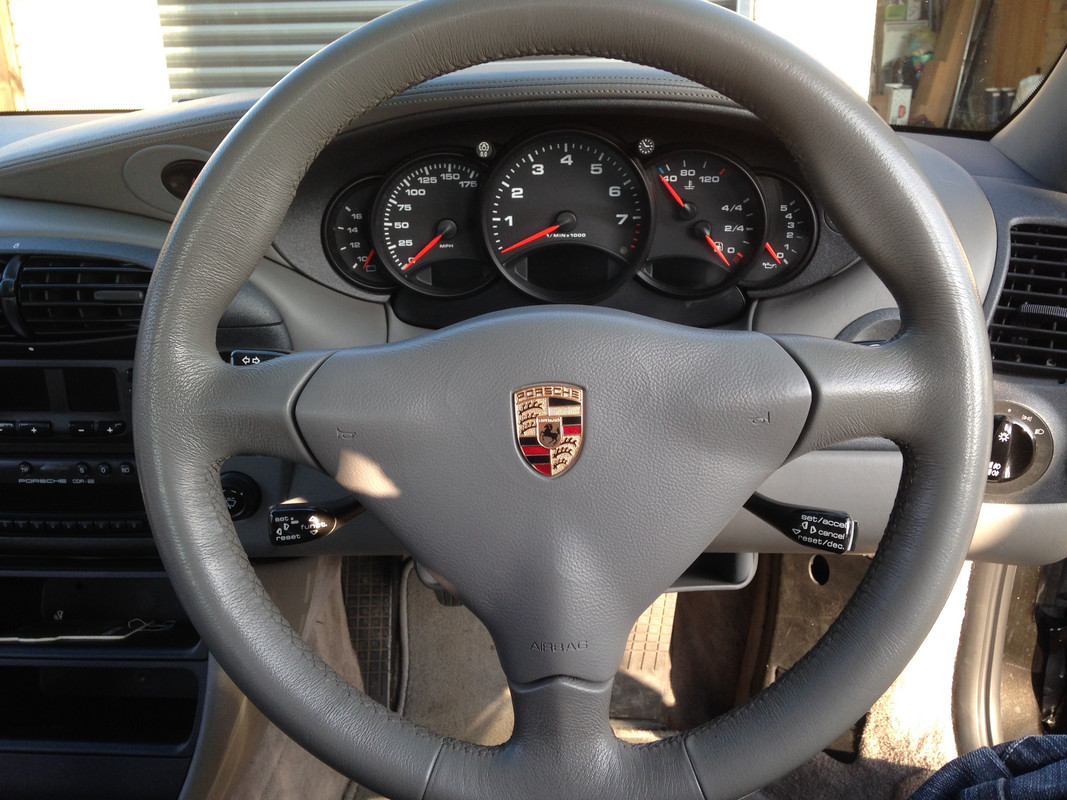
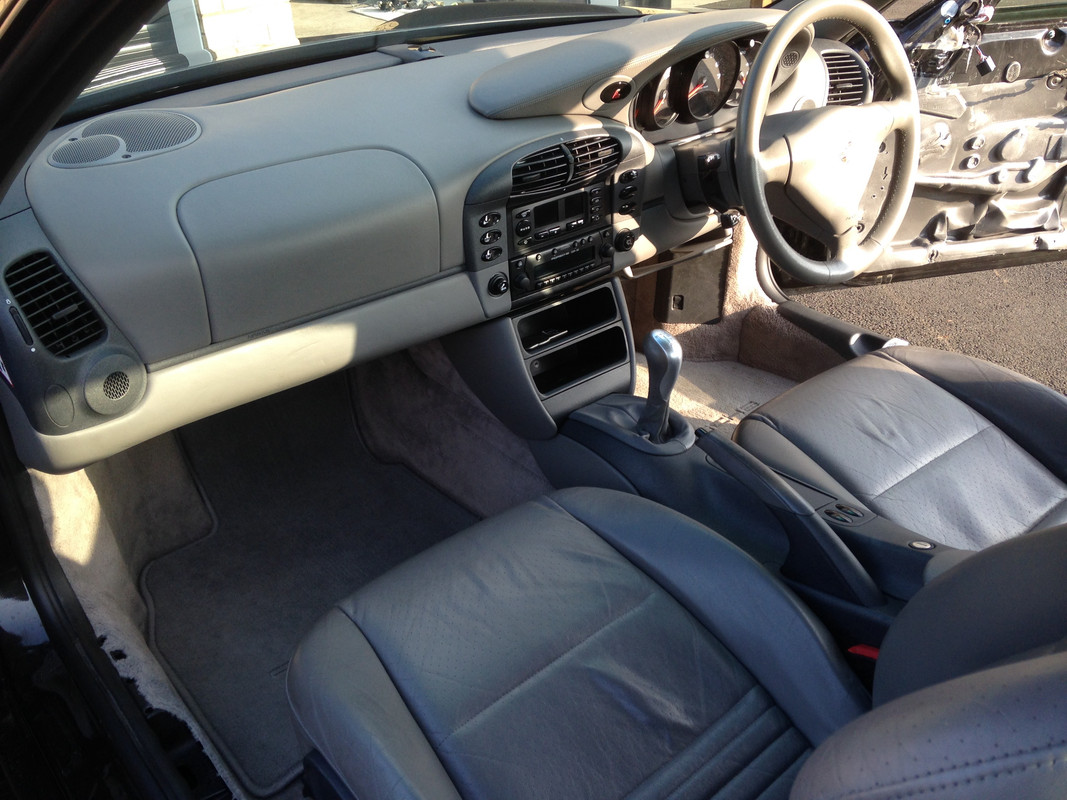
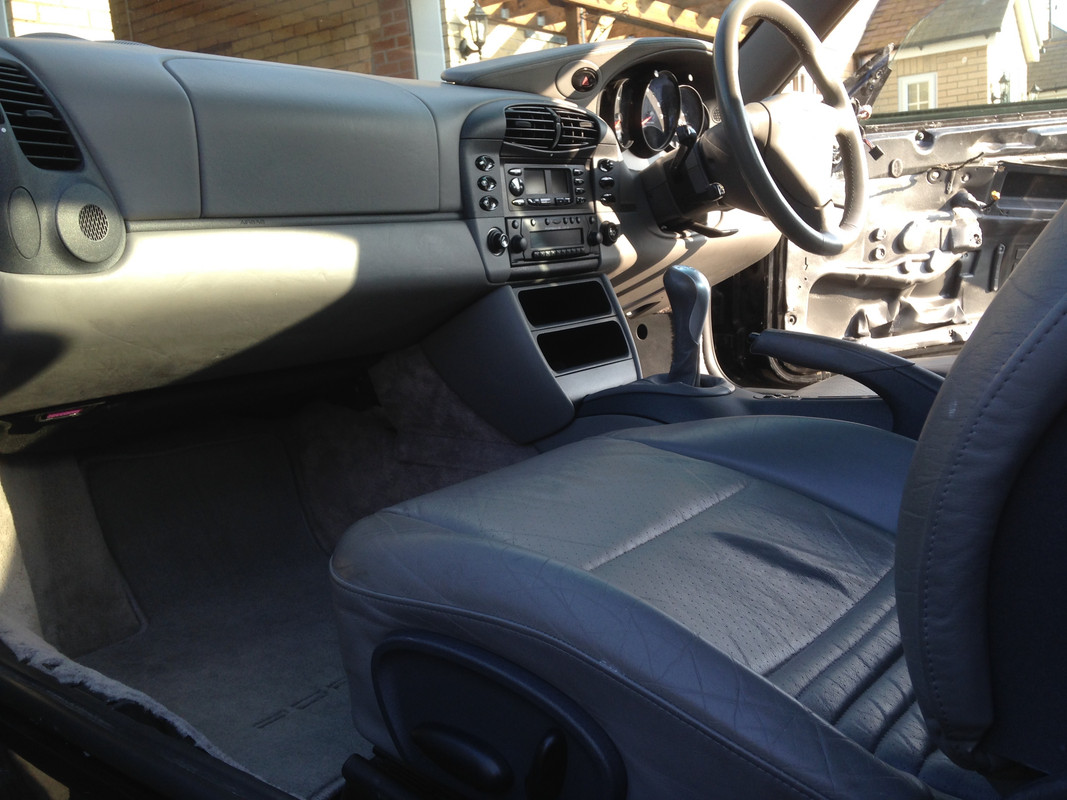
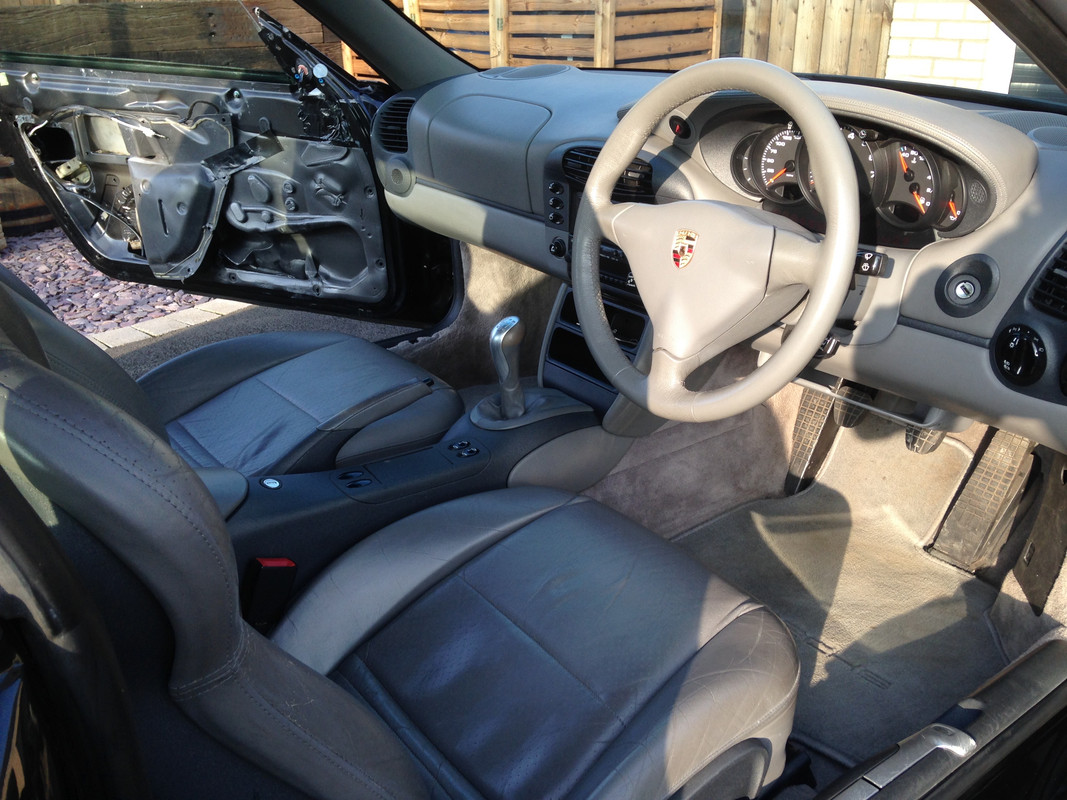
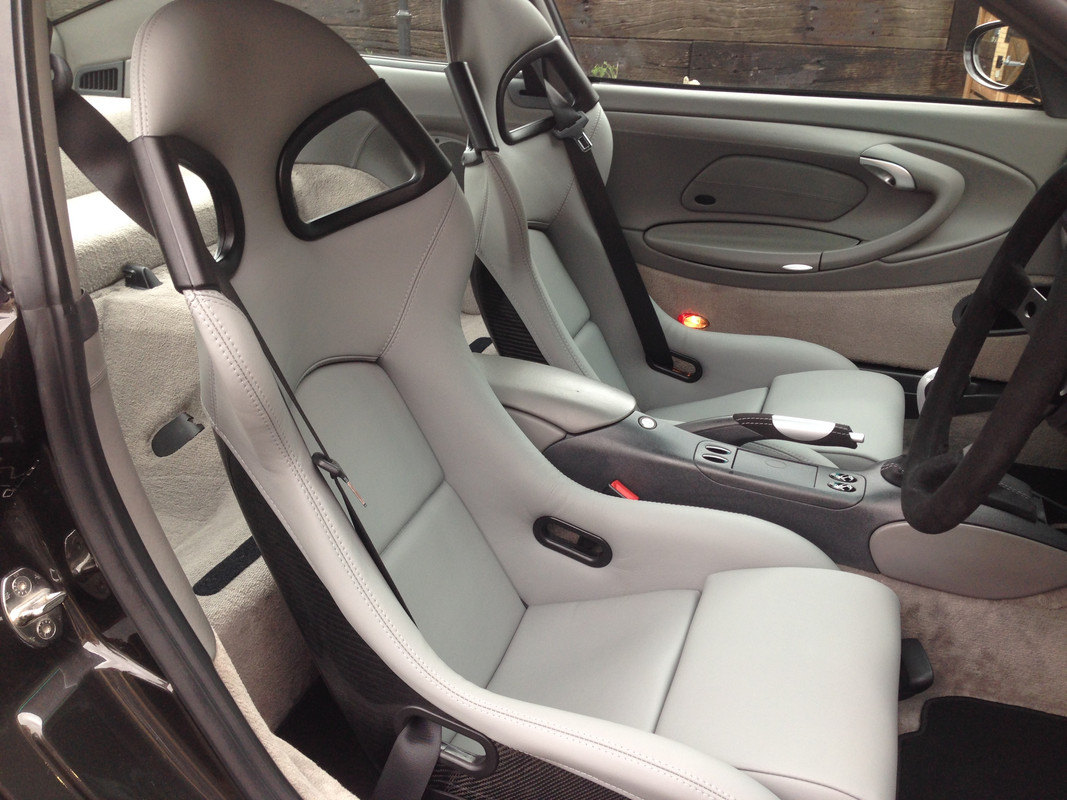
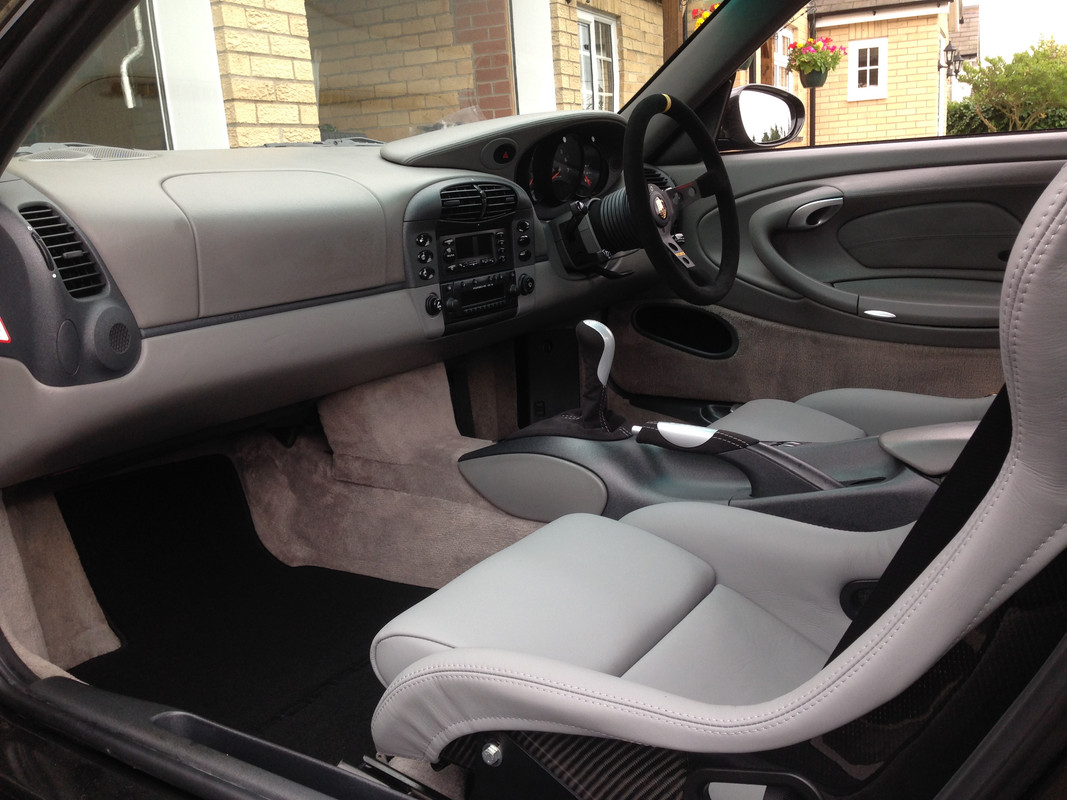
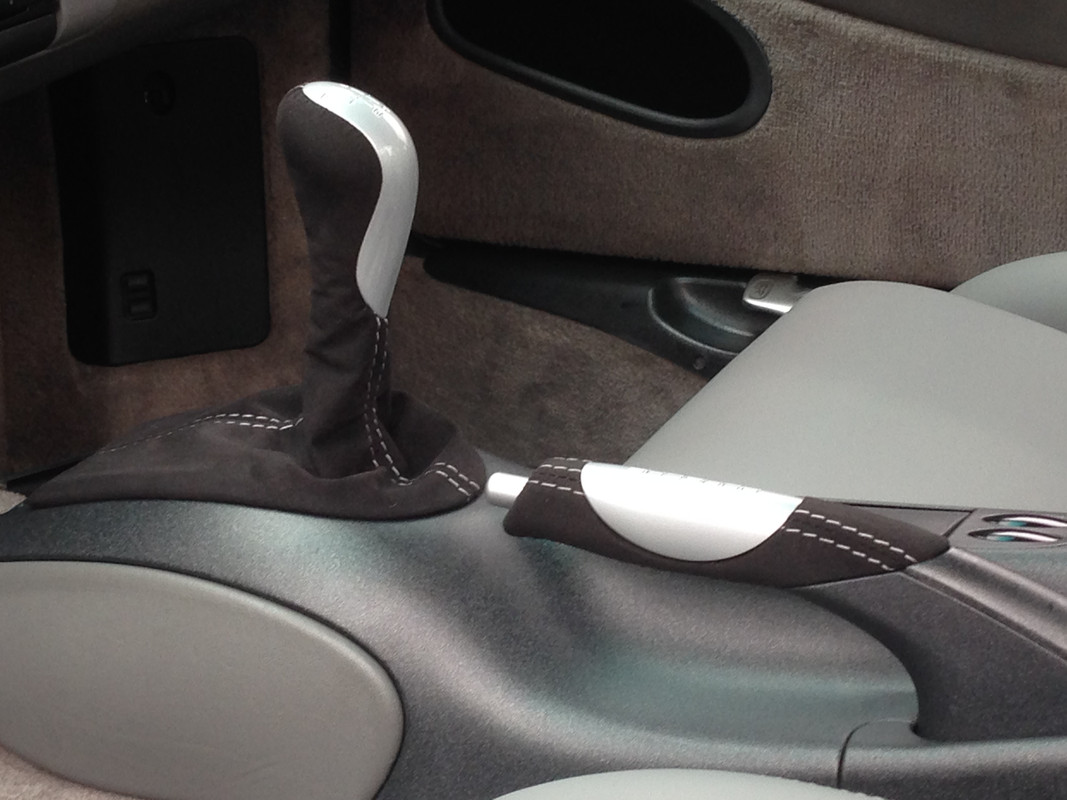
Oh and my interior is a lovely place to be now. More on that in the future.
Cheers. :thumb:
 
So me and Craig got cracking on with the interior last weekend.
We started on Friday night which was a wise move because as is usually the way, we inevitably needed tools from Craig's and my Dad, back in my home town, which is a 30 mile round trip.
Sorting that on Friday meant no interruptions on Saturday. :wink:

So once we were tooled up with electrical gear, for the steering wheel and a set of female torq bits, E12 in particular for the seats, we could crack on.

I'll probably break things down into separate items, as there's a bit to cover.

As ever, my approach is no irreversible mods. With that in mind I've left the plastics and centre console in the factory graphite grey fleck finish, etc, rather than having them painted. Although truth be told there are some marks on the handbrake base and console, so I may buy new ones later.

I wanted the interior to be a bit more "GT3" as seating makes a huge difference to the feel of a car, however I'm not bothered about harnesses or a cage as my car will never be going on track and for the road they're just hassle.
A cage just blocks rear access for luggage and harnesses just swing about and smack the back of the seats every time you brake.

So basically I'm trying to create a slightly sharper, more focussed road car without any of the drawbacks of full on track mods.

I have always planned to ditch the rear seats though as I never have rear passengers and I think the rear upright sections look so flimsy. Just my personal opinion though.

I've mentioned my seats earlier in the thread but I'll just recap to keep things in order. I cannot justify the cost of genuine GT3 buckets, much as I'd like to, so I decided on the D911 carbon fibre replicas.

Luckily for me a set popped up on here so I bought them and had them retrimmed in grey to ahem "match" my interior.
I say match as even though the swatch was a very near match they're actually a shade or two lighter than the old seats and things.
With removing the rears the new buckets look fine though, as they're the only seats in there now.
Also the lower half of my dash is in a slightly lighter shade as standard which matches the seats and ties them in a bit.

Anyway, pics as bought.


Sent to Simon at Hide N Seat in County Durham. He has almost a years waiting list but squeezed my stuff in in time for this summer.

Retrimmed -


I was and still am very impressed. Like I say they're a slightly different shade but at £650 for the pair to be recovered I'm still over the moon with them.

I had always intended to fit the 996 Cup car steering wheel so with that in mind I had Simon retrim my gearknob and handbrake grip in black alcantara to match the Cup wheel.

I could have any colour stitching obviously and after initially thinking maybe red (with red seat belts later) I decided it probably wouldn't go very well with the grey interior. So I simply went for grey stitching against the black alcantara, to tie it all in.

So old gearknob and handbrake grip removed.


I've always liked the Tequipment handbrake grip with the metal "Porsche" engraved insert so I figured now was the best time to buy one and have that retrimmed.

I found one for sensible money on EBay.


We stripped it down as I only needed the grip.


So this was sent to Simon instead of my original all leather item.

I also painted the silver inserts as they had a few chips and scratches, although I still need to fill the Porsche script with black paint at some point.

Retrimmed -


So that was all the retrimmed items completed ready to fit.
I'll cover the fitting later.
Next stop, Cup steering wheel.
:thumb:
 
Bootleg Cup Steering wheel. :D

Now I don't mind spending money on my car. I enjoy bringing things back upto scratch and making the car my own. Having said that some genuine Porsche parts are priced a bit too high for my liking.

The Cup wheel at £550 is one of those parts. It's a £150 momo 07 wheel with 3 tiny differences.

1) Porsche engraved on one spoke.
2) Momo engraving is black not yellow.
3) A Porsche horn push.

So I set about making a cheap mans version. :grin:

There are loads of guides online about removing the stock wheel and fitting the Cup wheel, so I won't do a step by step how to.

The trickiest part, which still isn't really tricky at all, is getting power to the momo hub for the horn.

Anyway, here's a couple of the main guides I used -

Horn wire -

https://rennlist.com/forums/993-for...ation-of-momo-steering-wheel.html#post9314265

Horn -

https://rennlist.com/forums/993-forum/226045-need-help-with-momo-rs-wheel-horn-wiring.html

https://rennlist.com/forums/993-forum/667291-993-rs-steering-wheel-installed-wiring-photos.html


Three items you'll need that aren't included in the kit are the contact pad/leg that the rear of the hub runs on and gets power from and also a female connector pin to get power to that. See threads above and pics below.
These are genuine Porsche parts.

The third item is a 2.7 or 2.8 ohm resistor to fit in the now redundant airbag connector, otherwise your airbag light will come on on the dash.
Resistors are available from EBay, Maplins, etc.

Basically it's then just a case of following the threads above, so -

Old wheel off.
Airbag electrical ring unit off.
Butcher, erm, I mean "harvest" :D horn wire and connector.
Extend wire and fit new connector pin , then fit in empty "Pin 71" in housing.
Refit housing and push leg of contact pad into front hole of pin 71, so that the leg clicks into the newly powered pin in the back.
Fit boss, wheel, then horn push.


We didn't bother with the momo horn ring to make a circuit to the hub. We simply drilled the hub and used an eyelet, nut and bolt.

Anyway pics.

Wheel -


Hub kit -


Pad for power to back of hub -


Connector for new link wire to position "pin 71" in stalk unit -


Harvested horn wire, extended (soldered and heat shrinked) and new pin crimped onto end -


2.8 ohm resistors for airbag. Only 1 required -


Airbag resistor fitted. A small cable tie and electricians tape were added after this pic -


Boss fitted -


Outgoing horn wire attached to hub to make circuit -


Onto the wheel itself.

In a cheeky attempt to make it look a little bit more like the proper one, we had some decals made up.

Thanks very much to Dammit for measuring his genuine engraved script for me. :thumb:

The first 4 are the correct 3mm high x 35mm long. The last 4 are 3.5mm high x 35mm long, which we tried just out of interest -


Fitted.


The horn push supplied is just the basic momo item -


I wanted a Porsche one but the genuine momo Porsche crested one isn't really to my liking. I know it's genuine but the crest looks a bit like a bad copy, with incorrect colours etc -


With that in mind I found a guy selling crested horn pushes, but the crest is actually a proper copy of the Porsche badge. I just think it looks like a better quality part.


The wheel was actually fitted last of all during the interior work, which I'll cover next, but I'll post a pic now anyway.

Finished -


Compared to a genuine one below -


I'm very happy with it and it makes a big difference to the drive of the car, as now all the contact points (the steering wheel, gear knob and handbrake) are alcantara.
Which by the way, will wear horribly, but in the meantime I'm a happy bunny.
:driving:

Costs - I'll add the costs for the small parts later.

Momo 07 wheel in alcantara = £130
Momo hub = £55
Horn push = £40
Brass pad for power = £14.50
Pin for pin 71 = 97p
2.8 ohm resistor = 50p
Decal = £10 for 8 = £1.25 each

So basically £250 all in. Not bad vs the £550 for the genuine item.

There's obviously a small length of wire, some solder and heat shrink on top of that but if you're a tinkerer you'll already have those. :wink:

Thankfully I had no horn issues and everything worked first time. I was ready for a battle though, as is usually the way.

Next stop, the interior strip, clean and refit.
Cheers. :thumb:
 
Brilliant job, top work.
MC
 
:worship:

Your write ups must take longer then the actual work done :grin:

Keep them up :thumb:
 
Great write up as normal , You do get such a great sense of feel with the Momo,Its next on my list to get Handbrake and Gear lever done
 
Like the seats and good job on the steering wheel.

I quite like the cup wheel, or the 993RS wheel, but don't want to give up the airbag :oops:
 
Marky911 said:
So anyway, yep it's great. Not as "wow" as the earlier pics suggest but I don't think cars ever are, in the flesh. Photos flatter them.
I think after spotting the scratches and little things I've realised that it's never going to be "as new". It's a great example of a 20 year old car, but it's still a 20 year old car.
With that in mind I'm not wasting anymore money on PPF or ceramic coatings.
It will get looked after properly but the old fashioned way. Washed and then waxed when needed.

Been meaning to reply to this: I share your feelings to an extent, to say that I'm disappointed that the paint is lifting on my deck-lid undersells the situation somewhat. However, I'm going to get those areas resolved - and to be fair to him my painter booked it back in to be rectified immediately. I do have a back-up painter if that doesn't go to plan. There are some scratches on my bonnet (detailer reckons from the guys polishing the car, which is painfully ironic), and some minor inclusions in the bonnet, plus two areas that were not flatted back correctly. Whilst fixing these I'll get the bumper chip fixed (or, more likely, the whole bumper re-sprayed). The problem is that you pay for perfection, so when you don't get that it's a huge let-down.

I'm not going to go for PPF all over, even once the car is perfect (and I won't let it not be, ultimately) because the cost is lunatic, but I will get the bumper, mirrors and area in front of the rear wheels PPF'd simply as that's easier than getting stone chips fixed regularly. I'll likely get a ceramic coat over the whole car as that was very easy to care for on the Volvo.

I think that once you get some distance from your anger about the faults you'll be a lot happier, then it's really a case of whatever makes the most pragmatic case for itself - be that wax and washing every Sunday, or a leading-surfaces PPF and a coating, or somewhere in between.

Whatever you choose the car looks great and I've very much enjoyed watching it evolve to meet your vision for it.
 
Sorry for the late reply lads. I've got a bit on at the moment.
An unintentionally long post, now I've read it back, so feel free to ignore it.
Sleep deprived nightshift ramblings I think. :sleepy:

Thanks for the comments, as always MC. :thumb:

Hi HSC, yes my posts do go on a bit don't they. :grin:
And yes they take a little while to write. Thank god for nightshift eh. :wink:

Cheers BHZ - and yes the difference a single item like the wheel can make is massive. Alcantara, for the win. :D
It's definitely nice to have all contact points done in the same material. So wheel and levers. Adds a bit of continuity and a quality feel. :thumb:

Y2K - thanks matey.
What's not to like about a face full of momo horn push in the event of an accident though. :dontknow: :D
Seriously though I'm with you and it is at the back of my mind the odd time but I'll risk it for now. :thumb:
There are always options there for your standard wheel anyway.

Dammit - Evenin Neil, thanks for taking the time to write up those points.
Firstly, yep we were amazed at how straightforward the wheel fitting went and even more amazed that the horn worked first time. Your thread was circling around in my mind throughout the fitting process. :grin:
Doubt I'd have removed the column though, so if it hadn't worked I think I'd have done something with the original wheel instead.
It went so unbelievably well that Craig ordered up all the bits for his. He got it fitted last week and again his horn worked too.
I bet you're in a tiny unlucky percentage that have the issues you had. You got there in the end anyway.

The "hmm" stage is probably only a few thousand miles away for alcantara I fear, so I'll see what way you go with yours. I may go back to leather for everything when my bits wear.

Thanks for the bodywork comments.
I think the main difference between me and you is that your bodyshop is standing by their work. :grin:

Mine said they weren't spending anymore time on mine, hence I kept the last £500.
That has paid the £350 for the detail and leaves £150 towards getting the rear wing/engine lid done again over winter. If the next guy is good and matches it well I may get him to do the front wing where one of the alignment guys has obviously leant on it and scratched it. No point ringing them as they'll just deny all knowledge.

Having said that, the car has been under its cover since I got it home from its detail, while I festered.
That was until yesterday when Craig came up to help me swap the dodgy rear toe-link over.
We whipped the cover off and when I went to show him the scratches on the wing it took me a good 10-20 seconds to find them so I think I was remembering them way worse than they were. :grin:

I think I'll get the detailer to revisit a couple of small areas, as I expected a bit more. I can wet sand and buff things back up. I thought the detailer would but maybe they don't take the risk. Gonna give him a ring anyway and see if he'll have another look at a couple of fine scratches (including the wing) and see if he can get them a bit better. After all £350 is a fair chunk for polishing a car and I only gave it to him as I don't have time. I expected a bit more than what I could do myself.
Not bashing him mind. It does look very nice now. 8)

Re the PPF or ceramic coat I'll have a think again. PPF never looks as good as polished paint close up and if you don't see a line when it's fitted, you'll probably see a line in the paint when it's removed. So then if you need to repaint the front for a line half way up the bonnet, you may as well save the PPF money for the next front end blow over.
£1250 for ceramic coating is bonkers when it doesn't provide a physical barrier. Supposedly it's 15 microns. To anyone reading who doesn't work in microns that's 0.015 of a millimetre.
Not worth £1250 as that's a big chunk of respray money right there.

We'll see what winter brings though, once the swirls are back.:wink:

As always thanks for the comments everyone.
It's always good to hear ideas and opinions. :thumb:

Interior update coming soon.
 
It's a question of where makes logical sense to stop, I totally agree.

I deffo would not stop halfway up a panel, my thinking was to get the bumper alone wrapped (I keep feeling tempted to do it in white vinyl, possibly because I have mental issues, but will doubtless do it clear when the time comes).

The bonnet I go round in circles on, to an extent, but I reckon I'd leave it and just do the bumper. If I were to do the bonnet I'd get the whole panel done.

If you use this it's £510 for the basic 5 year plus single stage paint correction: https://gtechniq.com/service_embed/DhY2cEJPHq

There's a chap who visits our HO in Reading who does it whilst you are at work, so it's pretty convenient.
 
That's not bad at all. Usually things cost less up here but not on this occasion.

I'll require the single stage correction by next spring I imagine. Still under £1k though.

Yes full panels sounds sensible and is probably how it's done now. I just know a mate of mine has a car that's had it on in the past and there is an outline across his bonnet about half way up and over onto his wings iirc.
I fact it's almost exactly the outline of a car bra "remember them". :grin:

I wonder if it was one of those things?? :D


Right, I may as well post my interior part next. I write them gradually and it's ready to post so...
 
Pic heavy, long post. "Finished" pics are at the end. :wink:

Righto, interior. 
This all went well and was definitely one of the more enjoyable projects on the car. 
A good weekend stint saw it mainly done. 

First thing to do was strip out all the seats and rear door cards to enable a deep clean and removal of the rear belts etc. 

Standard front seats out -


Rear seats, belts, door cards and centre console out -


Leaving us with this -


Mmmm, years of dead skin cells with a couple of sun melted Tic-Tacs thrown in for good measure. :yuk:
It wasn't actually too disgusting to be honest, but it was definitely due a good clean -


So I gave it a good Hoover out, then got stuck in with the upholstery cleaner/wet vac -

Cleaned -


All door cards cleaned. Carpeted areas wet vac'd then the leather cleaned and treated with Gliptone. 

Finished and refitted -


I then cleaned and polished all the windows while access was this good, before moving onto the interior reassembly. 

Centre console delete carpet fitted -


Centre console leather parts cleaned and treated -


We removed this tray thing -


...from under the dash here, to improve legroom and tidy things up a bit -


We wrapped up the now redundant electric seat wiring connectors and gorilla taped them to the floor to stop them from rattling about and possibly getting damaged -


The seat rails supplied with the buckets weren't particularly bad but one had a millimetre or two of fore and aft play. I figured that would mean a bit of movement in the seat when braking and accelerating so decided to ditch them. 

Aftermarket ones -


Originals removed from my genuine seats -


Nice and hairy -


Cleaned up and ready for a trial fit -


Trial fitted. No trial needed for the floor fitment as they're the factory rails obviously, but we'd been having an issue where the lever to move the seat forwards or backwards would pop out of its mechanism when pulled. 
It turned out that the base of the seat was fouling the mechanism by a tiny amount. A washer under the rear of the side-mounts was enough to keep the seat shell clear and resulted in everything functioning correctly -


One other point worth mentioning is that the drivers side seat belt buckle has a pre-tensioner and therefore wiring running to it. This cable is  clipped and routed around the bottom of the original seat. 
Not wanting to butcher this I purchased a second hand passenger buckle (passenger side doesn't have a pre-tensioner) and fitted that. 
I'm pretty sure this is how GT3s come and certainly Craig's car is, with his genuine GT3 Recaro's. 


Seat fitted -


After seats it was onto the smaller details. 

Handbrake -


Gearknob -


Very happy with these -


Removed my old grey mats -


New genuine mats to add a bit more black to the cabin. Way more practical too -


Refitted the mounting pads -


Mats fitted. Coming together now -


Steering wheel fitted -


It was at this point I remembered the seat rail, end covers. The blue stuff is welded on Magic tree -


Cleaned and treated. Still missing in some of the pics next though -


So a few before and after shots. The door cards are missing in the "before" shots as the car was ready for the bodyshop then -

Wheel before -


Wheel after -


Cabin before -


Cabin after -


So all in all I'm pretty chuffed. We lost quite a bit of weight as the front Sports seats weigh a ton. That coupled with ditching the rears, the belts and the centre console stuff adds up to quite a bit. 
I had always planned to weigh what came out but I didn't get round to it. 

It's never going to be a stripped out CLR type thing as I don't do irreversible mods. 
Speaking of CLR, where is Rich these days??

There still some work to do on the interior when I run out of other things to do as there is the usual wear and tear on some items. Nail or ring marks behind the drivers door pull, light indentations on lower dash section pass. side, plus a couple of nicks and scratches here and there. 
It's certainly presentable enough for now though. 

The buckets and wheel add a lot to the driving experience. The driver is properly keyed in now and the whole car feels alive and much sharper. 
Just what I expected really as it's a homage to my old GT3 interior.

I have some dome head bolts to fit to the side mounts as the hex heads look a bit agricultural and I've just collected the last part of the centre console delete pack, which is the plastic cover for the front of the centre console. 

Still plenty of smaller items to tackle too, mainly resulting from the bodywork. 
Sill kick plates to go on, various factory style decals around the car, etc.
I want to paint the bonnet release handles as I have the decals here from MisterCorn. :thumb:
Some of that lot can be done over winter though. The car is usable so that's the main thing. 

I still need to get to the bottom of the rear camber issue and I may ditch the Elephant Racing adjustable front arms as the least amount of camber I can get on the front is -2 degrees. That's probably a bit much for road use if truth be told. 

Anyway thats it for now. As ever, thanks for looking. 
:thumb:
 
Wow, what a fabulous job you have made of every part of the car. You must have the patience of a saint. Everything is spot on. I love reading your posts, its like a good book, cant wait to read the next chapter. Keep it up :thumbs: :D
 

New Threads

Forum statistics

Threads
124,591
Messages
1,441,888
Members
49,024
Latest member
a1jgh
Back
Top