

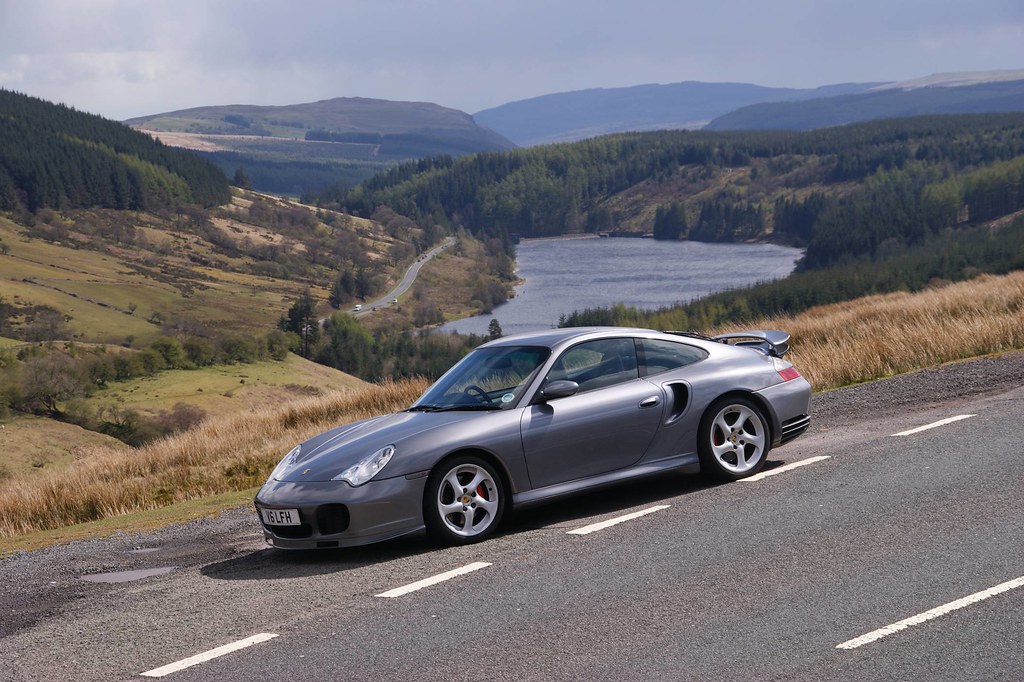
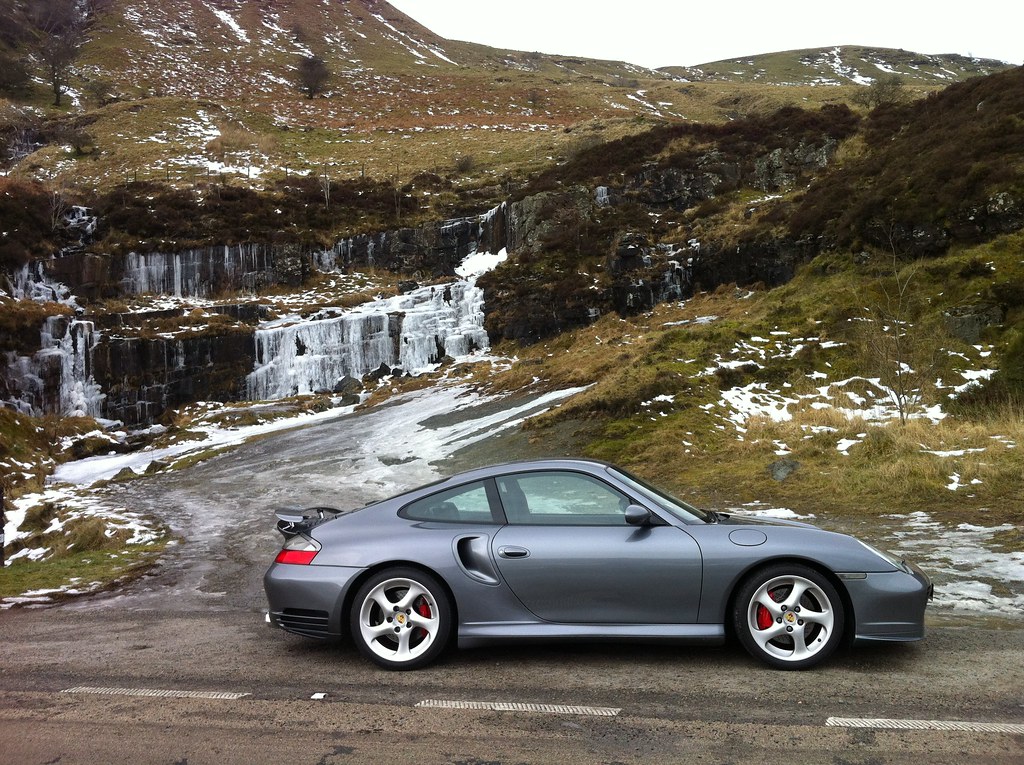
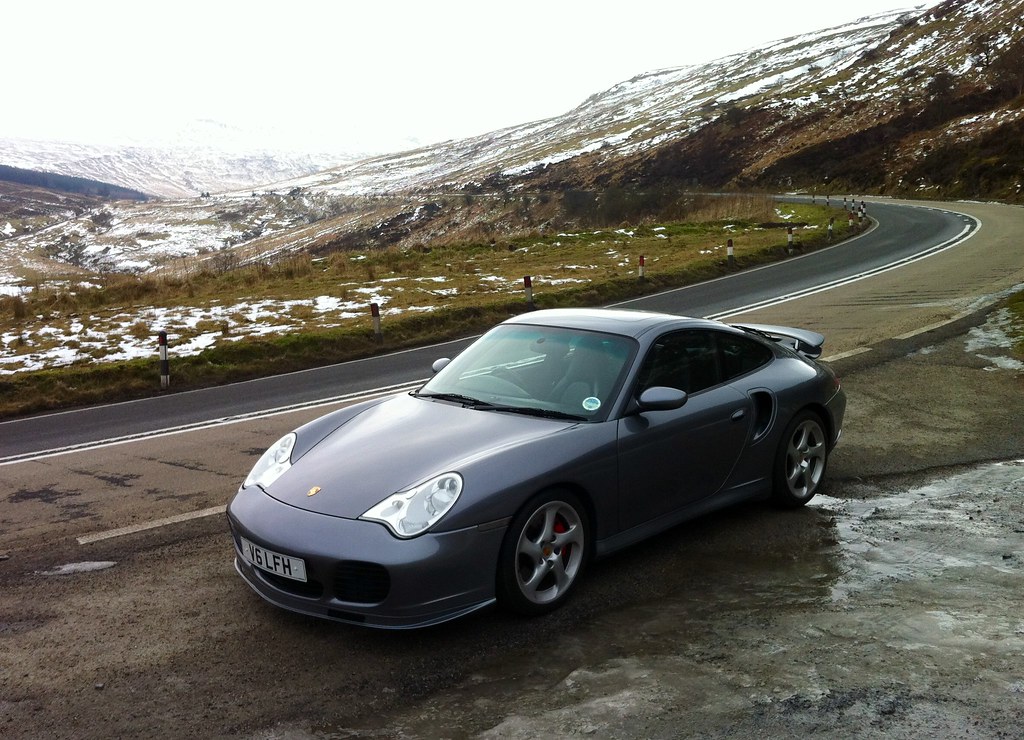
DW 996turbo
Trainee
- Joined
- 23 Jul 2017
- Messages
- 77
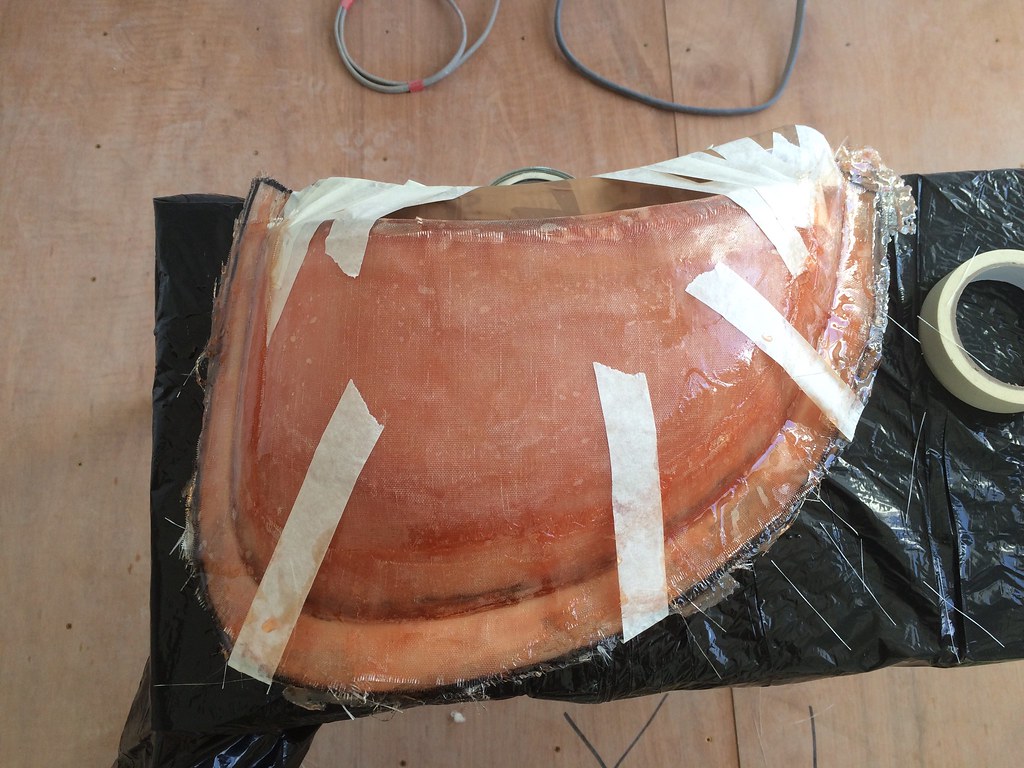
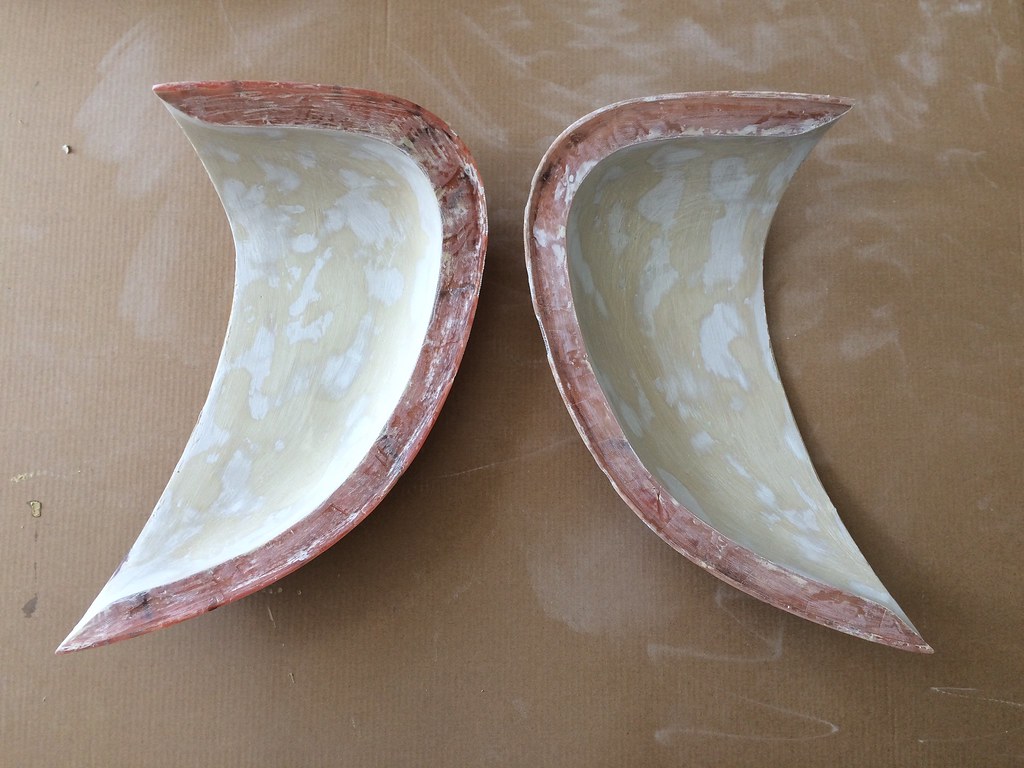
After trimming away the overhanging lip from the outer piece, I was able to bond the two pieces together with two layers of fibreglass strips on the outside edge. Once this had dried I did the same on the inner edge as well to make sure the two were securely attached. The scoop was taped to the intake each time to keep its shape.
 Untitled by Dave W, on Flickr
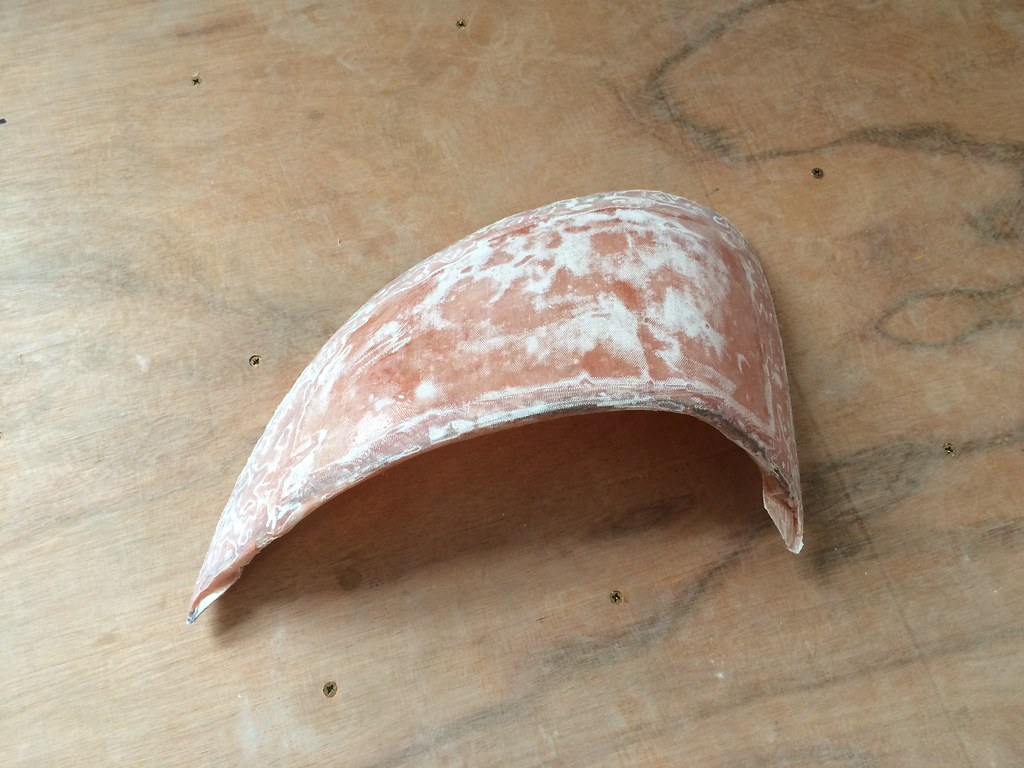
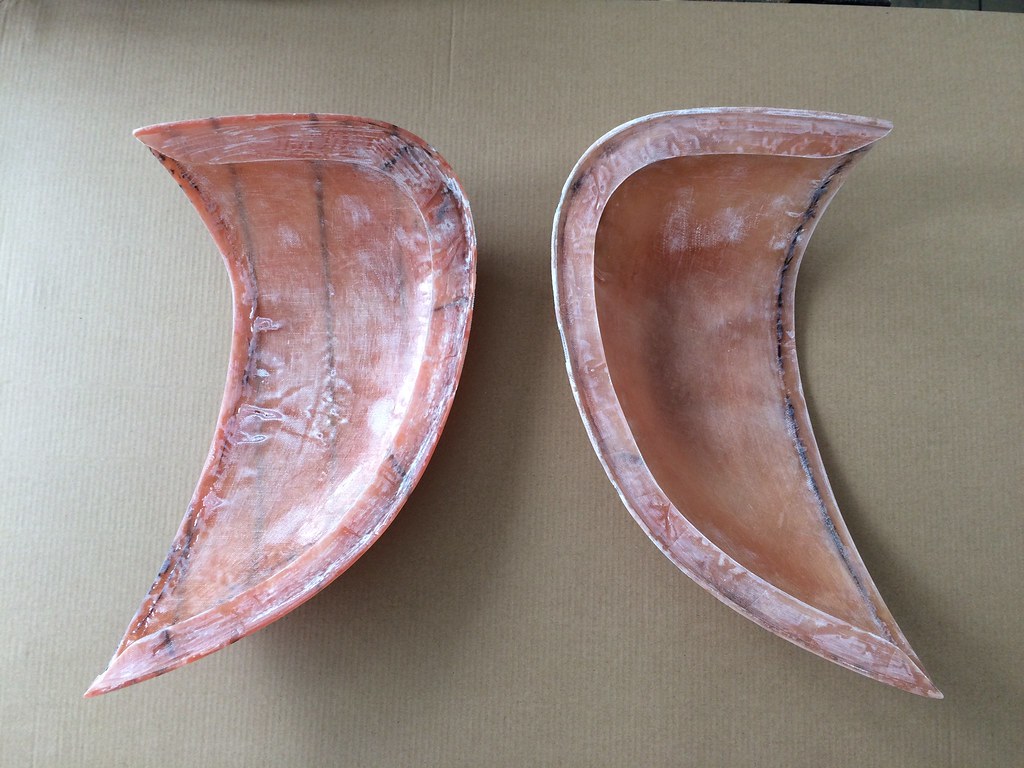
Now that both parts of the scoop were bonded together, I was able to use my trusty dremel to trim away a lot of the excess material. This was the first time I had anything even resembling what I had in mind, but it was still a long way from being finished yet.
 Untitled by Dave W, on Flickr
 Untitled by Dave W, on Flickr
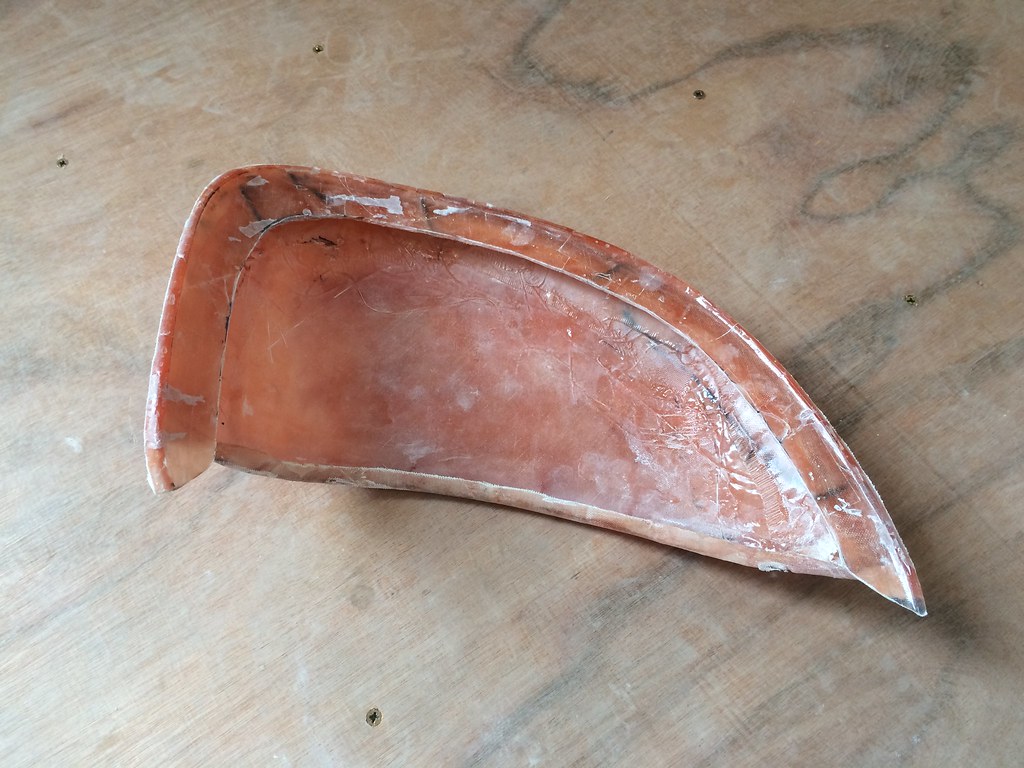
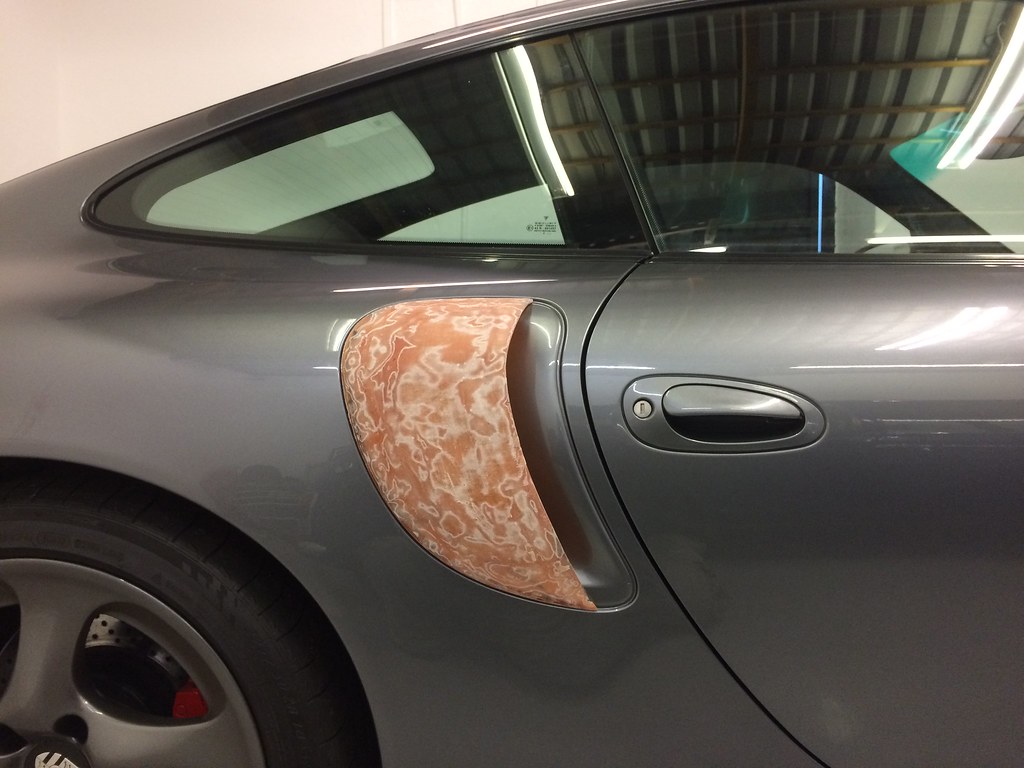
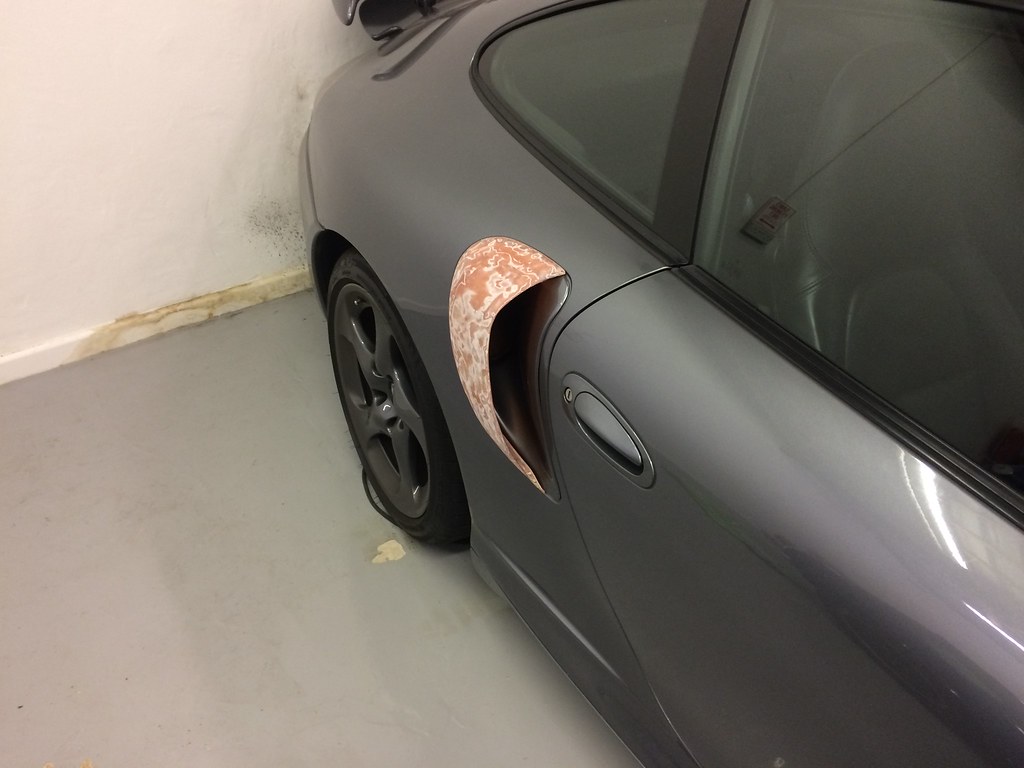
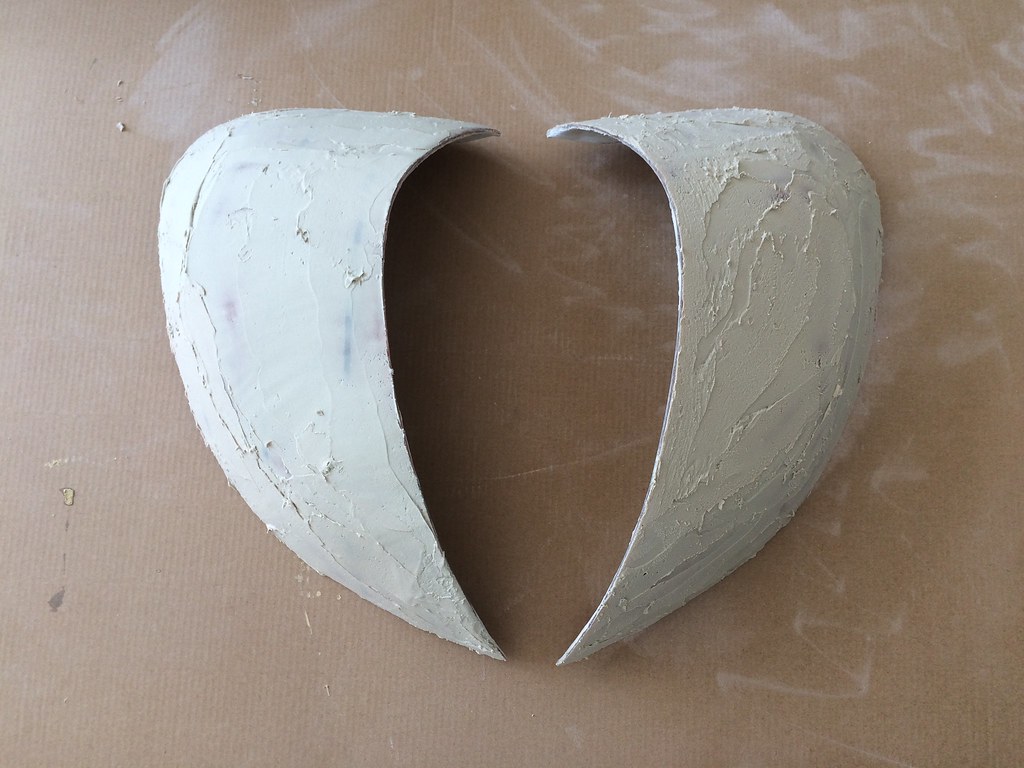
The basic shape now needed to be refined a bit before I could take it any further. First I needed to trim the leading edge of the scoop. I tried to get it as close as I could to the line of the door edge. It wasn't perfect, but it was fine for this stage of the process. After a bit of sanding of the fibreglass, this is what I had at this stage.
 Untitled by Dave W, on Flickr
 Untitled by Dave W, on Flickr
Untitled by Dave W, on FlickrNow that both parts of the scoop were bonded together, I was able to use my trusty dremel to trim away a lot of the excess material. This was the first time I had anything even resembling what I had in mind, but it was still a long way from being finished yet.
Untitled by Dave W, on FlickrUntitled by Dave W, on FlickrThe basic shape now needed to be refined a bit before I could take it any further. First I needed to trim the leading edge of the scoop. I tried to get it as close as I could to the line of the door edge. It wasn't perfect, but it was fine for this stage of the process. After a bit of sanding of the fibreglass, this is what I had at this stage.
Untitled by Dave W, on FlickrUntitled by Dave W, on Flickr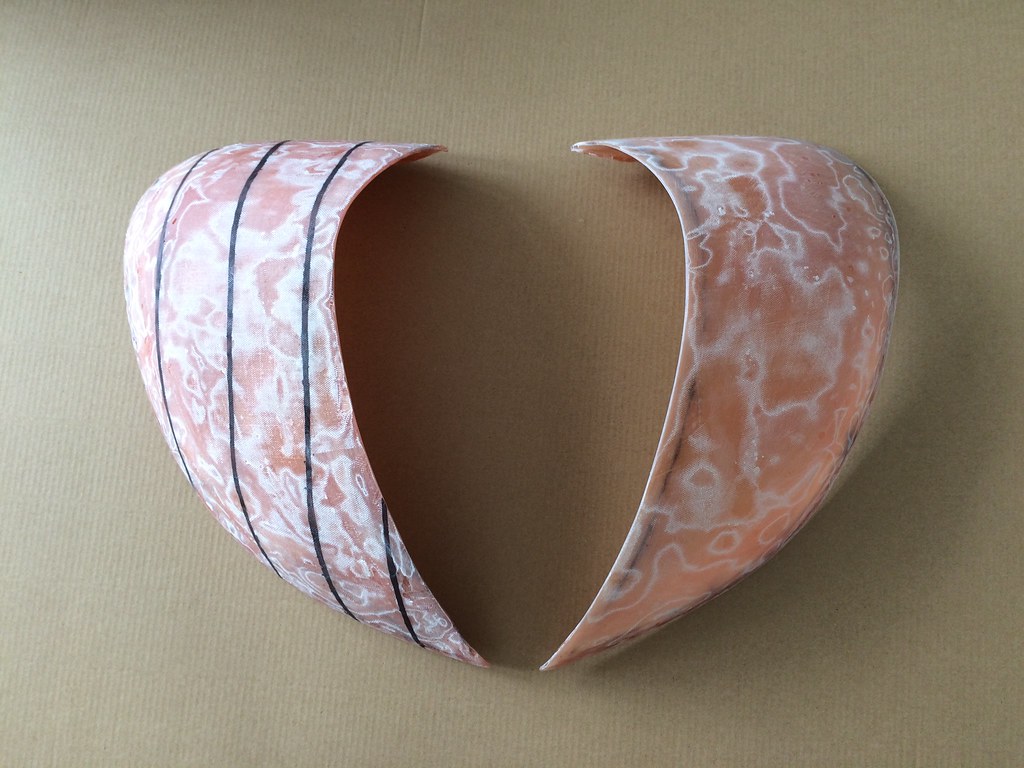


 It did look good like that......but I'm happy with my decision. :thumb:


")


