

infrasilver
Moderator
- Joined
- 4 Oct 2010
- Messages
- 9,934
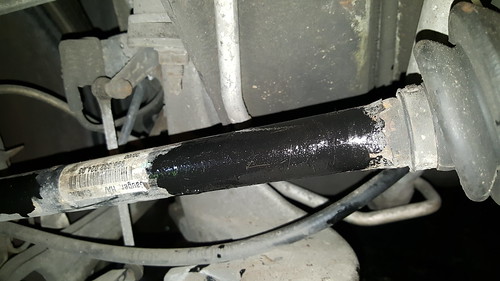
wasz said:I saw Pelican parts recommend replacing the release lever and ball pin, and the release bearing guide tube to eliminate any creaks, and sell a super kit with everything:
http://www.pelicanparts.com/catalog/SuperCat/996J/POR_996J_TCLUTC_pg1.htm
Dunno but it was on my mind to change those when I do my clutch.
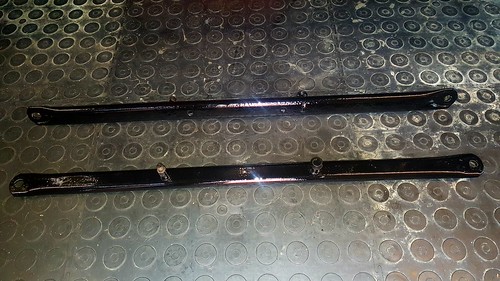
The release lever is just pressed steel so I can't see the need for replacing that until huge miles, maybe the other items, yes, but for that price I will just clean them up and blob a bit a grease on them.


")


