

Alex
Nordschleife
- Joined
- 6 Mar 2014
- Messages
- 22,176
My starter motor has been screeching for the last 3 months or so, so with the weather being ok this afternoon, I thought I'd have a bash at sorting it out.
It was doing this half the time:
So I whipped it out, gave it a clean and some grease and back in. Time will tell if I've managed to cure it but as yet it seems fine.
Couple of pics and a how to below:
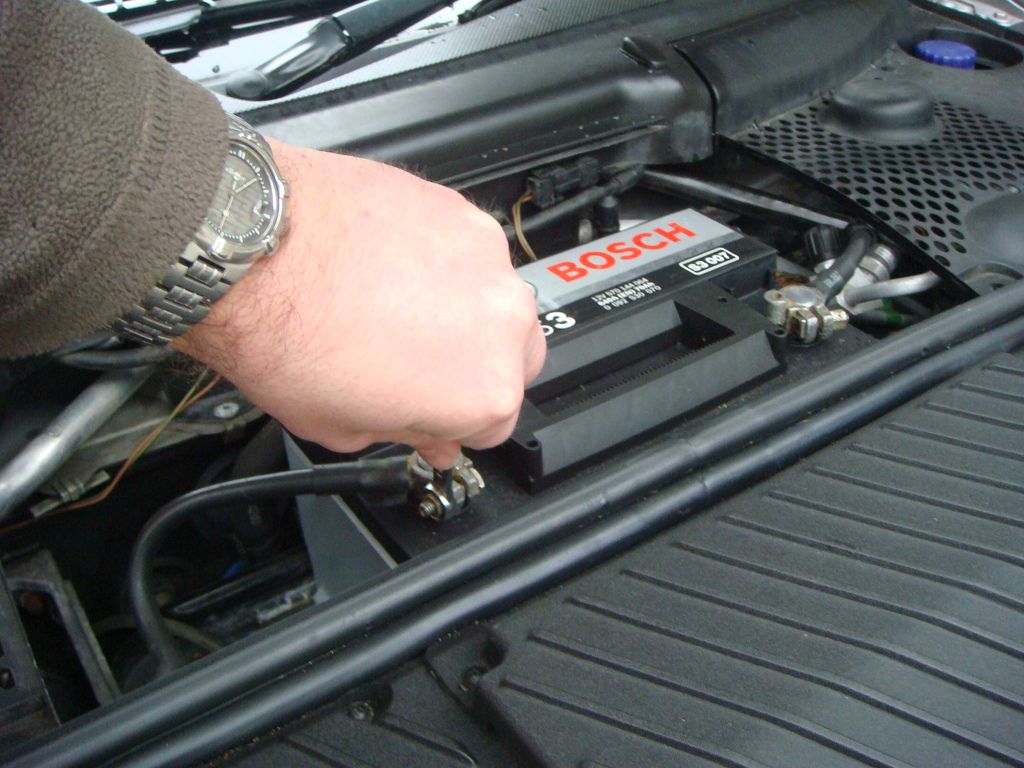
First disconnect the battery (with the key in the ignition to prevent alarm sounding) as the starter has a live direct to it.
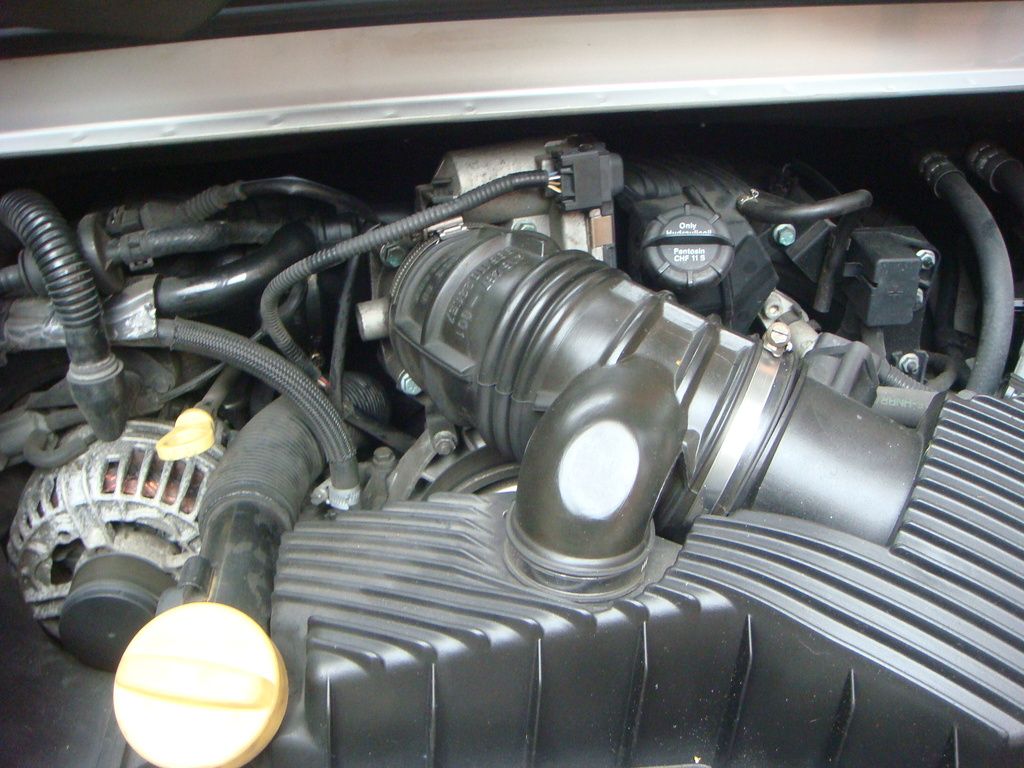
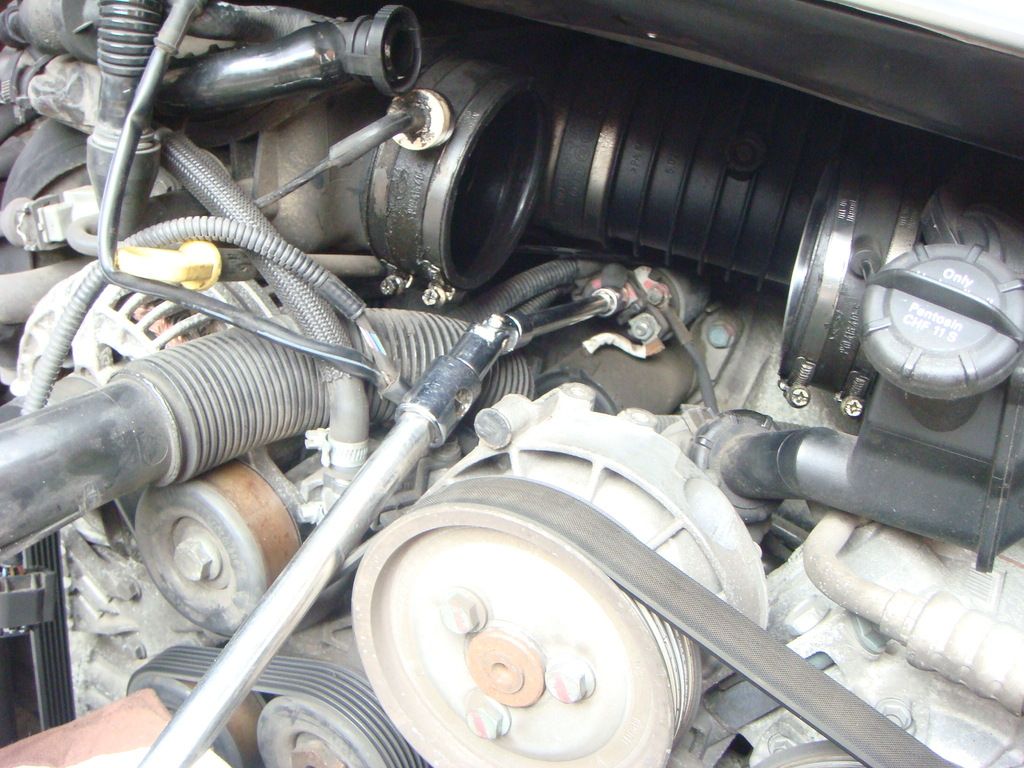
Then start stripping all the parts out that are in the way, firstly the airbox. Disconnect the MAF sensor and undo the jubilee clip to the throttle body before removing the box (clamped in with one bolt in the middle at the front/back of the box).
Then disconnect the AOS air pipe from the plenum and power lead from the throttle body before undoing the 4 screws holding the body on (the bottom left one also has a clamp on that supports the body to the engine as well as the intake plenum, although mine was sheared off).
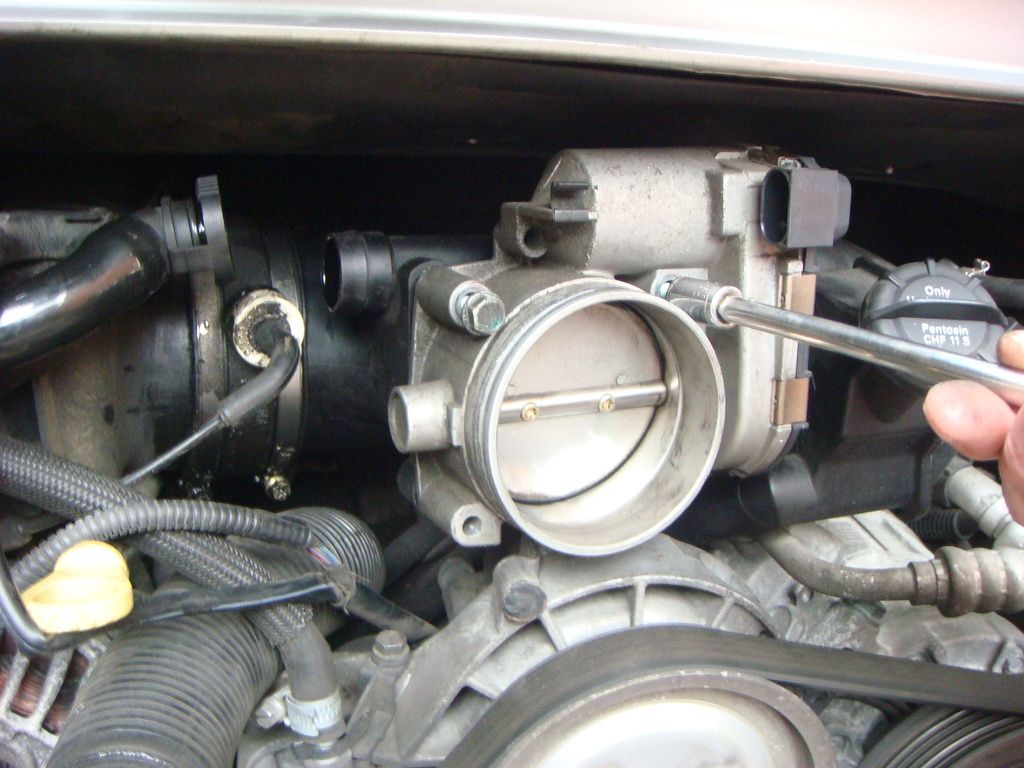
Before removing the plenum, undo the inner jubilee clips and rotate the plenum to break the seal.
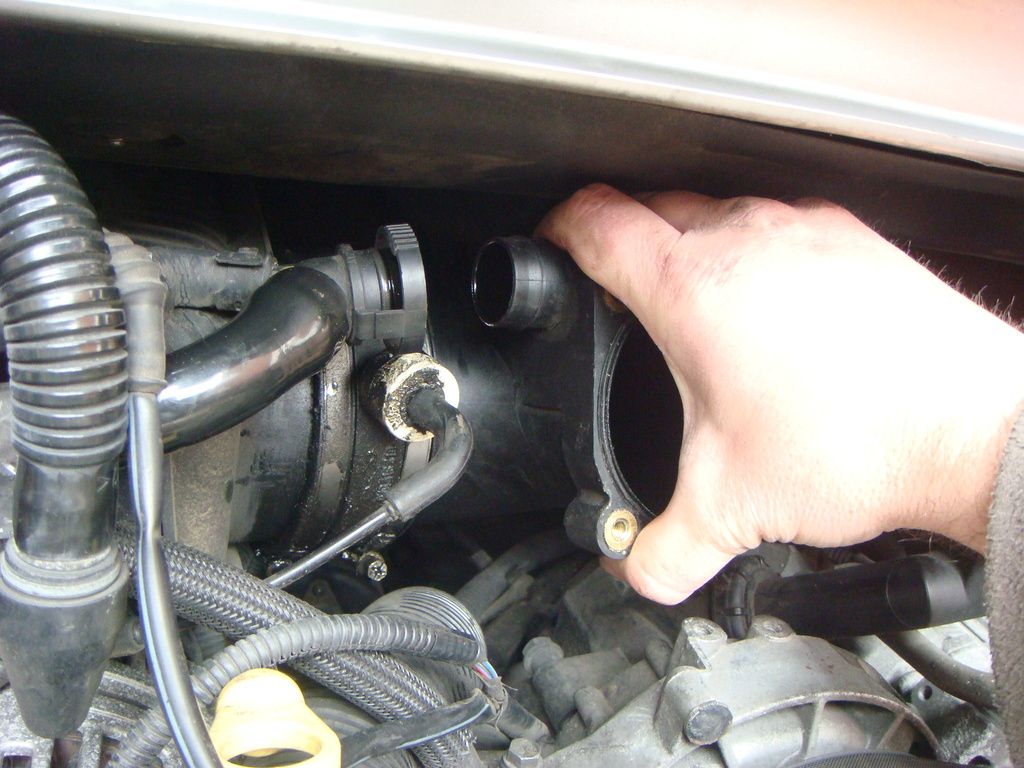
Then re-tighten and do the same with the outer clips. Once all seals are cracked, undo all 4 jubilee clips and push the rubber pipes outwards away from the plenum. It can then be wriggled out.
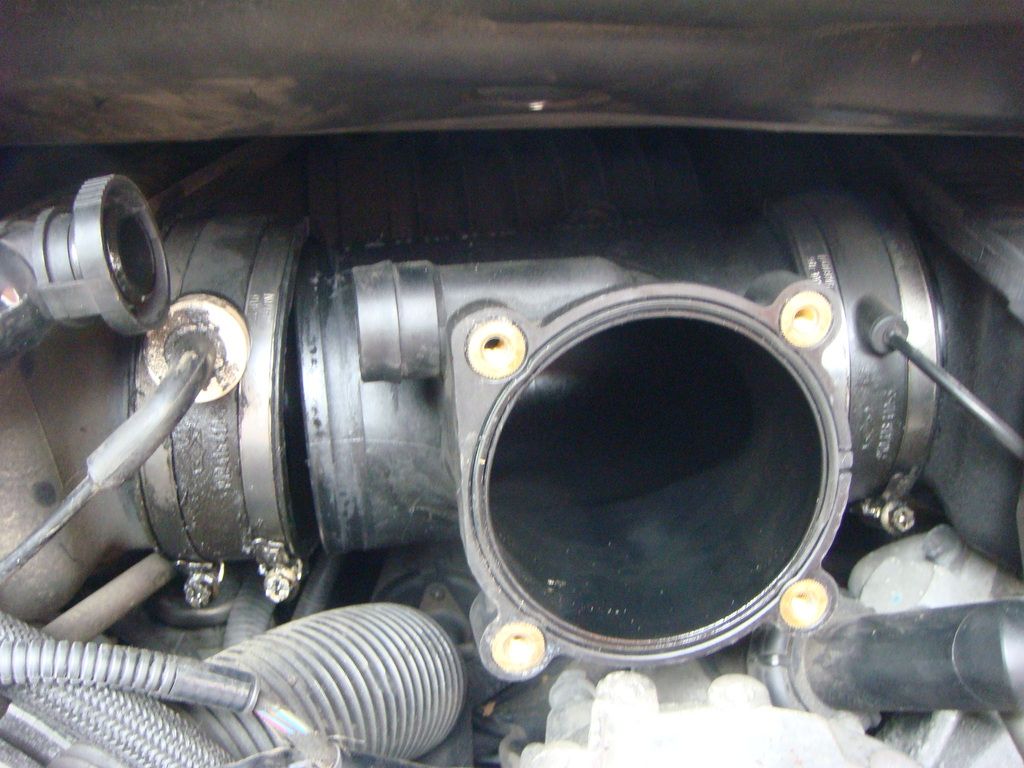
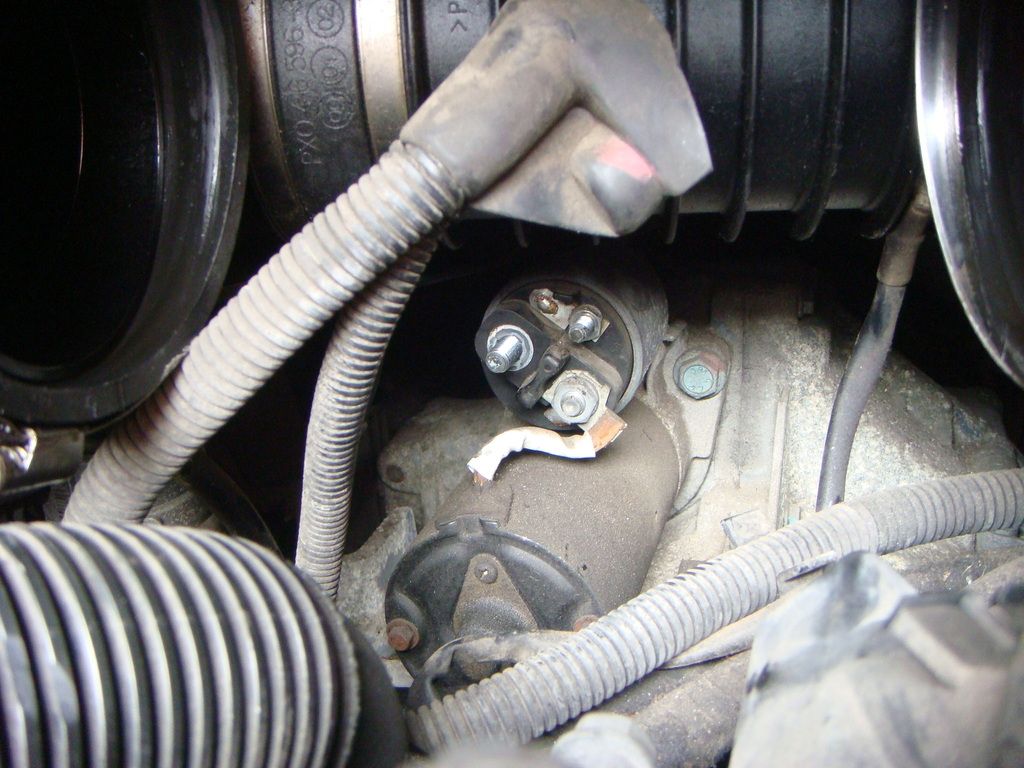
Once removed you can see the starter motor.

Disconnect both earth lead and power lead from the soleniod.
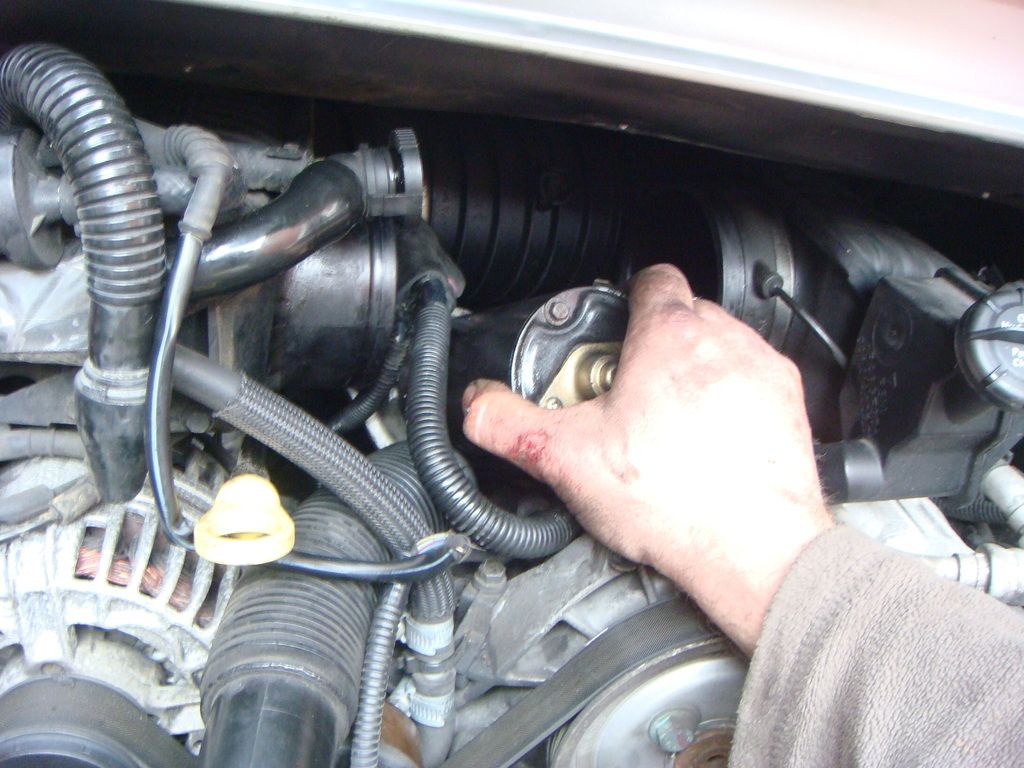
Now remove the 2 bolts holding the starter motor on (the one on the right that's visible was quite easy, the one out of sight a bit of a mare).
At this point, job ground to a halt because my 1/2" to 3/8" reducer snapped :nooo:

So I had to nip up to my Dad's and rob his socket set whilst he's on holiday. At this point, the job became a bit harder as I had to use to 3/8" extensions and they weren't long enough so I was limited on access, but managed to get the other bolt out (and graze my hands!)
The other bolt is hidden in the depths of this photo (note I removed the LH rubber intake pipe to give myself more access) .
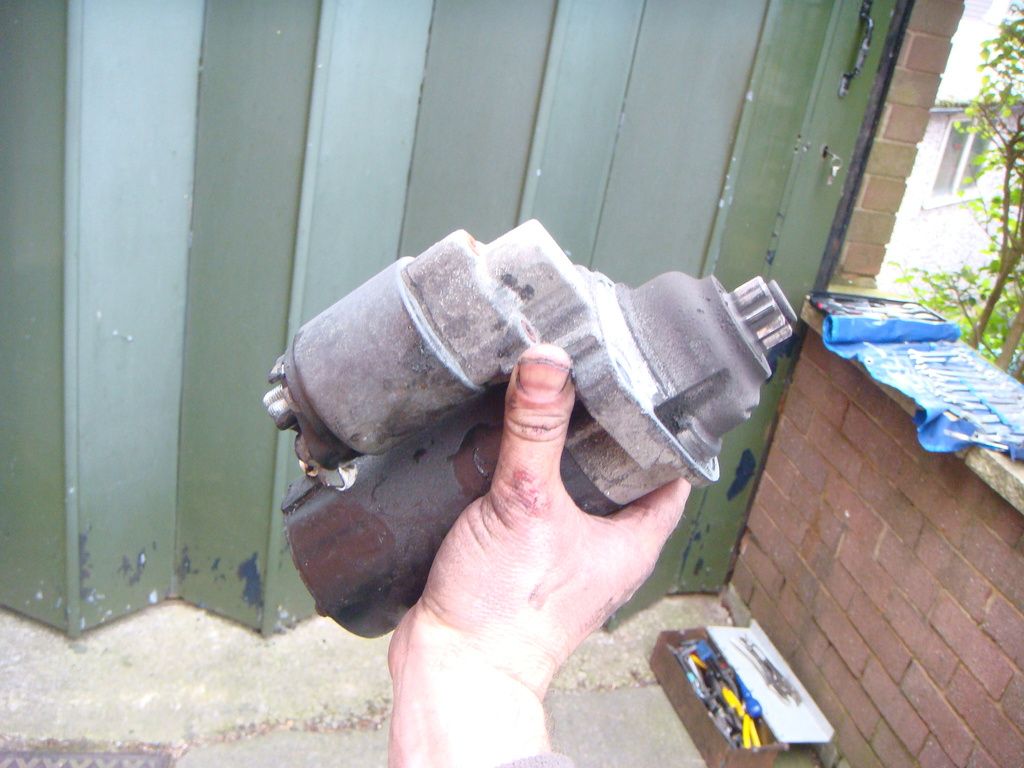
The starter just slides right out then.
Didn't look too dirty when I removed it and was a bit surprised as I thought it would be caked in clutch dust.
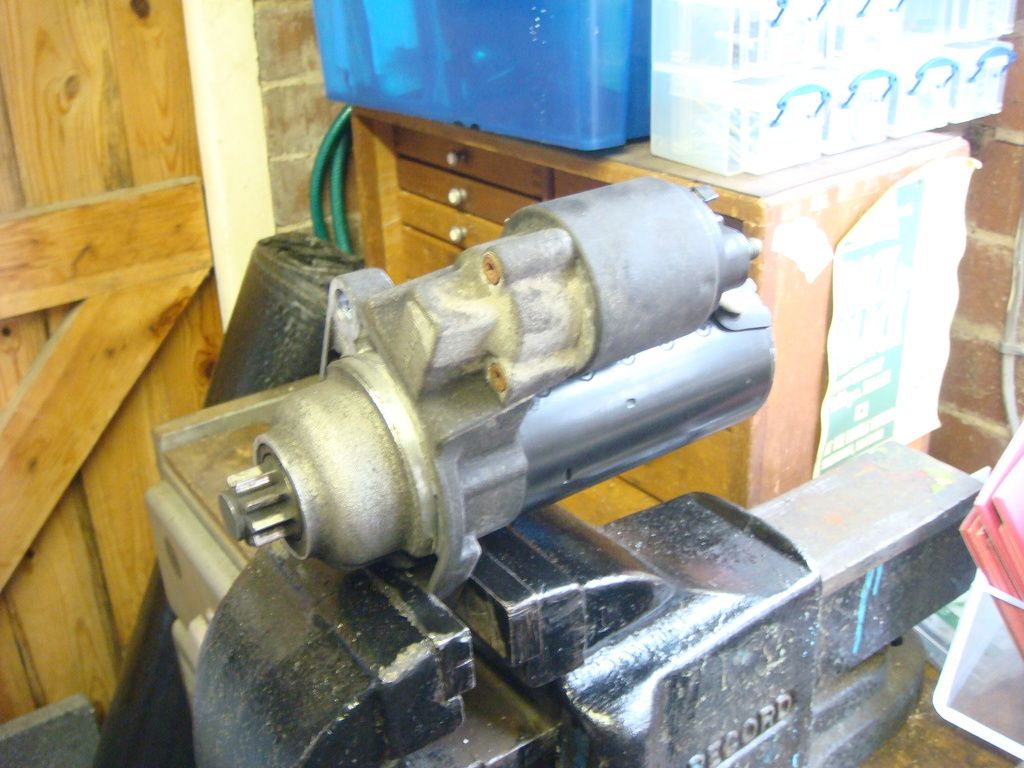
Gave it a good clean up and pulled the bendix drive out and applied some silicone grease round it. Whipped the cover plate off the back too and greased that end.
Put it all back together in reverse order, fired it up a few times and as yet, not a screech so hopefully cured it, but time will tell.
Was going to strip the solenoid down but the bolts holding it in are well and truly rusted up so left that for another time if need be.
Now to order myself a new reducer for my socket set.
It was doing this half the time:
So I whipped it out, gave it a clean and some grease and back in. Time will tell if I've managed to cure it but as yet it seems fine.
Couple of pics and a how to below:
First disconnect the battery (with the key in the ignition to prevent alarm sounding) as the starter has a live direct to it.
Then start stripping all the parts out that are in the way, firstly the airbox. Disconnect the MAF sensor and undo the jubilee clip to the throttle body before removing the box (clamped in with one bolt in the middle at the front/back of the box).
Then disconnect the AOS air pipe from the plenum and power lead from the throttle body before undoing the 4 screws holding the body on (the bottom left one also has a clamp on that supports the body to the engine as well as the intake plenum, although mine was sheared off).
Before removing the plenum, undo the inner jubilee clips and rotate the plenum to break the seal.
Then re-tighten and do the same with the outer clips. Once all seals are cracked, undo all 4 jubilee clips and push the rubber pipes outwards away from the plenum. It can then be wriggled out.
Once removed you can see the starter motor.
Disconnect both earth lead and power lead from the soleniod.
Now remove the 2 bolts holding the starter motor on (the one on the right that's visible was quite easy, the one out of sight a bit of a mare).
At this point, job ground to a halt because my 1/2" to 3/8" reducer snapped :nooo:
So I had to nip up to my Dad's and rob his socket set whilst he's on holiday. At this point, the job became a bit harder as I had to use to 3/8" extensions and they weren't long enough so I was limited on access, but managed to get the other bolt out (and graze my hands!)
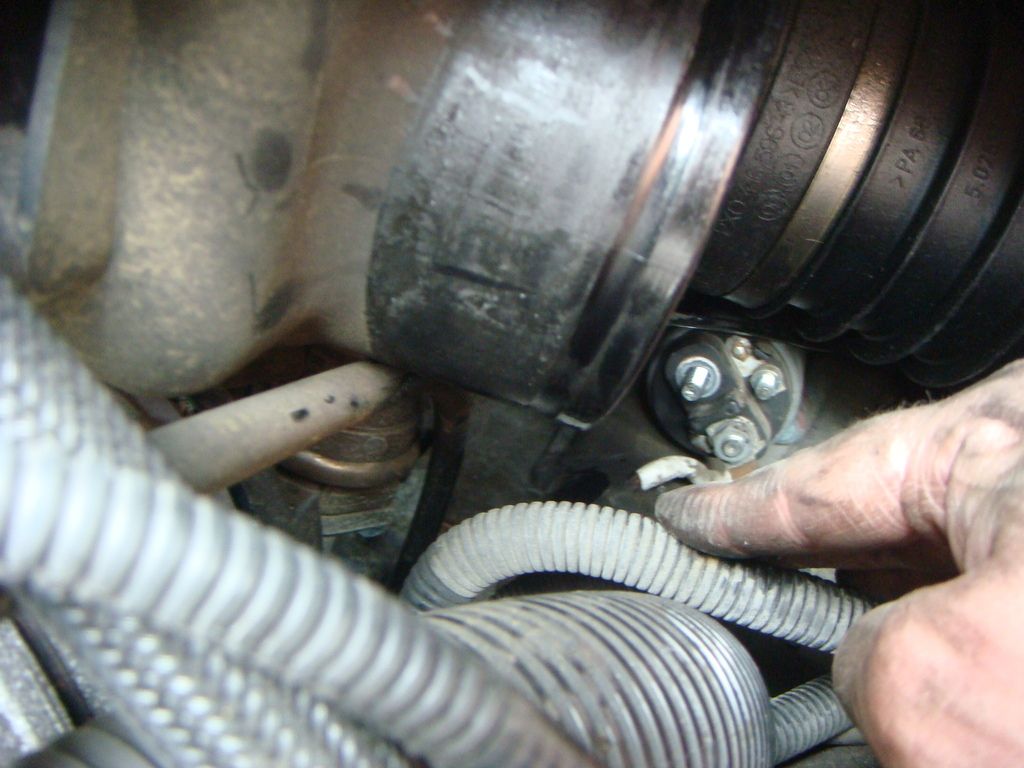
The other bolt is hidden in the depths of this photo (note I removed the LH rubber intake pipe to give myself more access) .
The starter just slides right out then.
Didn't look too dirty when I removed it and was a bit surprised as I thought it would be caked in clutch dust.
Gave it a good clean up and pulled the bendix drive out and applied some silicone grease round it. Whipped the cover plate off the back too and greased that end.
Put it all back together in reverse order, fired it up a few times and as yet, not a screech so hopefully cured it, but time will tell.
Was going to strip the solenoid down but the bolts holding it in are well and truly rusted up so left that for another time if need be.
Now to order myself a new reducer for my socket set.
 :grin:


")


