Porsche 911 UK Enthusiasts Online Community Discussion Forum GB

Welcome to the @Porsche911UK website. Register a free account today to become a member! Sign up is quick and easy, then you can view, participate in topics and posts across the site that covers all things Porsche.

Already registered and looking to recovery your account, select 'login in' and then the 'forget your password' option.

Cobalt Blue C2

Welcome to 2015!

I have been away for a few days, so not a massive amount of progress this weekend. I had debated with myself whether to do anything with the door glass frames, but after a good look I found a couple of small areas of corrosion. So it was out with the stripping wheel, prep and paint.

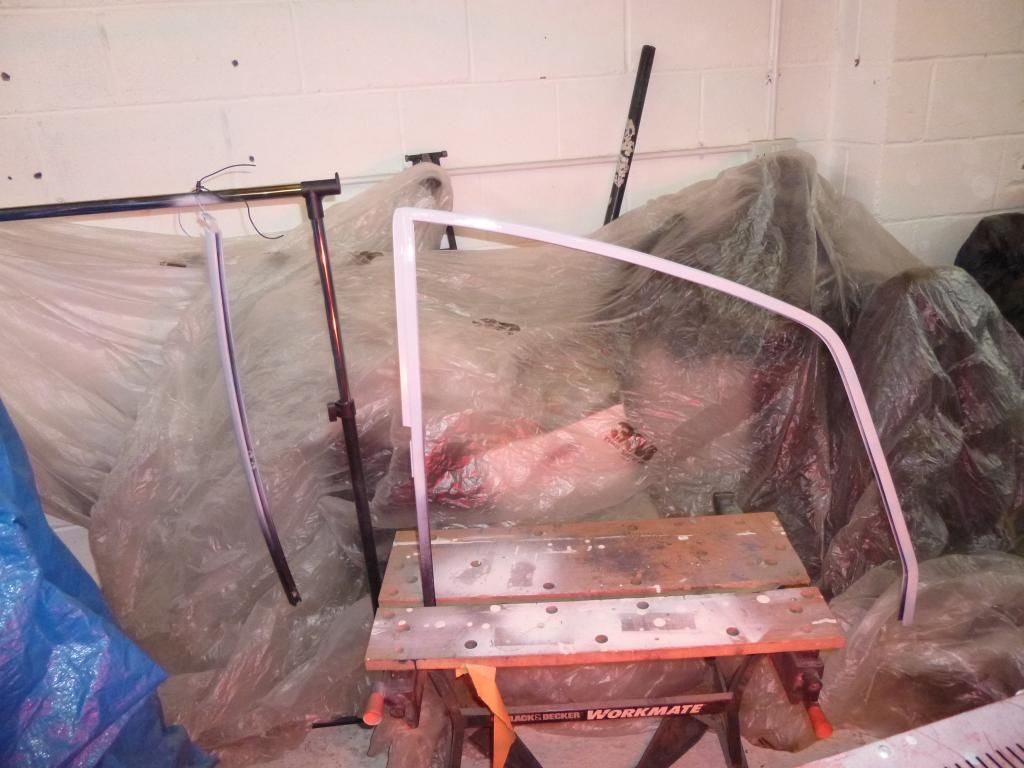
Primer (the pink tinge is the light off the halogen heater, not an unusual shade of primer....)


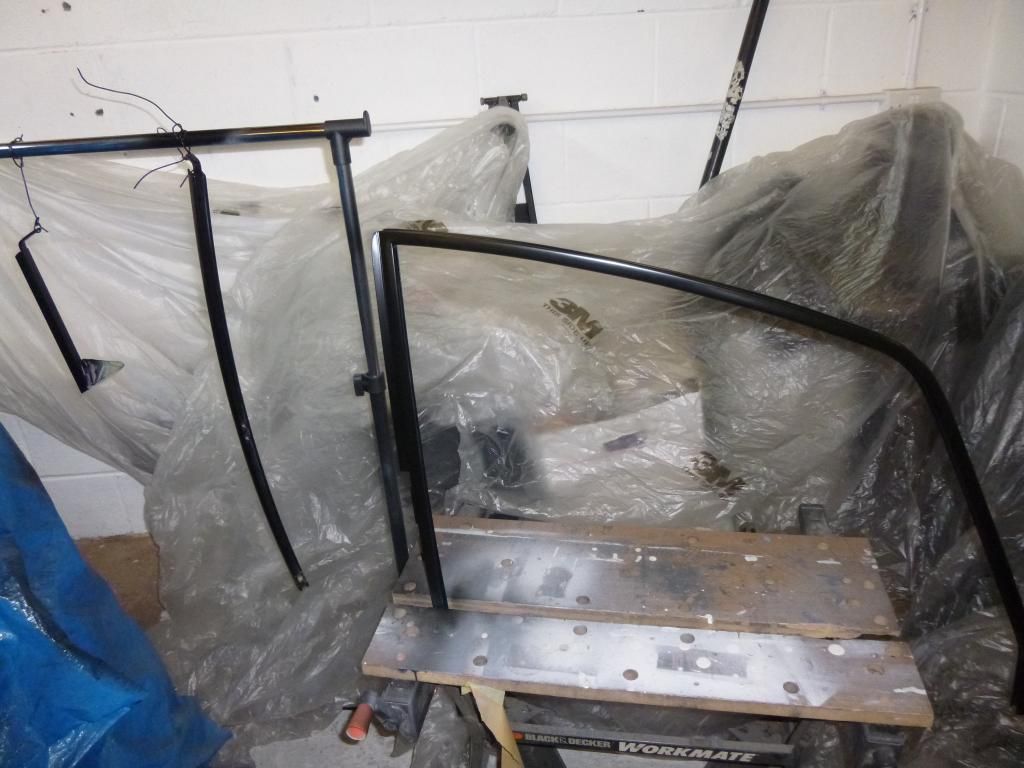
top coat in progress


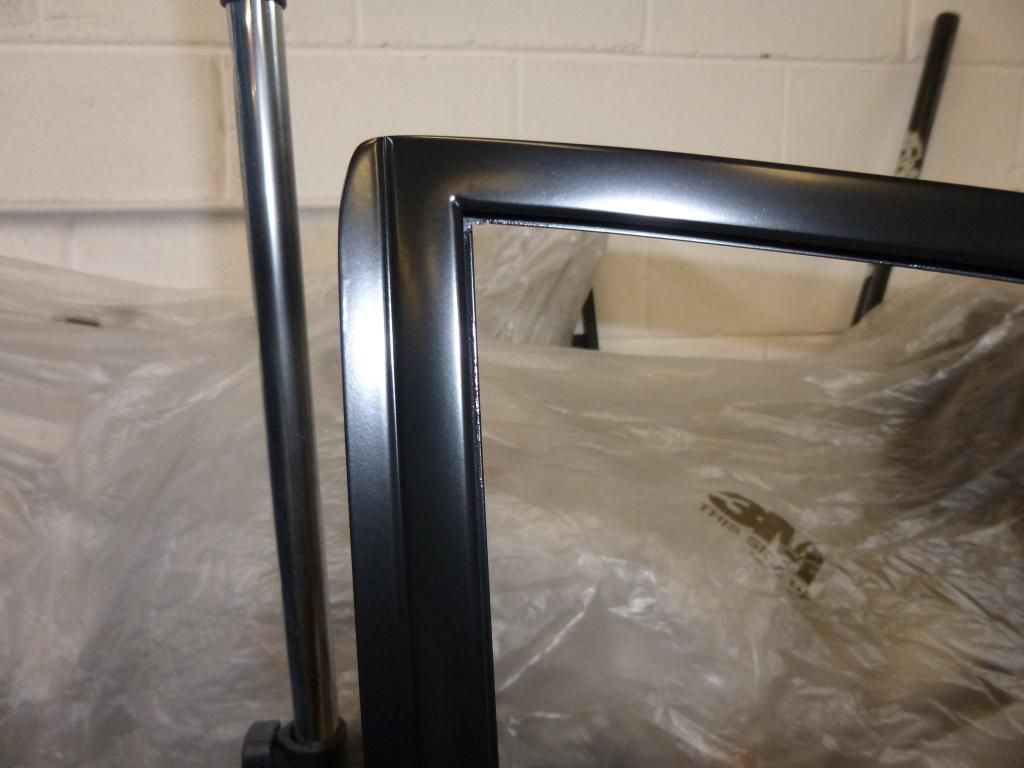
And a close up - satin black, lovely!


I just need to go through the same process on the other side.....

For a bit of light relief I decided to remove the rocker covers.


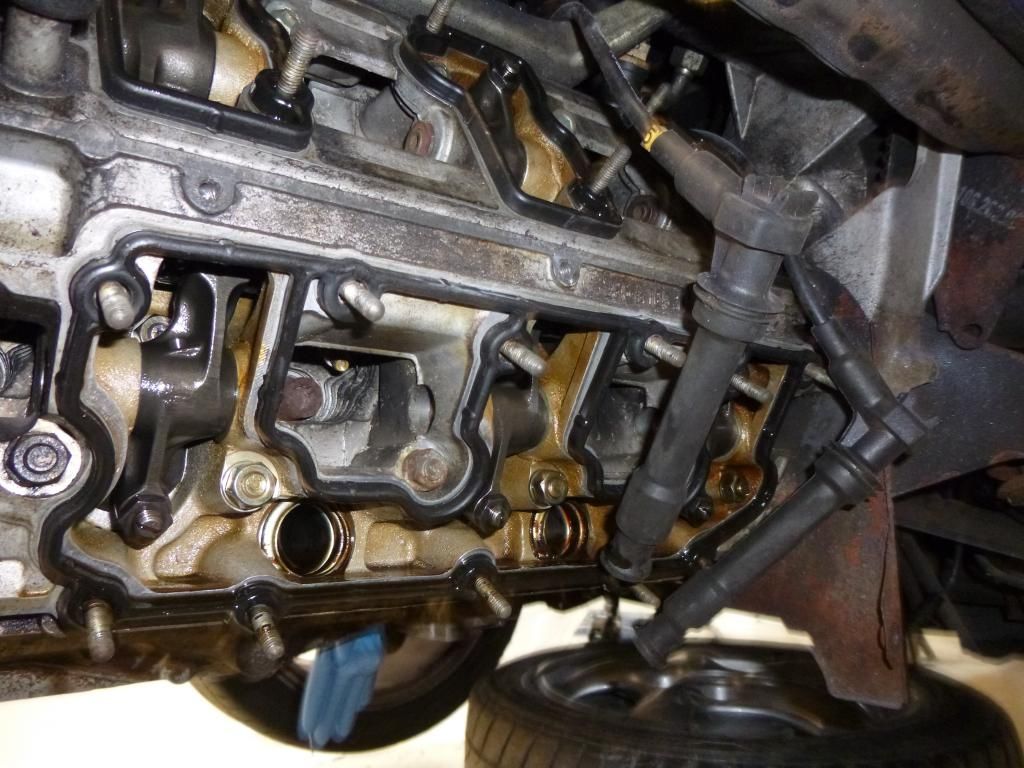
Next weekend will be spent adjusting the valve clearances, changing plugs and doing the other "fun" aspects of a 24,000 mile service. If I am lucky, I will be getting access to my mates 2 poster ramp so I can work standing up. If I am unlucky, I will be grovelling around on a very cold floor :eek:
 
Making progress.

I will try and pop in this weekend after my visit to seeing mine in intensive care.

Will the heating be in?

Failing that, the kettle.
 
The kettle is usually on. And you do get used to the cold eventually....... :-|
 
Evening all

Slow progress at the potting shed at the moment. I have prepped and painted the other door surround, picked up new quarter glass surrounds from the OPC (it is becoming a weekly trip there, but they are incredibly helpful and patient).

I am struggling with sourcing clips for one of the window door seals - I have started a new thread to see if anyone can identify them. Parts manager at OPC is also having a look for me.
 
Evening all

Whilst it has been rather cold at the potting shed, I have been making progress. Someone on the forum pointed me to a supplier for the window seals I was missing.


Once these arrived, I popped them in, fitted the door handles, and carefully reassembled the doors.

Cleaning the crud off the glass normally hidden


No glass


glass back on runner


Frame party fitted


All the way in, tightened, adjusted, seals and trims added


As I am sure you can imagine, this took a little longer to do than to write up....... :frustrated:
 
Phil,
Tremendous progress sunshine. I'll drop over at the weekend and see how your getting on....(if the kettles on)
 
Kettle is always on. Might be on an epic adventure on Saturday with Gavin, so check before you waste a trip - will be around on Sunday
 
LMR said:
Right, a quick update before taking a break for a few days - the potting shed is freezing and I have somehow forgotten to order a part, so I have had to change plan (or am I trying to kid you I have a plan here...) And I am full of cold, which just won't shift

Anyway, if you flick back you will know the rear bumper bar was a bit of a mess. The pic below shows what a bit of blasting and powder coating can achieve


I didn't enjoy removing the rivets when stripping this, and the rivets are an odd size, so I decided to use what I feel is a better solution. I came up with rivnuts and bolts. A little over engineered and probably pointless, but it looks right.


And the finished article. Really not sure why I have pressed on with this bit - lots to do before this does back on.


Assuming I don't relent on my vow to have a few days of rest and recovery, Happy New Year!!

Where did you get the tool for inserting the Rivnuts ? :?:
 
Steve

I bought my rivnut tool from a local engineering company. I have just looked on ebay, there are hundreds available, suggest you pay a little more for silver line / draper.
 
Those of you with long memories will remember I sent my oil pipes off before Christmas to have the flexi pipes replaced - I must admit I had nearly forgotten about them myself.

Before they went away, they looked like this. The were not ruined, but given the state of other pipes, I felt it was worth doing.


They now look like this


I was delighted. I have always loved braided hoses :D

So, as they were back, and I haven't got a shelf big enough to put them on, I thought I should fit them to the car. I wasn't looking forward to this, but they didn't take long at all.

New rubbers


And fitted


I must be getting very enthusiastic - I did a short stint in the workshop on Friday evening - and it was blooming freezing......

I had forgotten to order a couple of pipes to connect to the oil tank, but those have arrived, and the photos below show them in.

Off to workshop now, hopefully more progress today......

Oil dipstick guide pipe


Guide pipe connected to top of oil tank together with new jubilee clips on the other pipes


and final pipe to bottom of the tank

 
Just back from the freezing workshop. Reasonable progress today. I did the job I have been dreading, the sunroof seals. After faffing around this morning trying to convince myself I could find other things to do I finally gave in and gave it a go. The theory is very simple, put contact adhesive on both surfaces, live it a few mins and pop them on. I was putting it off as it is one of those fiddly jobs that could go wrong pretty easily, and I have heard tales of ruining the strips and having to buy mote. As with most parts, that is not a cheap process.........

Anyway, in for a penny and all of that.

Contact adhesive on the seal


And some more on the panel


Some time and patience later....


So with the "easy" bit done, I then did the one on the car.

A photo just to prove I do some work


The masking tape was to help keep the seal in place. I then popped a heater into the car to help with the drying process. As I left the workshop I had a look. I am very happy with the result, especially as I achieved it first time. I will upload a photo next time I get to the workshop, I think my fingers had given up working today. Did I mention it was cold?
 
I can vouch for how cold it is in the potting shed having just got back from seeing Phil. He is doing some fantastic work on this car. And the paint just looks soooo good :thumb:
 
A fantastic build thread - attention to detail is impressive - amongst the very best on this Forum. :lol: :lol:

Would be interesting at the end to get a total cost for parts, materials, sub-contract work and labour hours. :?:
 
DRZ

Thank you for your kind words, deeply flattered. My drive to replace parts is from being too lazy to keep going back and redoing stuff (!) and also I get frustrated when stuff doesn't fit. I used to compete in single seater racing cars. I learnt over the years that attention to detail was very important. Proper nuts and bolts make maintenance and reassembly much easier. Ropey old bolts are not as easy to work with or as safe as new stuff.

Price wise, I am deliberately not adding it up as I go along. I want my car to be the best I can achieve, and I have a view of long term ownership. It is nearly six years since I bought this car, and view this as long term ownership. It might seem belt and braces to have brand new components stripped and powder coated, but it will make maintenance so much easier in future.

I have taken a pragmatic approach on sourcing parts. I have spent far more at the OPC than I thought I would, but again, I know their stuff will fit, and the service / advice is brilliant. I also live near my OPC so that helps. Part of the pragmatic approach is to buy genuine parts where it matters, but not be a slave to it. For example, I have bought genuine driveshaft bolts, and will use genuine fixings for bodywork fixings, but a majority of the fixings I am pulling back on the car are high grade stainless steel sourced elsewhere rather than standard bolts from the OPC .

I haven't added up the hours, but will attempt to at some point
 

New Threads

Forum statistics

Threads
124,545
Messages
1,441,380
Members
48,959
Latest member
DomiNozka
Back
Top