Porsche 911 UK Enthusiasts Online Community Discussion Forum GB

Welcome to the @Porsche911UK website. Register a free account today to become a member! Sign up is quick and easy, then you can view, participate in topics and posts across the site that covers all things Porsche.

Already registered and looking to recovery your account, select 'login in' and then the 'forget your password' option.

Cobalt Blue C2

Chief

My OCD is nearly as high as yours. When I saw the state of the over door I nearly didn't use the photos. I did think that being a car forum no one would notice, but you and me have far too much attention to detail.....

Fray Bentos pies are banned in my place - that is the fat from my roast duck - no ready meals here.

Pete (and Chief)

Sorry I missed you yesterday, I was recovering from a heavy night at my works Christmas party. I did get up there eventually when I had stopped shaking. I will be there lots over the Christmas break. If I can work out how to send a PM I will drop you my number and you can text me to check I am around. I have found the remainder of the sill I used for the repair, but haven't found the template yet.
 
Well Phil you sure inspired Pete with your car....he's even resurected his old thread!
Now that is a testement to your work pal :thumb:
 
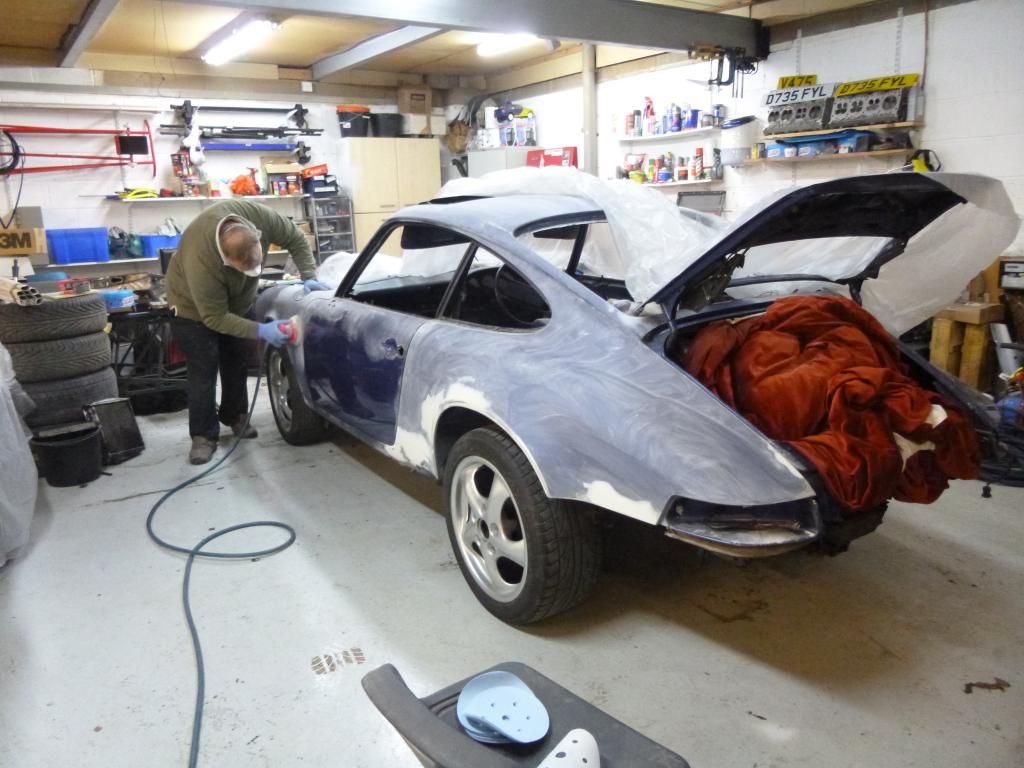
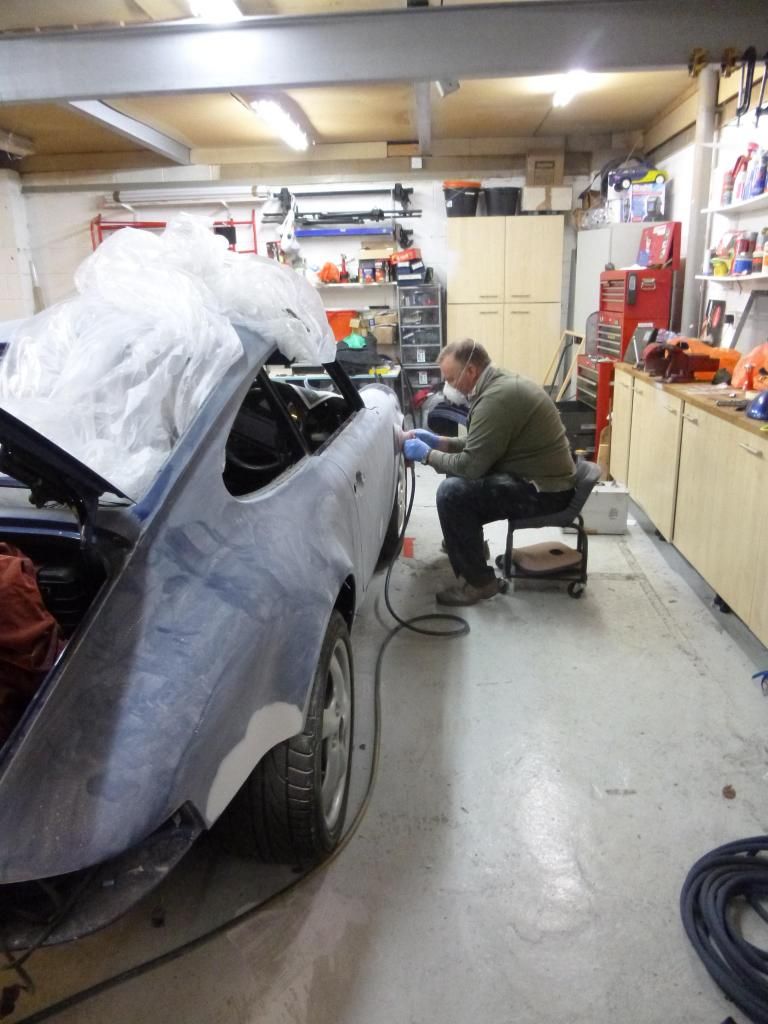
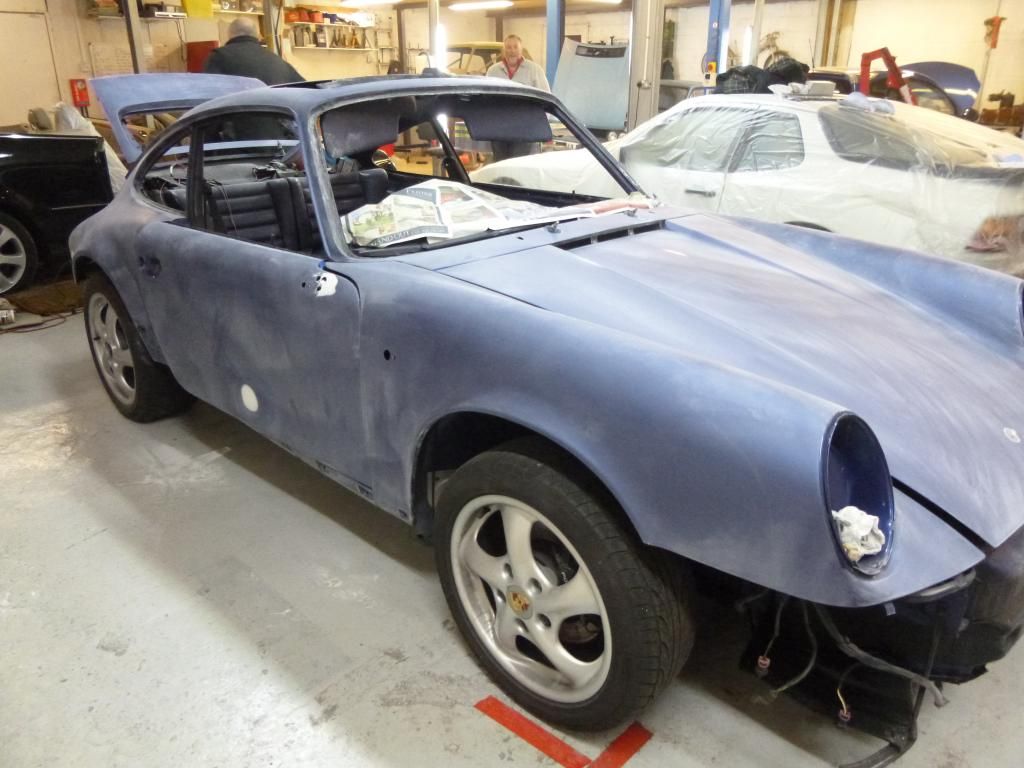
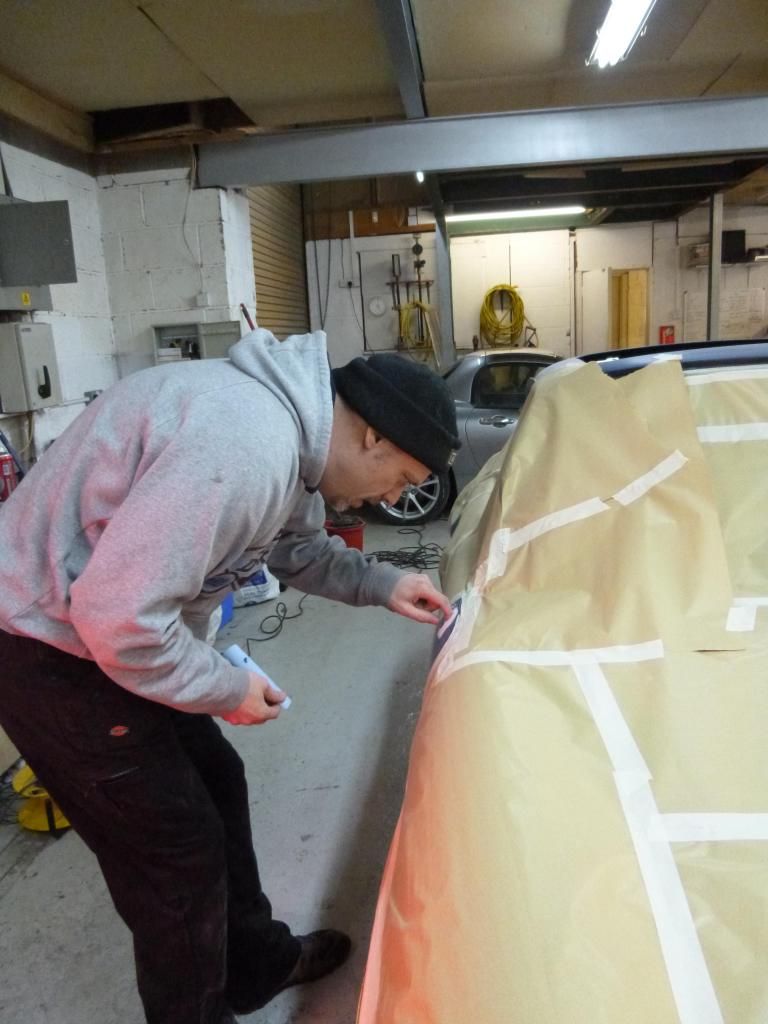
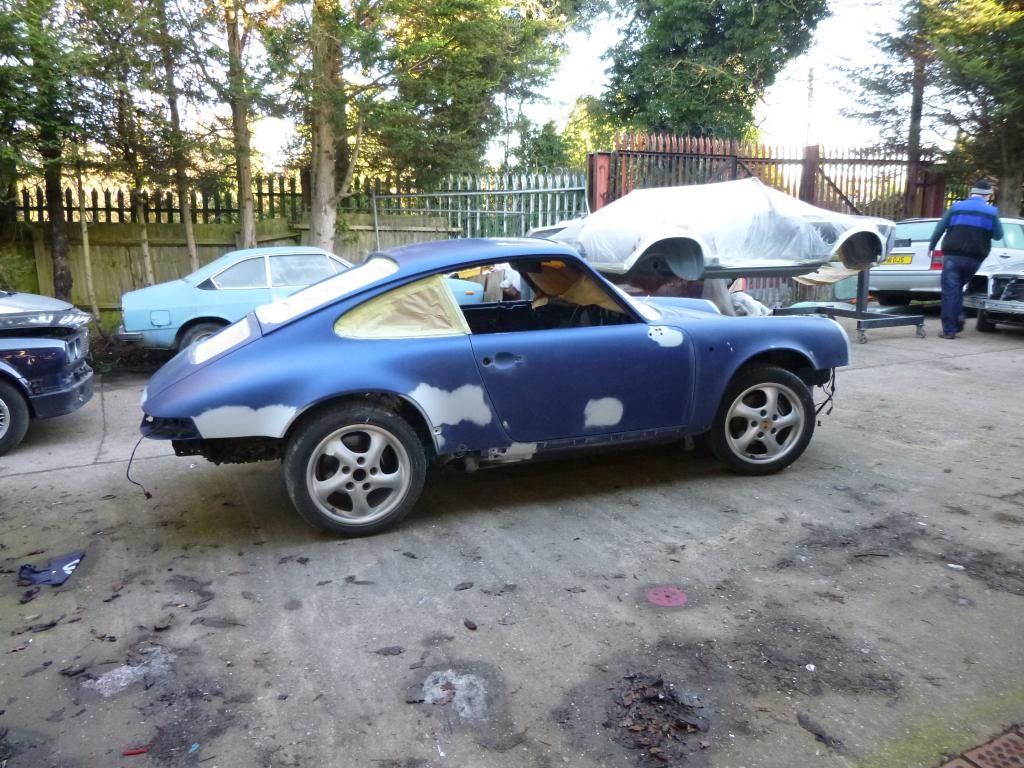
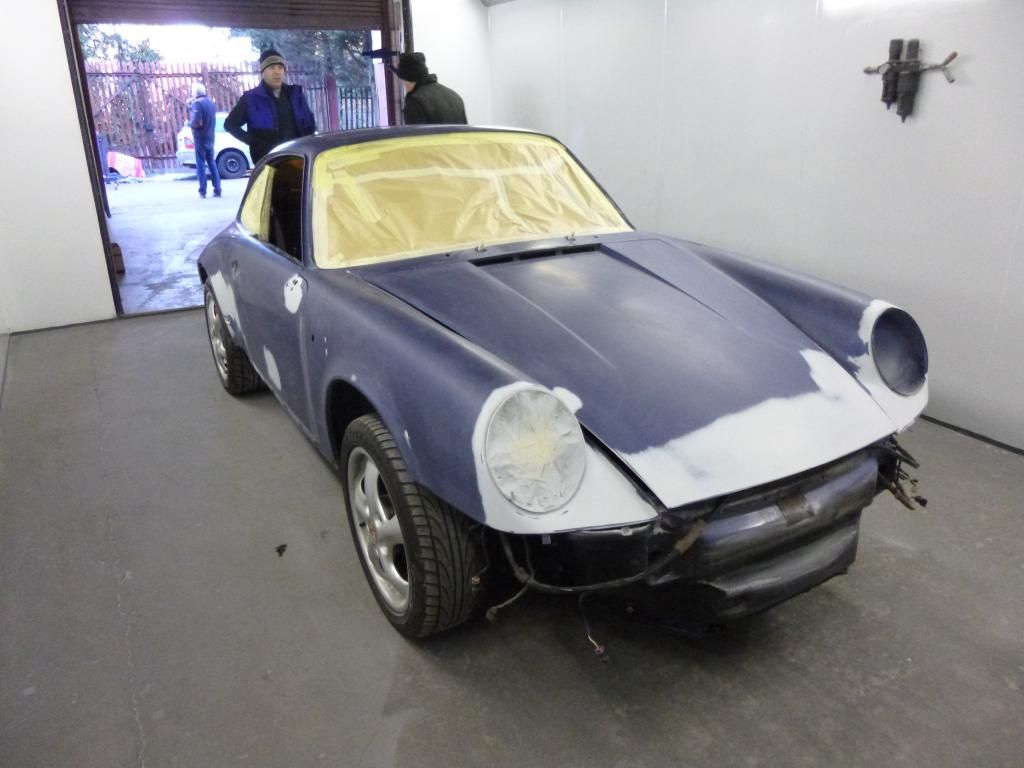
Right, a few more photos and catch up. I have covered the bodywork repairs, now time to get on with the exciting bit. After many hours addressing the (albeit quite few) scabby bits, it was time to get on with preparing the body for spraying. I am very happy with dealing with the oily bits, but bodywork is not my forte. Thankfully Mark is excellent at such things, so he cracked on with it. He worked tirelessly at this point - I had suggested a deadline, which he achieved even though he was doing this as a massive favour.
prep started


Getting there


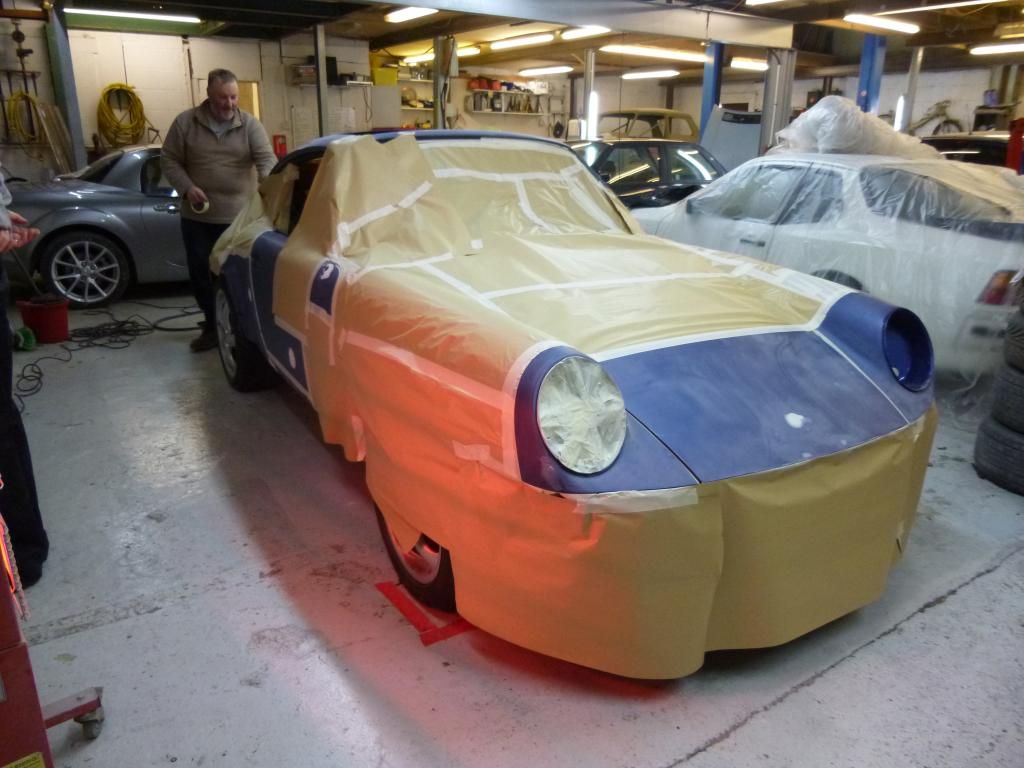
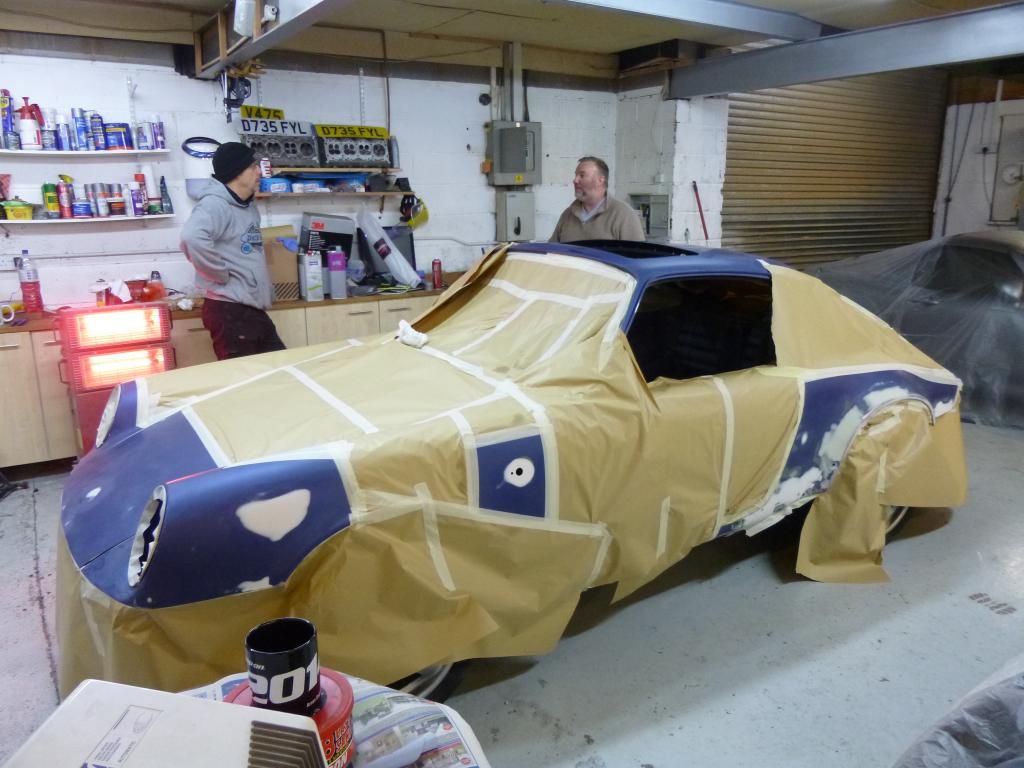
Being masked up for some priming


Chief pops in to give some support, advice and shows his OCD qualities...


Chief and Mark shooting the breeze


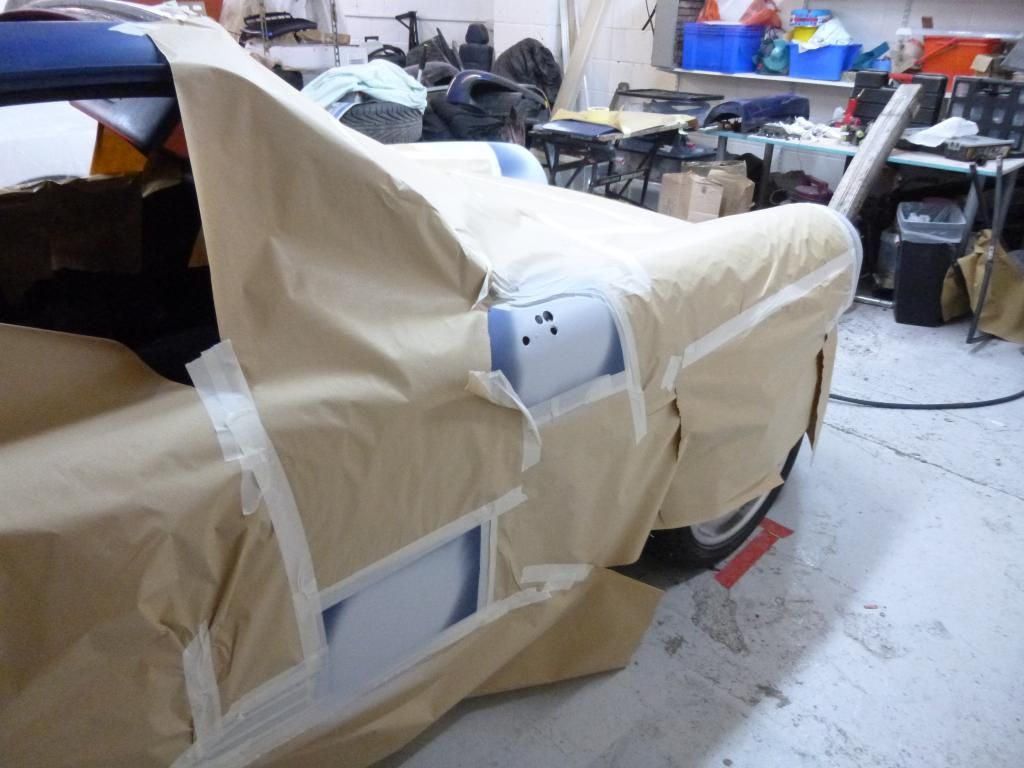
spot primed


More prep


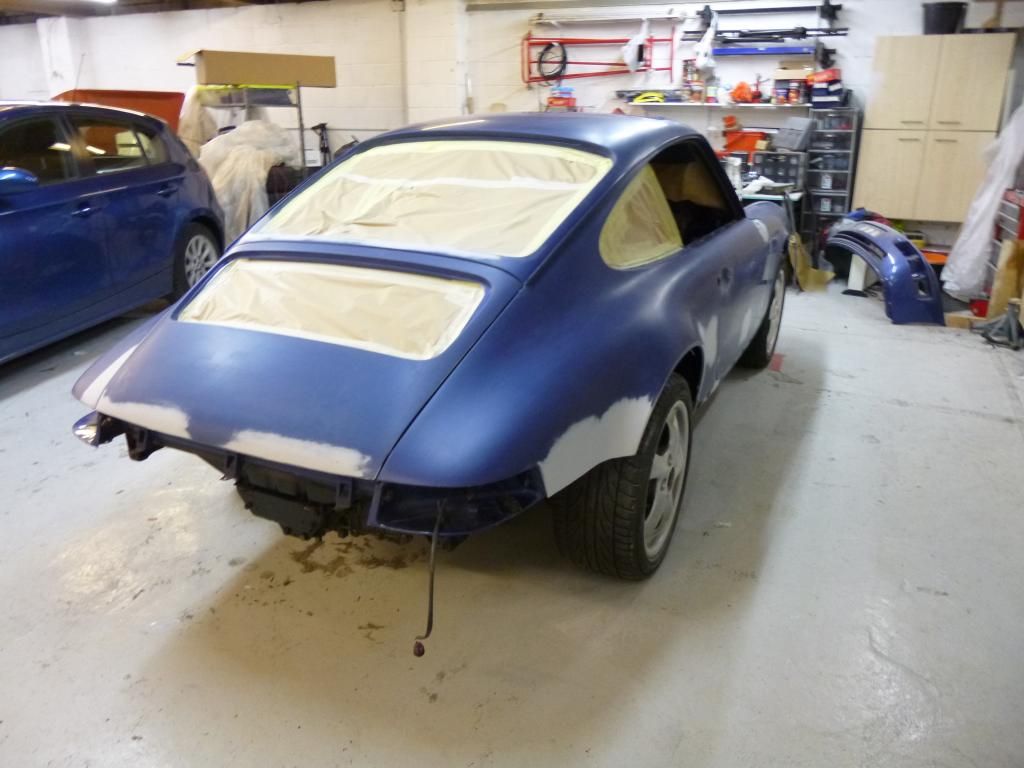
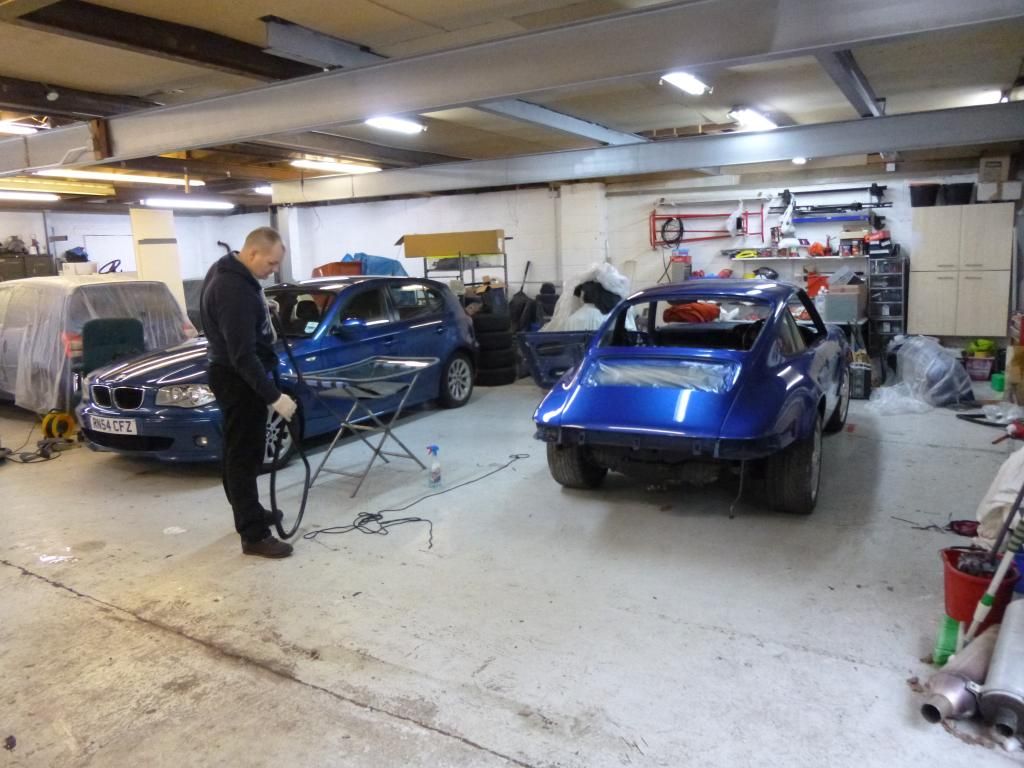
On the way to the spray booth


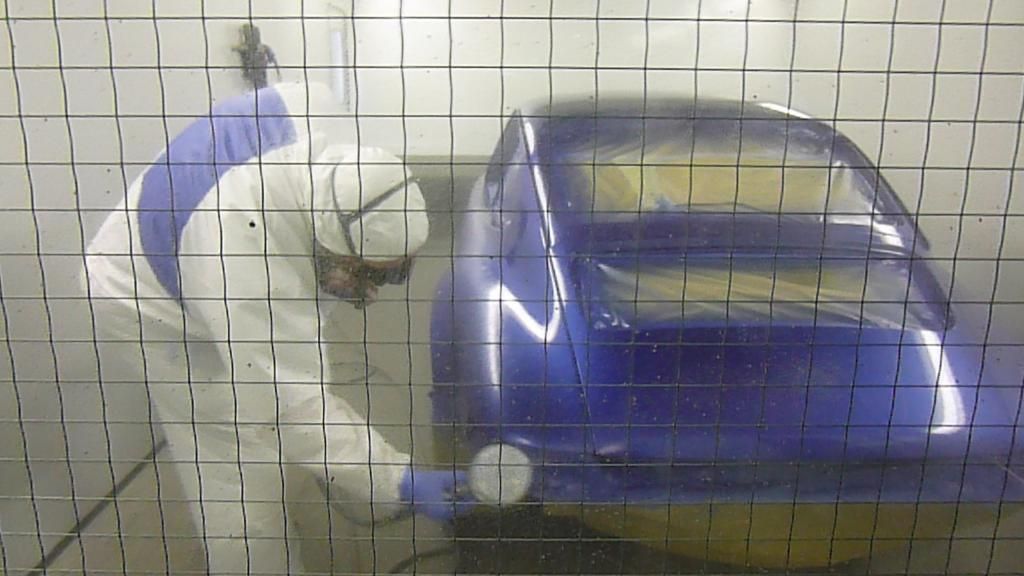
In the booth


Work in progress


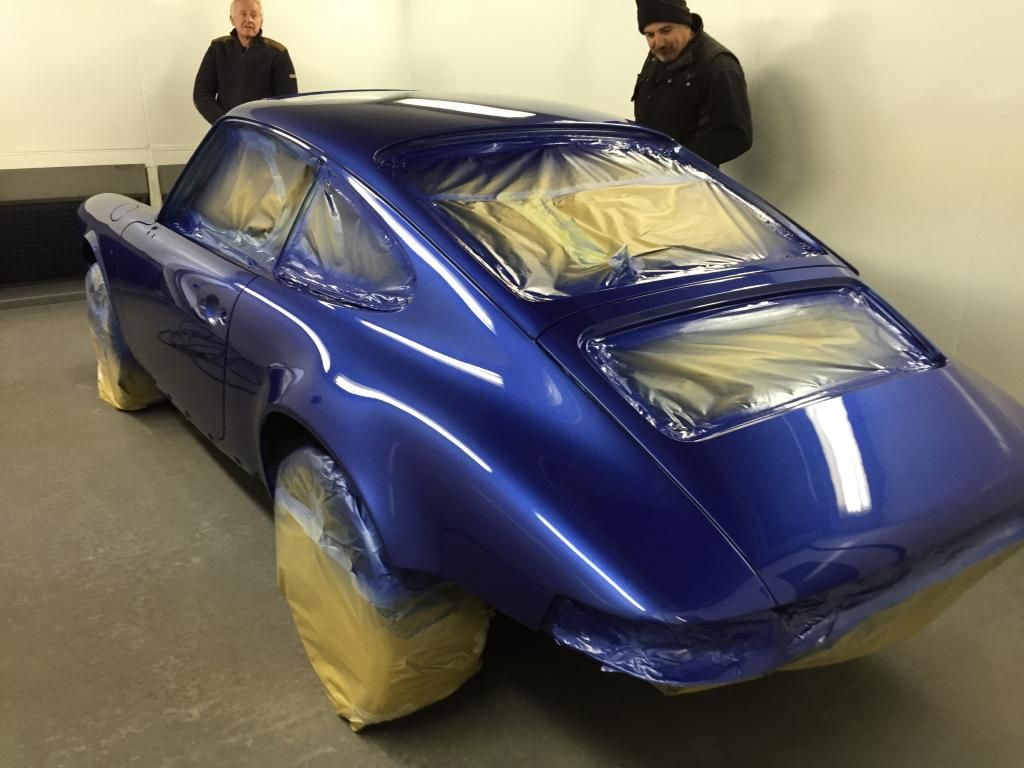
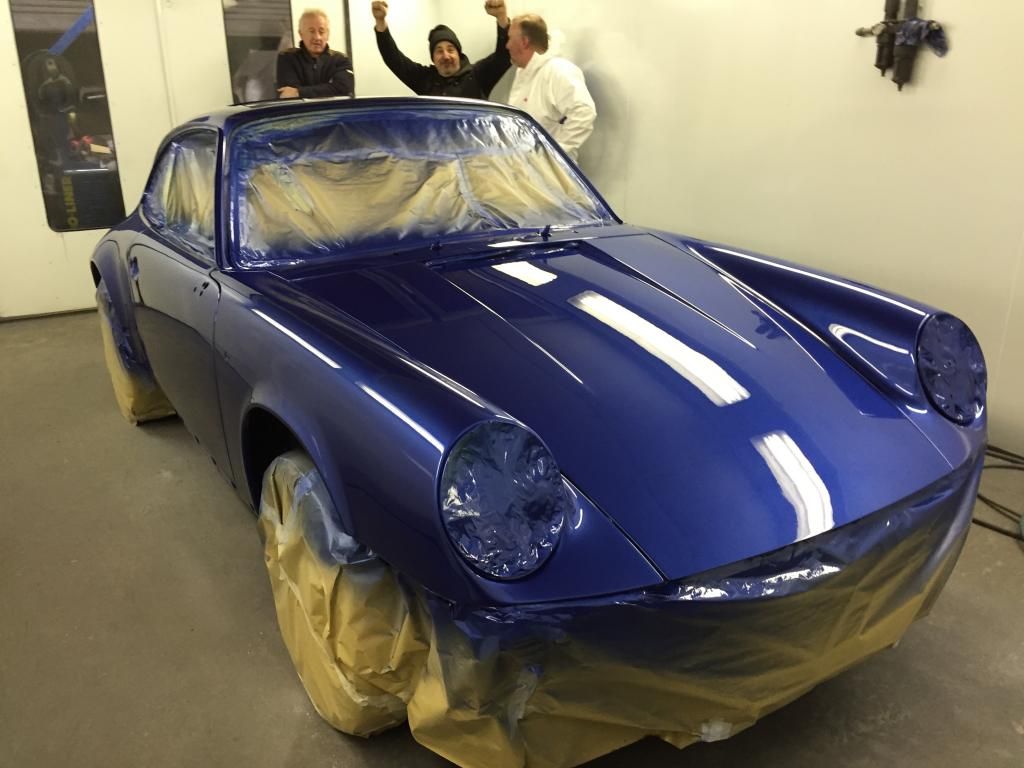
The finished article


It must be shiny, look how happy my friend Gavin is in the background!!

I have truncated the process of spraying somewhat. From the point of the welding being finished Mark has spent every spare hour for 6 weeks getting to the point the photos show. The result is fantastic already, and that is before the final polishing. I don't think I can explain just how grateful I am to Mark, Gavin and Gaz who have all helped me to get to this point. Special thanks must go to Mark. Leading up to the spraying I was a bag of nerves. The only time I have ever been more nervous / anxious was at the birth of my daughter!!

So I have a car sprayed ready for the Christmas break. Hopefully I can make brisk progress with getting the car back together. Only thing is I am too nervous to lay a finger on it.......
 
You may be able to squeeze a big fat turkey in that oven now , i enjoyed this thread , lots of hours for a great result :thumb:
 
Cobalt is one of my favourite colours, looks cracking :thumb:
 
Great stuff.

That will explain why the paintwork looked so good when I saw it!

I hope there was some heat in the spray booth, because your potting shed is bloody freezing.

It will be thick socks and walking boots next time I visit!
 
The colour looks fantastic :thumb:

Cheers,
Paul
 
Wow the 964 forum is back on form and alive and kicking :worship: lots of awesome stuff going on here!

Well done bud the paint looks amazing :thumbs:


Ian
 
Pete

The potting shed has the funny knack of being colder inside than outside. 3 or for weeks ago I literally walked outside to warm up. I would put the heating on but have spent too much cash on Porsche spares......... :eek:
 
Well, I am sure I should be wrapping presents or something else less exciting, but I am sat here with a bit of a sniffle, so thought I would tap in a few words of an update.

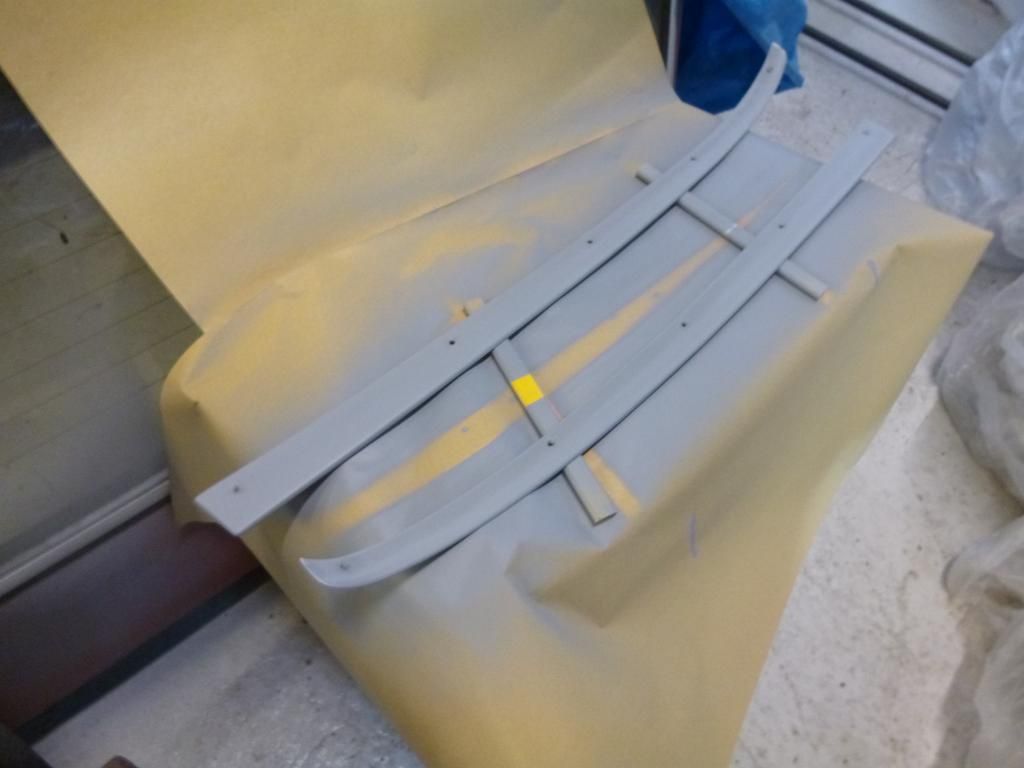
I have a few days off between Christmas and New Year so am keen to get on with as much as I can. Glass fitting doesn't really appeal to be, so decided to get a professional in. But before the side glass can go in, I had to tidy up the trims. So after lots of rubbing down, some etch primer;


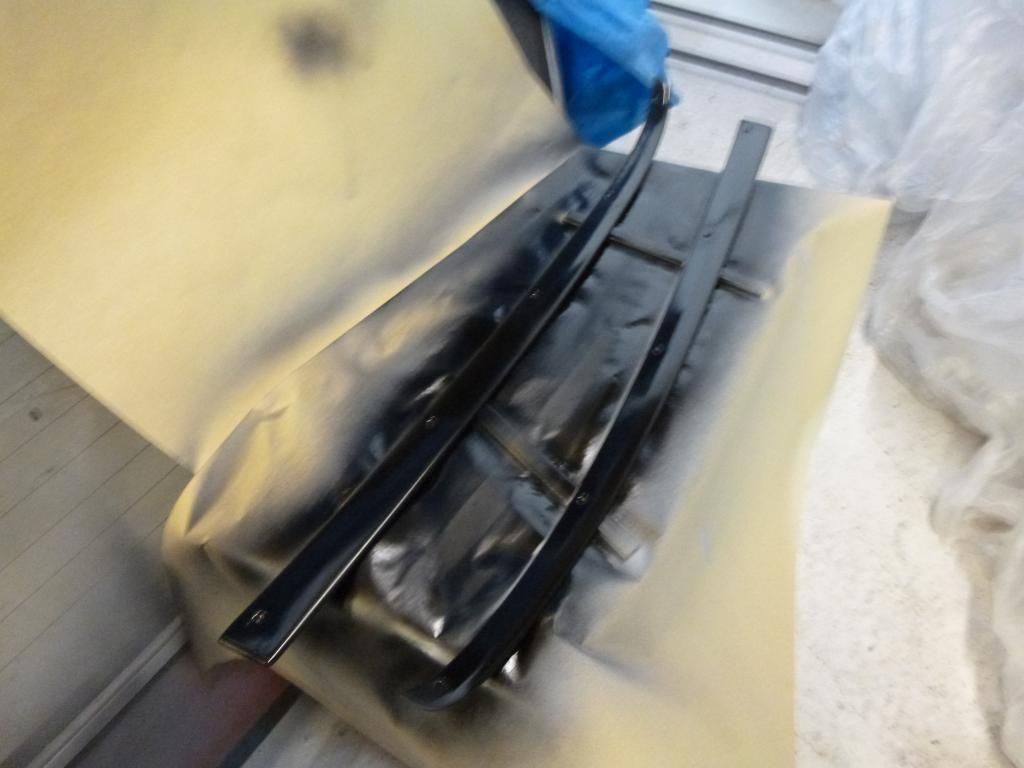
Then plenty of black satin


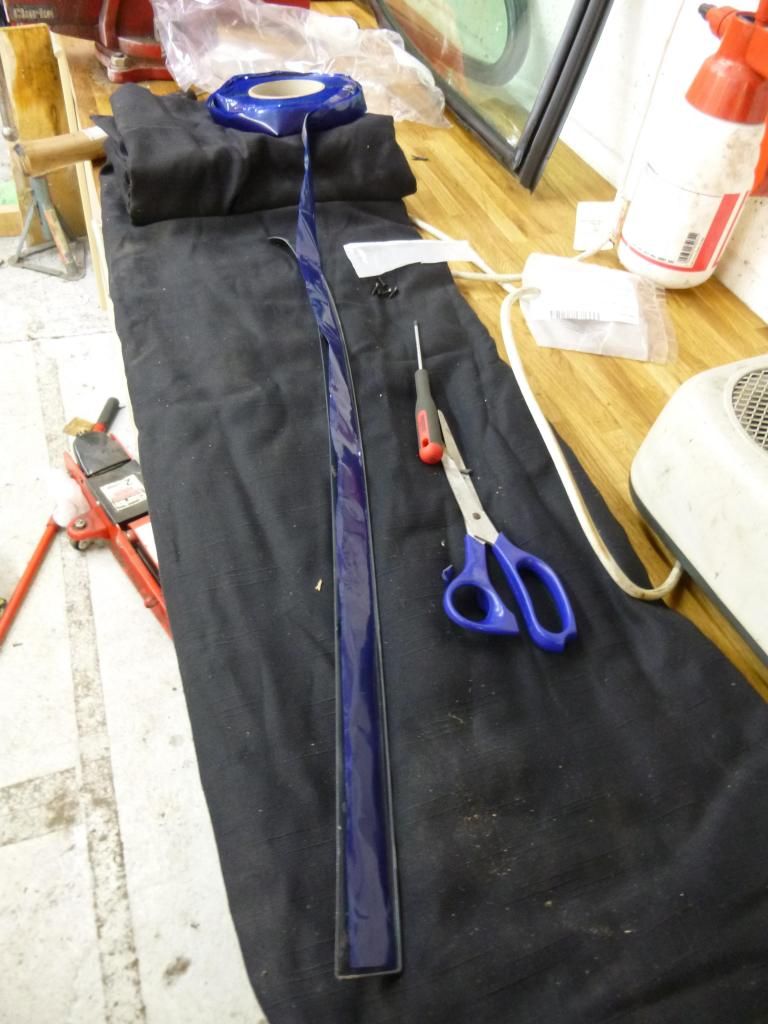
trimming the sealer to size


The sealer is genuine Porsche. I even went as far as buying new, genuine screws.

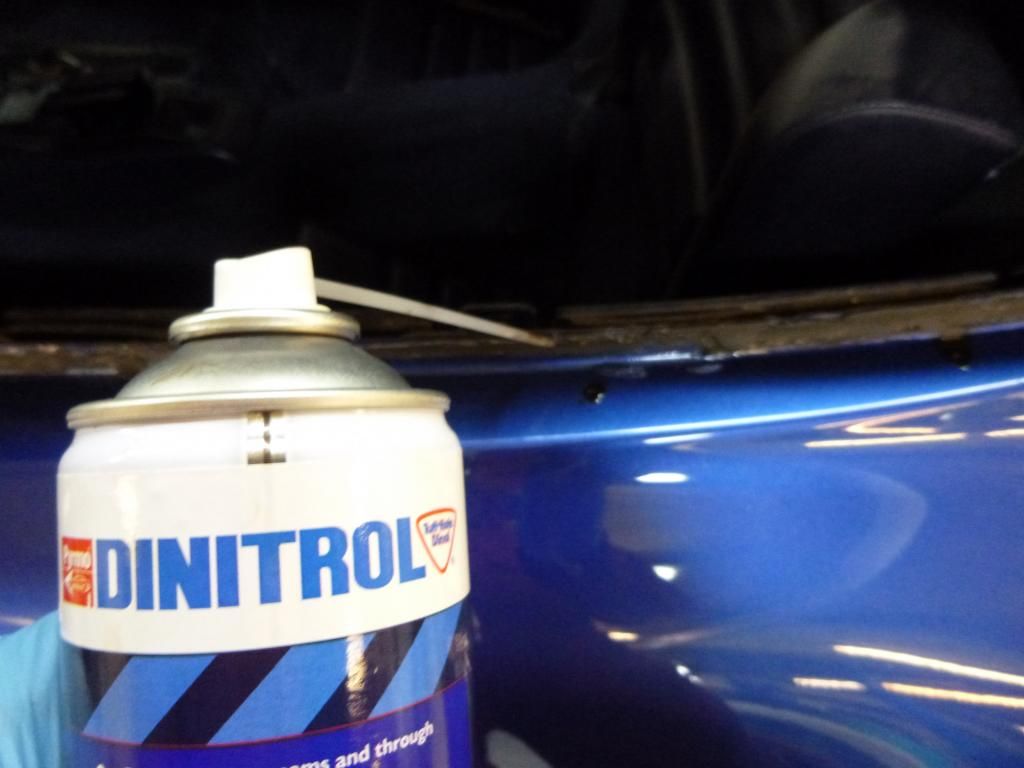
The aim will to be to make sure there is no repeat of any rust, so before the trims went back on, a little squirt of dinatrol down the holes.


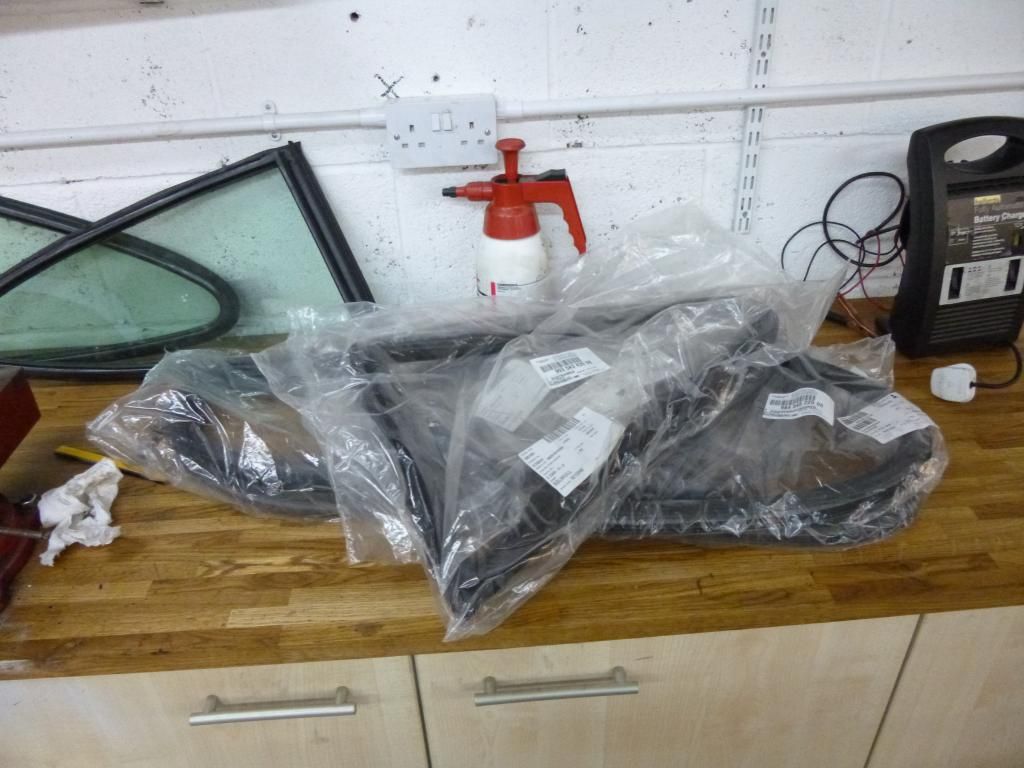
So, fitting glass - new seals


Work in progress


And with glass fitted


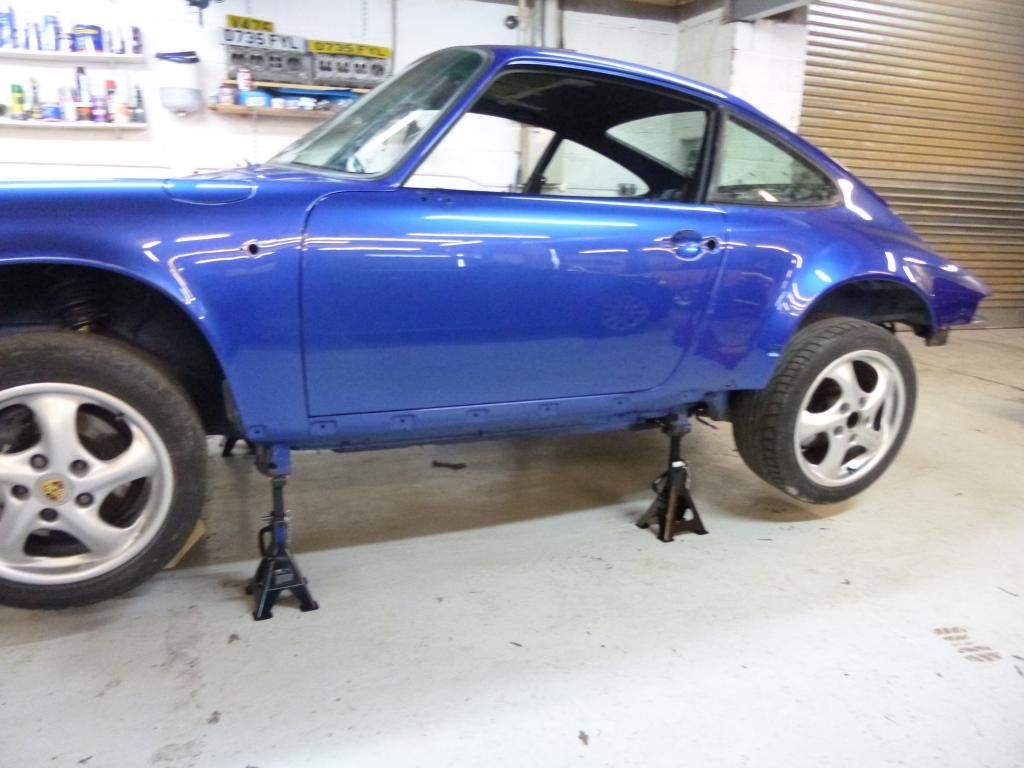
The car is up on axle stands ready for lots of work over Christmas - assuming I can shift this cold......

Merry Christmas!
 
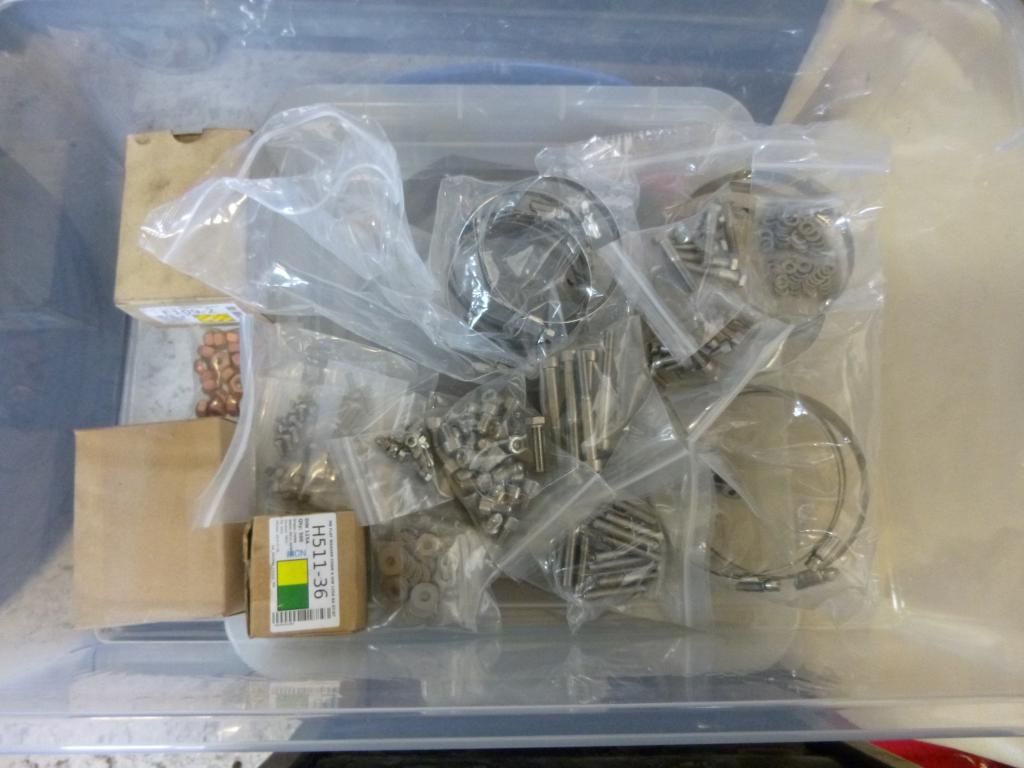
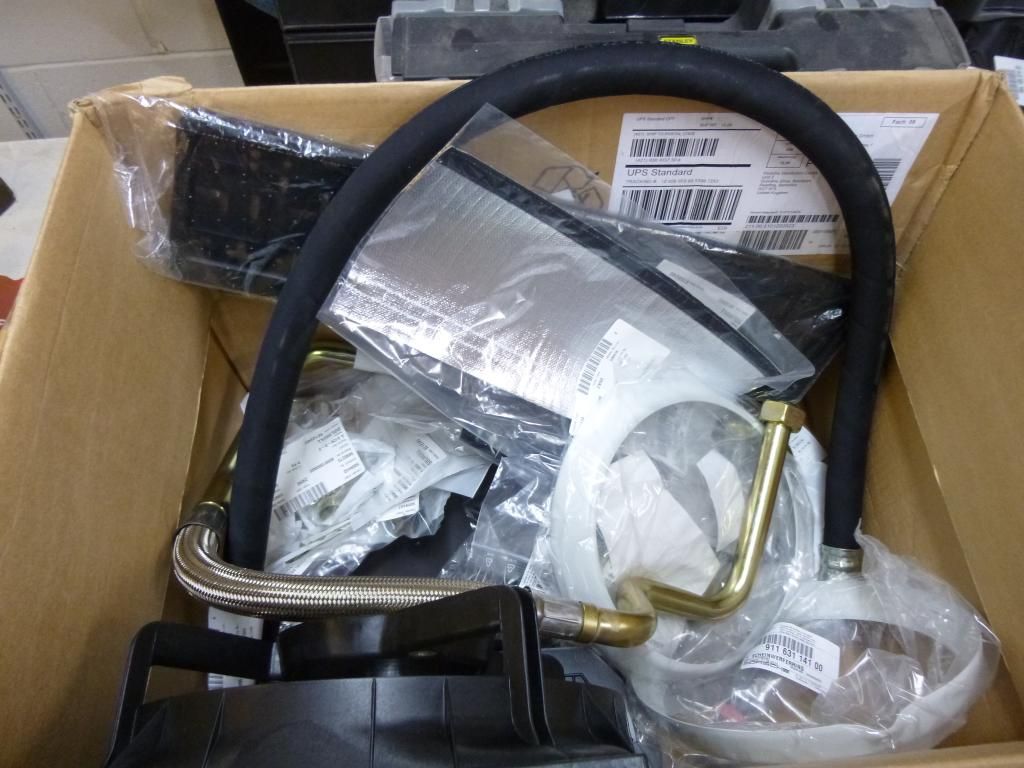
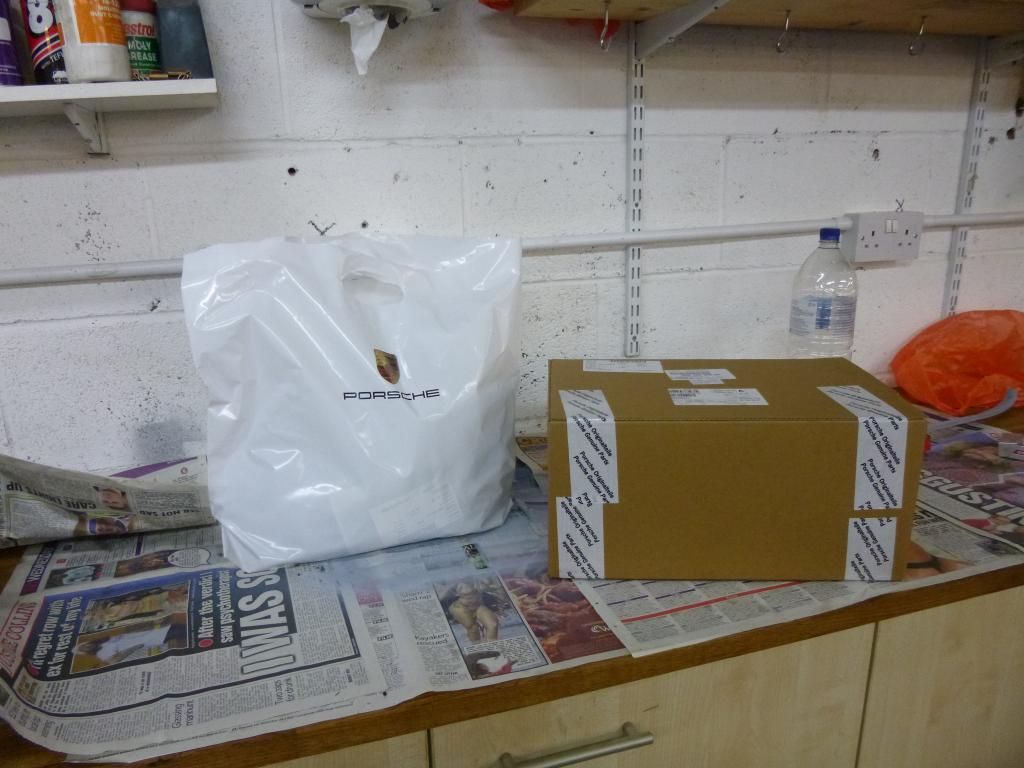
Following photos are just a small selection of parts awaiting refitting. If I spend any more at my local OPC, I reckon I should get my own parking space......

Lots of new nuts, bolts and other fasteners


A box of lots of bits


And more bits

 
Your boxes of bits , I always wonder how the hell you guys know what they are called for ordering purposes , how do you find out ? .
This must be the fun bit ! putting all the new pieces on and reassembling the car , i would so love to do my own car , i would insist on a warm Garage though , Merry Christmas , have fun :thumb:
 
KP964

Many hours running through the online PDF catalogue.......

Guys at the local OPC are very helpful with the bits I cannot find.

Warm garage - overrated!!
 
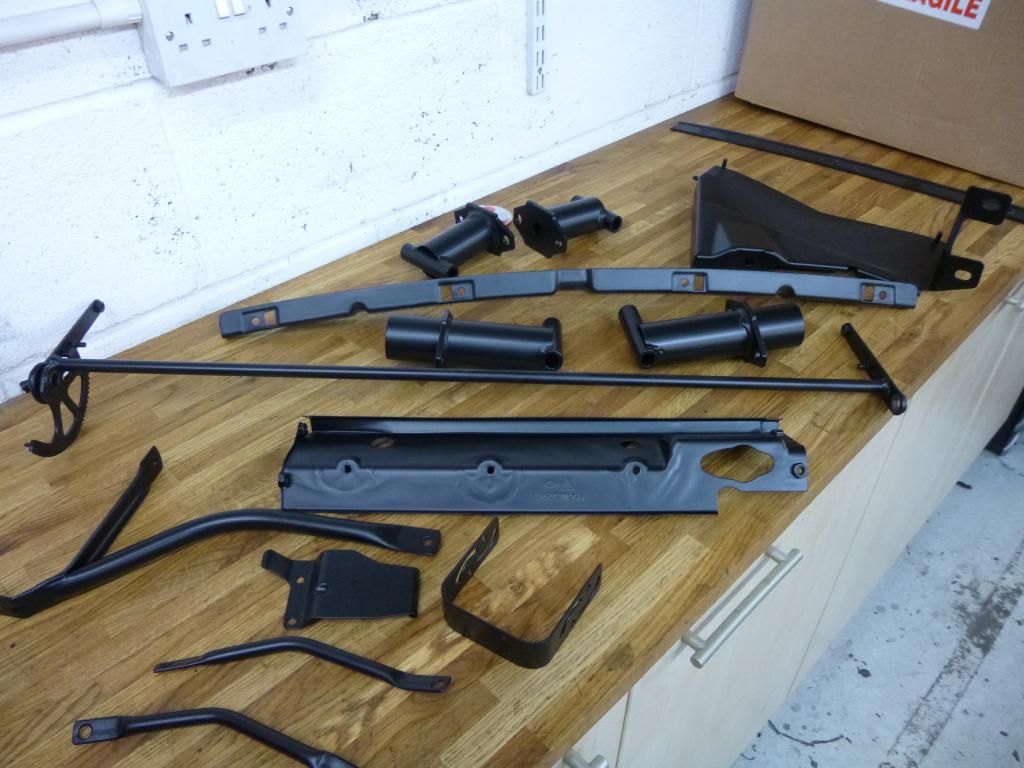
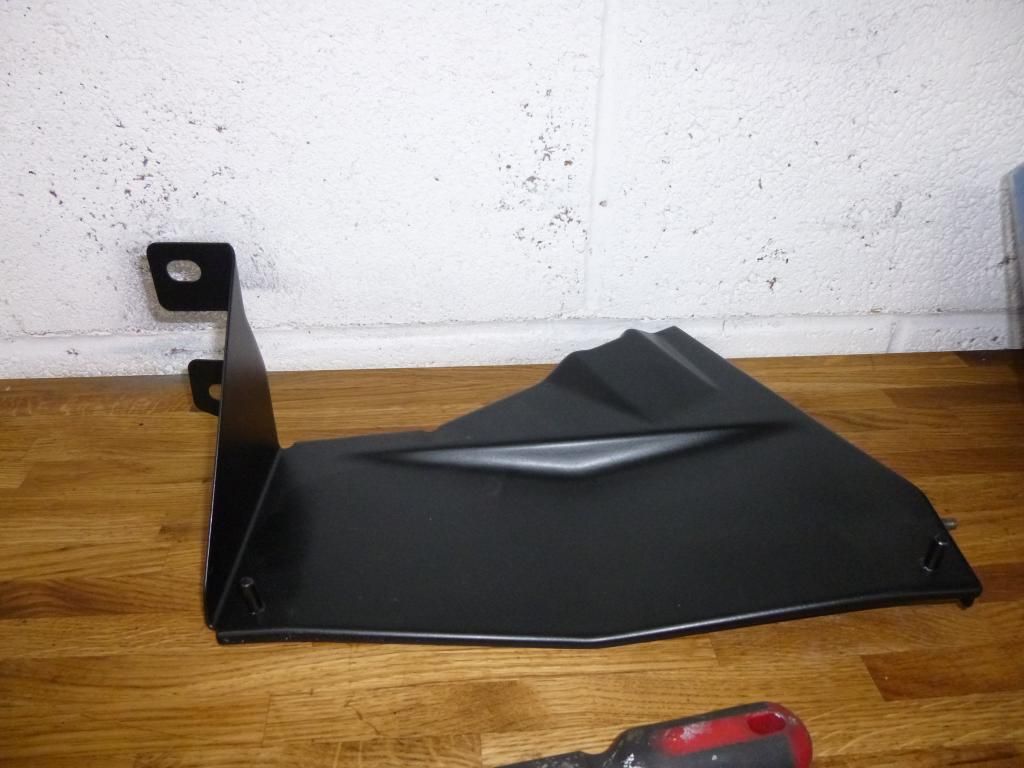
So, I had a day off to scoff turkey and get over a cold, but boxing day means more progress. I had a quick drive out to a classic car show to have a look around and acclimatise to the cold weather, then dropped into the potting shed. I started unpacking a few items which were back from the powder coaters.


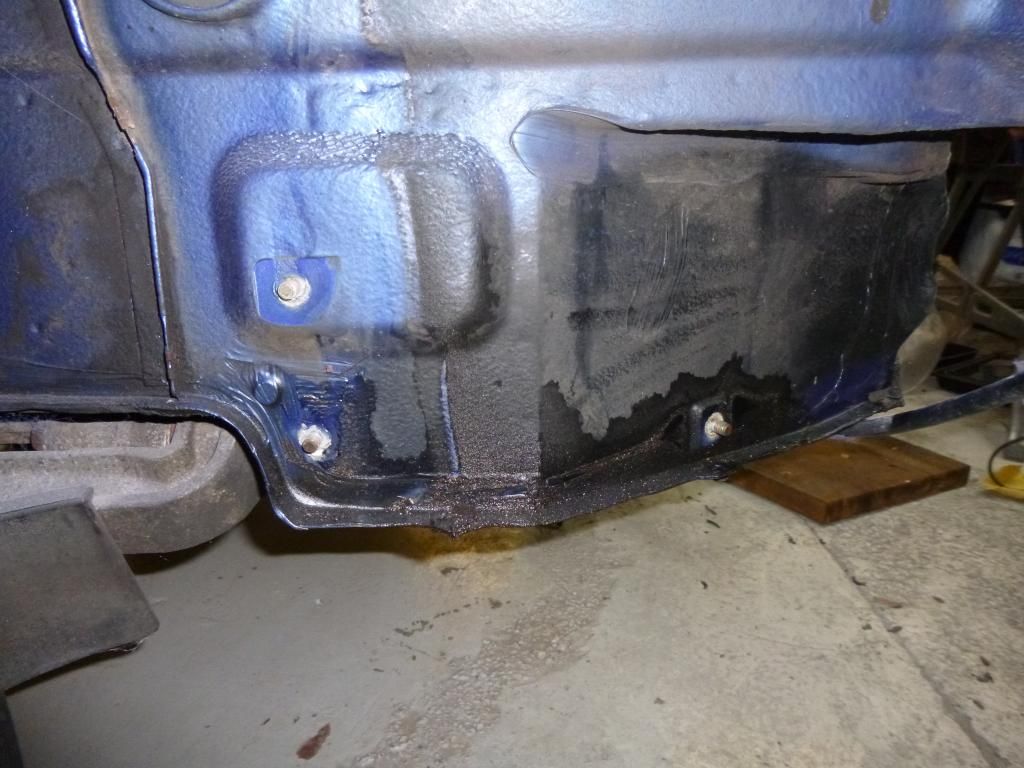
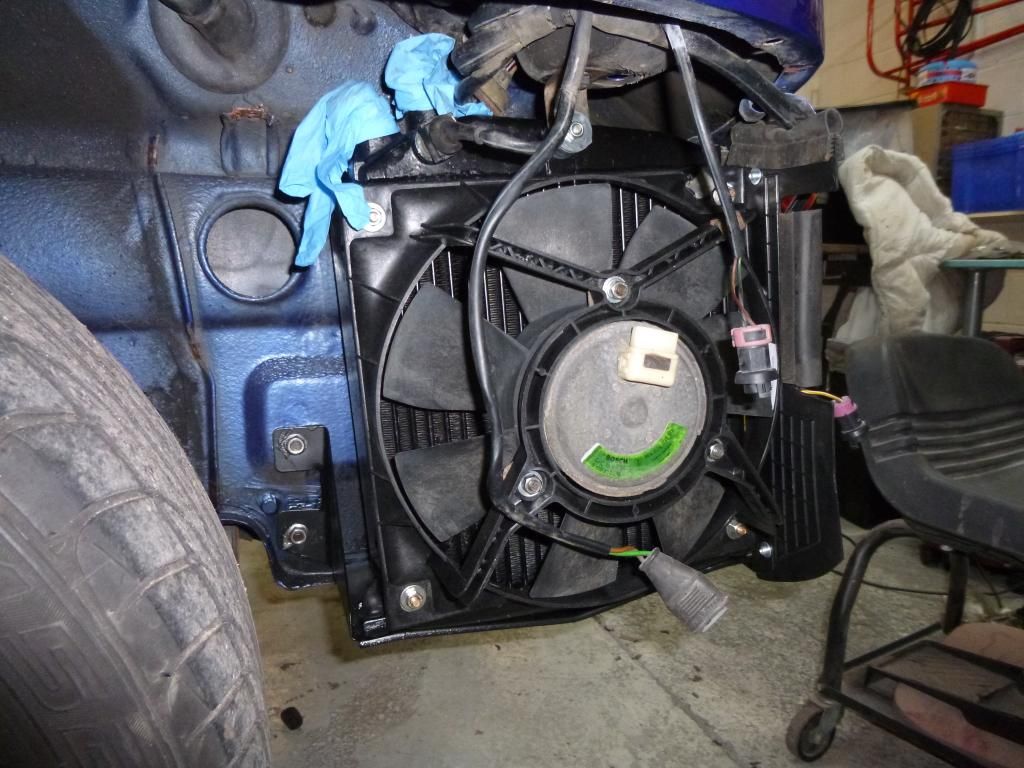
With so many bits to fit I couldn't decide where to start. But as the oil radiator was fitted up, I thought I would start there.

Powder coated bracket


Cleaned up bodywork


And a few minutes later


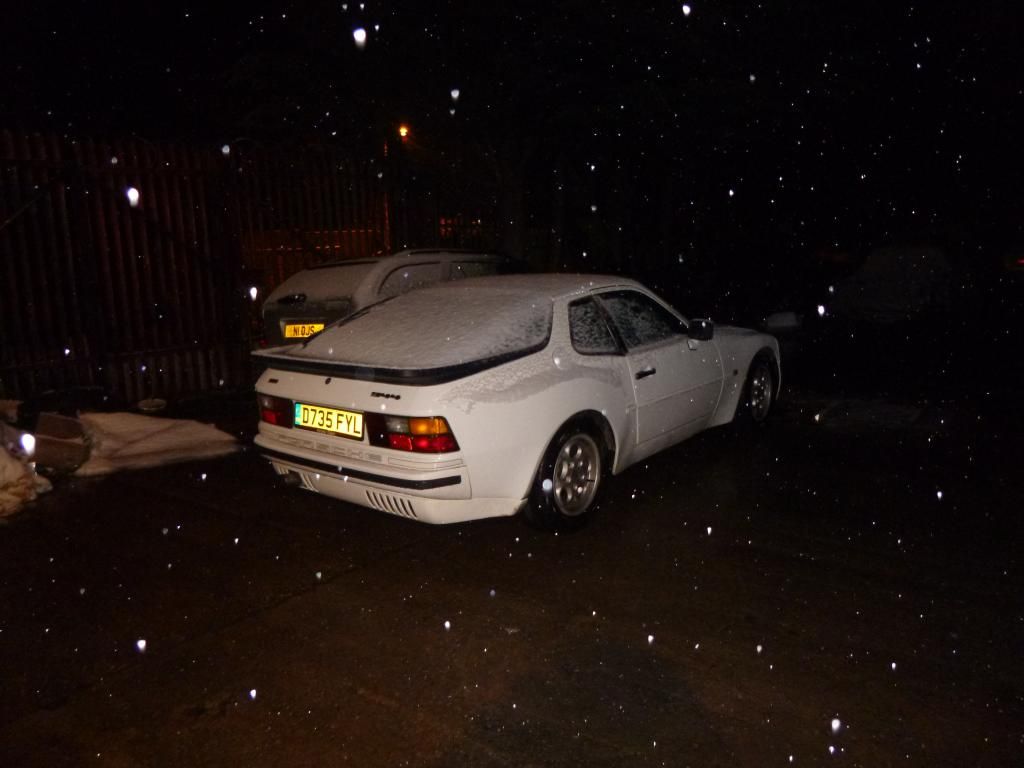
I was wondering why it was so cold today, but I took a quick peek outside......


I thought I might as well crack on for a bit - i am not sure how my 944 is in the snow.

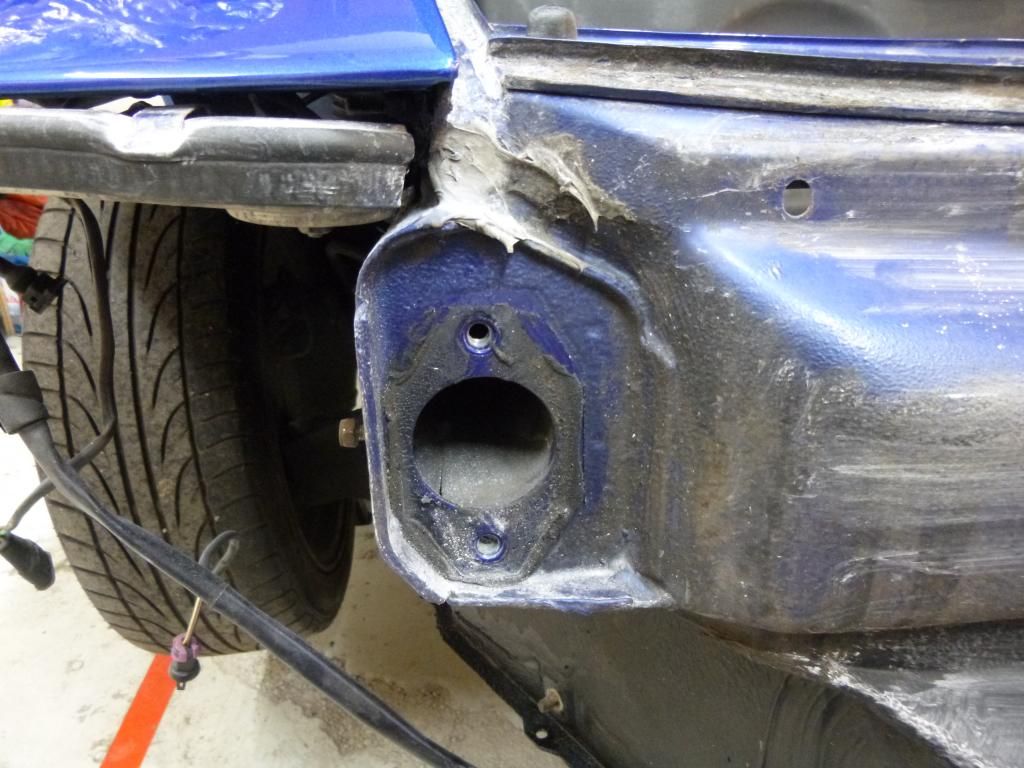
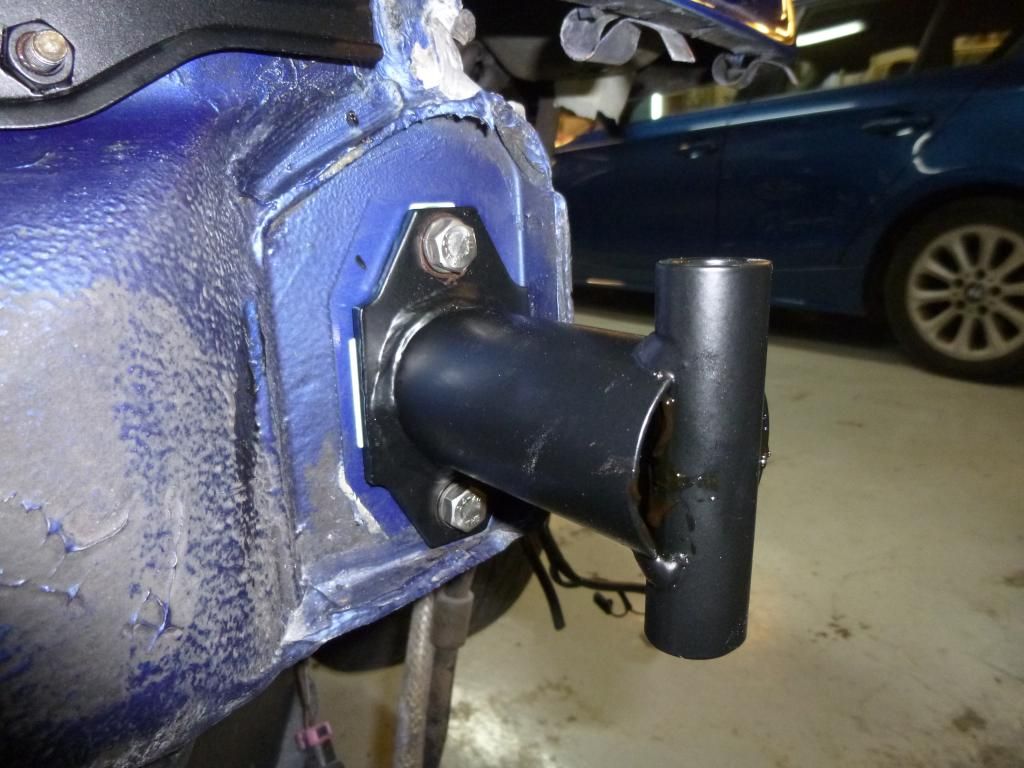
So I tidied up the front bumper mounting area. They started like this, with the old gasket in place


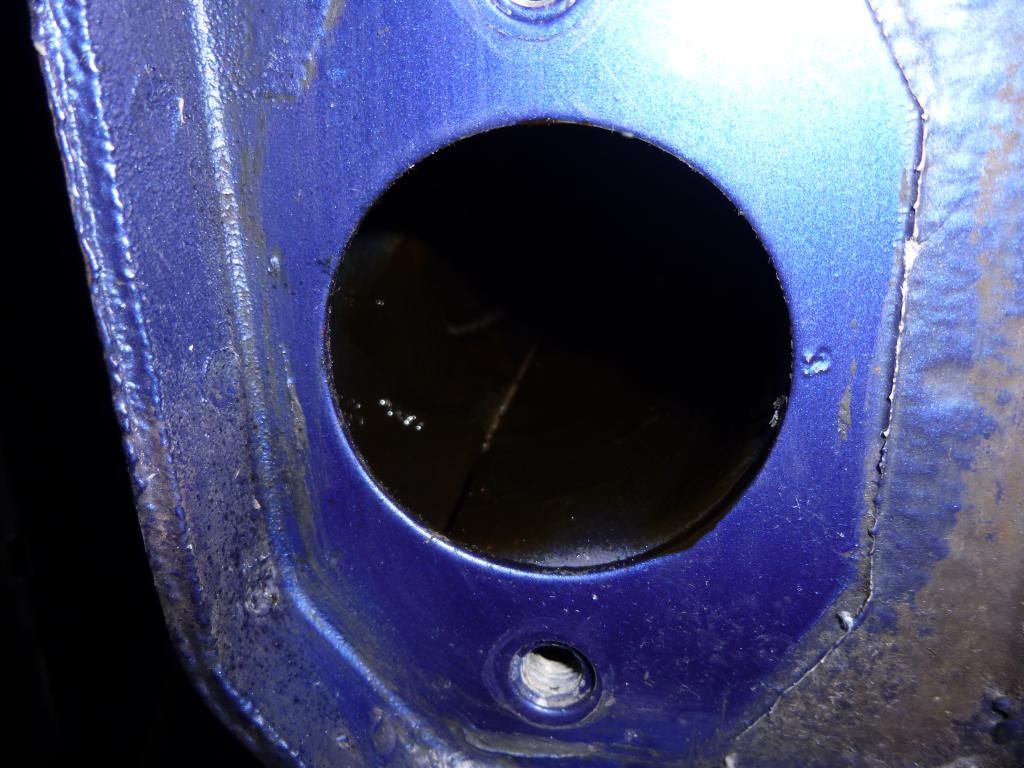
And after a quick blast with the hot air gun (the heat was very welcome)


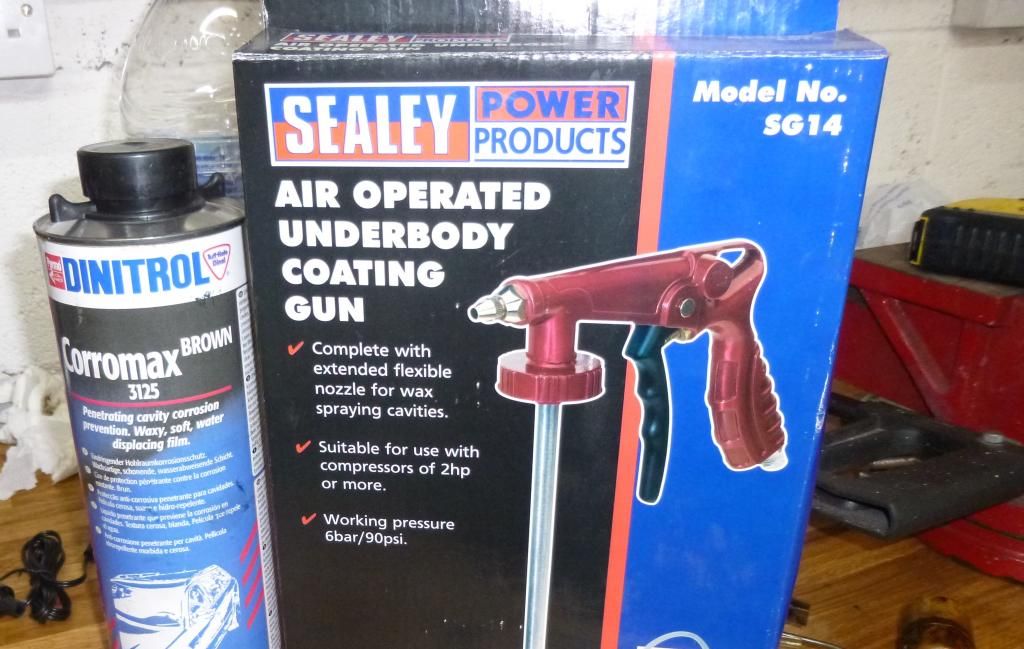
look at the above photo again. Notice how black the inside of the hole is? That is because I strayed the cavity with this.


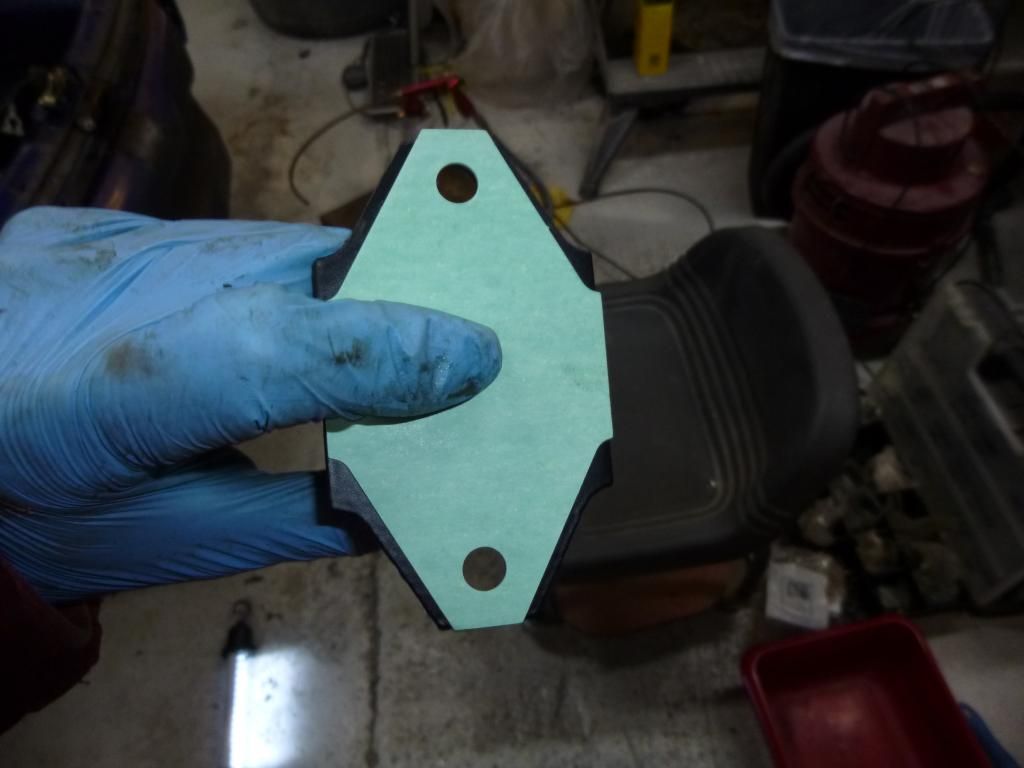
Add in the gasket


Plus new bolts, a quick squirt of dinatol and voila


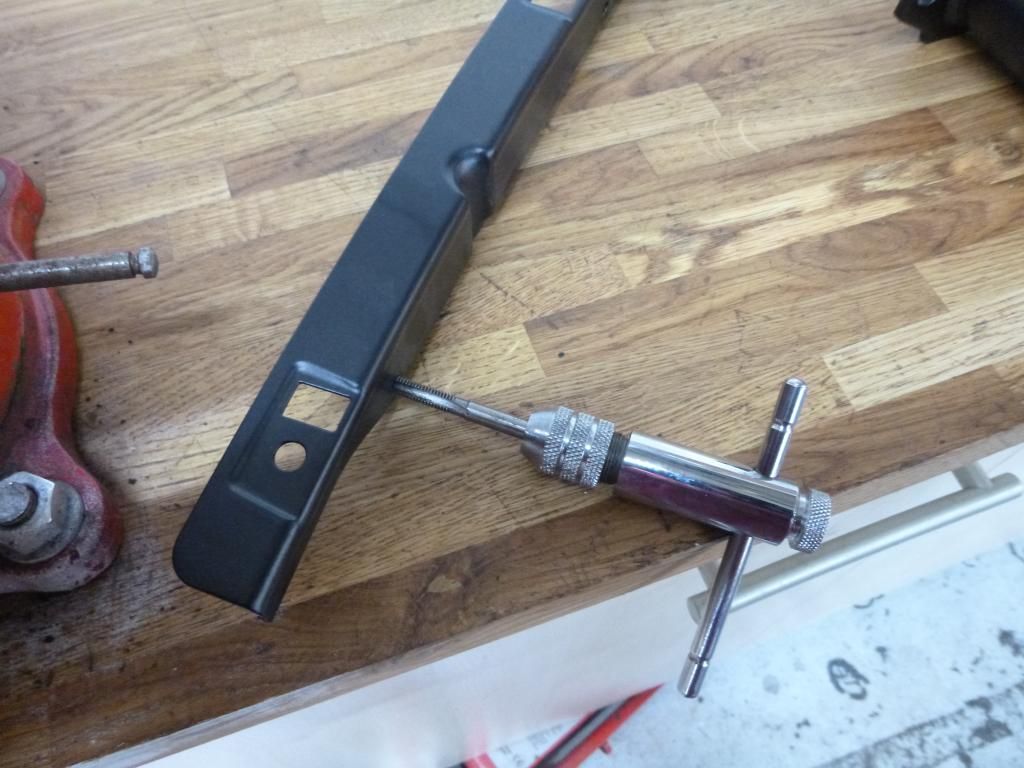
I also refitted another piece at the front. As with pretty much everything on this car, it has been powder coated. And it is important to clean the threads before fitting


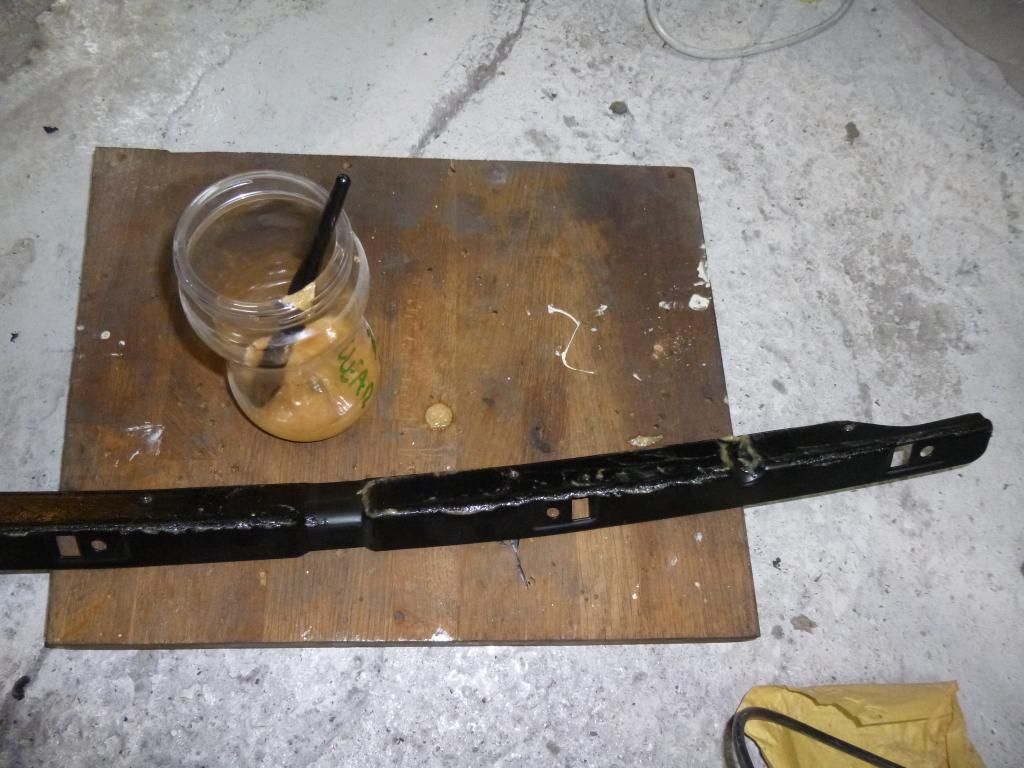
Before fitting, a smear of clear waxoyl


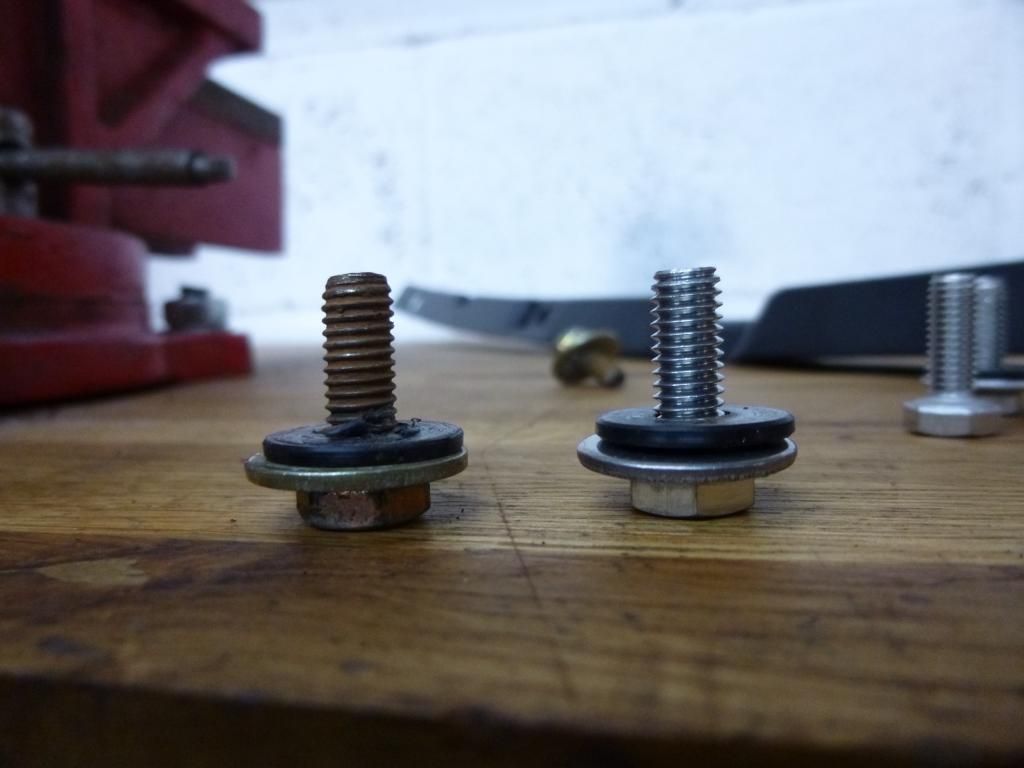
And because I am a bit OCD, new bolts and washers, together with the old bolt


Hopefully the workshop will be warmer tomorrow.......
 

Forum statistics

Threads
124,555
Messages
1,441,484
Members
48,969
Latest member
Stulees65
Back
Top